In this tutorial, I will take you through the steps to install the pip package manager on your Windows computer.
Pip is a module that works with the Python programming language to help install, upgrade, and remove Python packages and their dependencies. Using pip, you can install packages from the Python Package Index (PyPI) and other repositories. It is an essential tool if you plan on developing using Python.
Usually, the pip package manager is installed alongside Python, but there are cases where you will need to install it yourself.
This tutorial is tested on Windows 11 but should work on most older versions of Windows. There might be slight differences in the user interface from what is described in this tutorial if you use an older version of Windows.
You will need to confirm that you have Python installed before installing pip.
Verify Python is Installed
You will need to check that Python is installed on your Windows computer, as it is a prerequisite for the pip package installer. This section will quickly show you how to check if Python is installed.
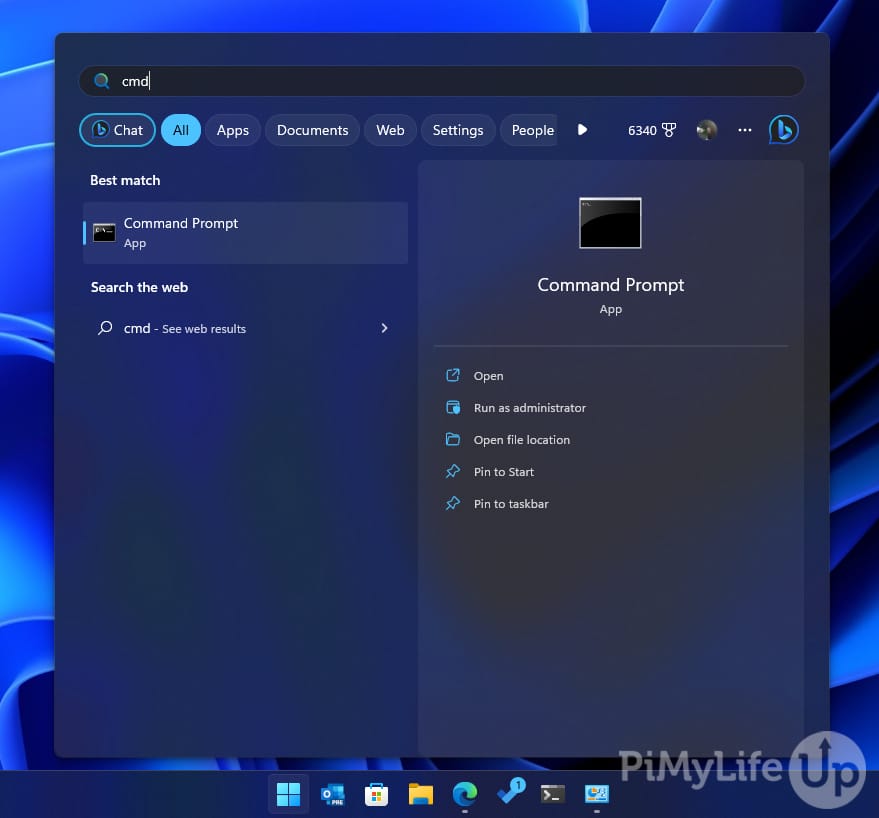
1. Load the CMD or terminal application by pressing the Windows key and entering CMD or Terminal. Click to open the application.
2. Enter the following command into the terminal. This command will print the current version of Python installed on the system.
python -VCopyYou will know that Python is installed if you have an output similar to the example below. If you are getting an error, you will need to install Python.
If you know Python is installed, you may need to use a different command, such as python3, or set up Windows environment variables for Python.
Python 3.10.1CopyInstalling Pip on Windows
Setting up pip on your Windows computer is straightforward and will take very little time. The steps below will take you through all the steps that you need to do.
1. Before we start, first check that pip is not already installed on your computer. To do so, enter the following command into the terminal.
pip -VCopyIf it is installed, you will get a message similar to the example below.
pip 21.2.4 from C:\Python310\lib\site-packages\pip (python 3.10)CopyOtherwise, you will get a message stating pip is an unrecognized command if it is not installed on your system. Like the example below.
'pip' is not recognized as an internal or external command,
operable program or batch file.Copy
2. To install Pip, you must first download get-pip.py to your computer. You can do this within a web browser or within the terminal using curl.
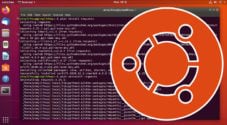
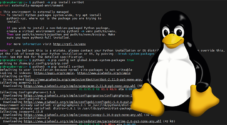
I recommend using Curl, as it will download directly into the directory you are working in. Below is the command that you can use to download the get-pip Python file.
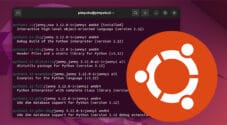
curl https://bootstrap.pypa.io/get-pip.py -o get-pip.pyCopy3. You can now run the pip Python script. The script will automatically install the required packages. It will also uninstall and reinstall pip if it already exists on the system.
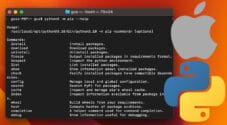
python get-pip.pyCopy4. You can confirm pip is installed by running the pip command. The example below will output the current version of the pip software.
pip -VCopy5. You should now have access to pip’s functionality without issues. If you are still having issues, you may need to add Python’s path to the environment variables.
Add Pip to Windows Environment Variables
Adding pip and Python to the environment variables is relatively easy. The steps below will take you through the process of adding new path environment variables.
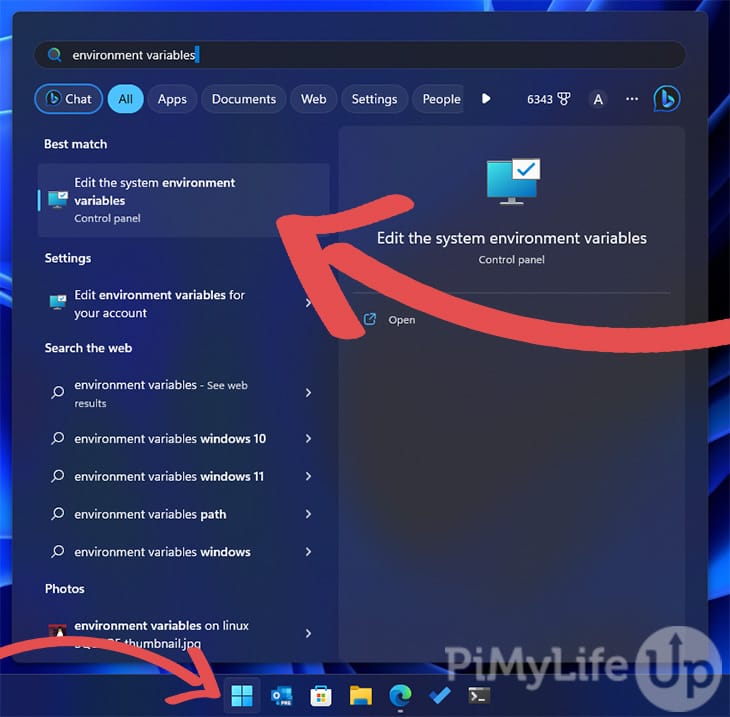
1. Press the Windows key or click on the start menu icon and search for “Environment Variables“. Click on “Edit the system environment variables“.
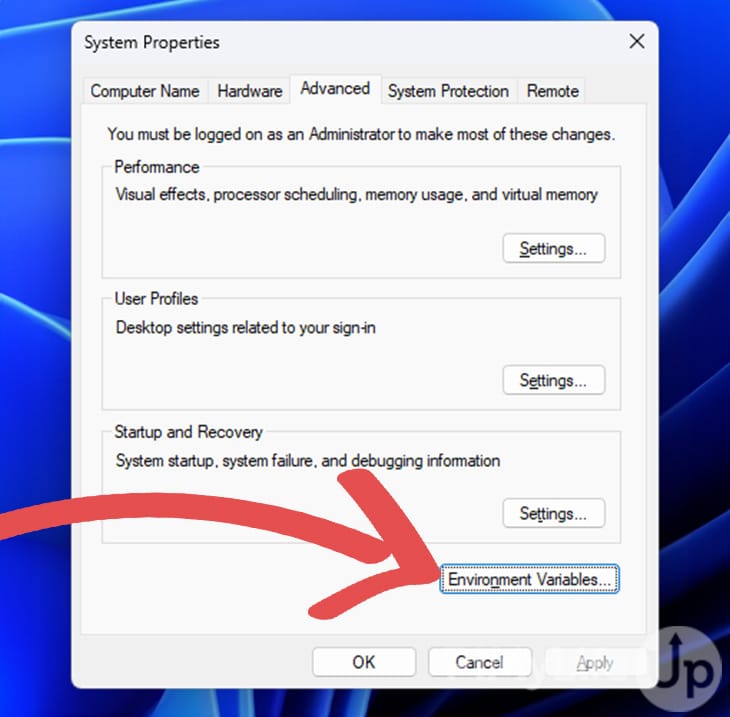
2. On the next screen, click on the Environment Variables button.
3. On the next screen, find the path variable under system variables and click on edit.
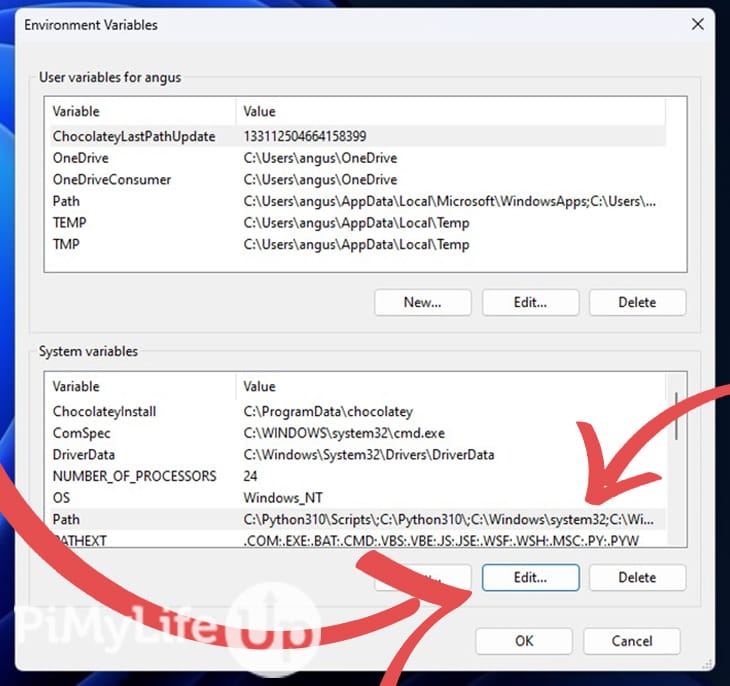
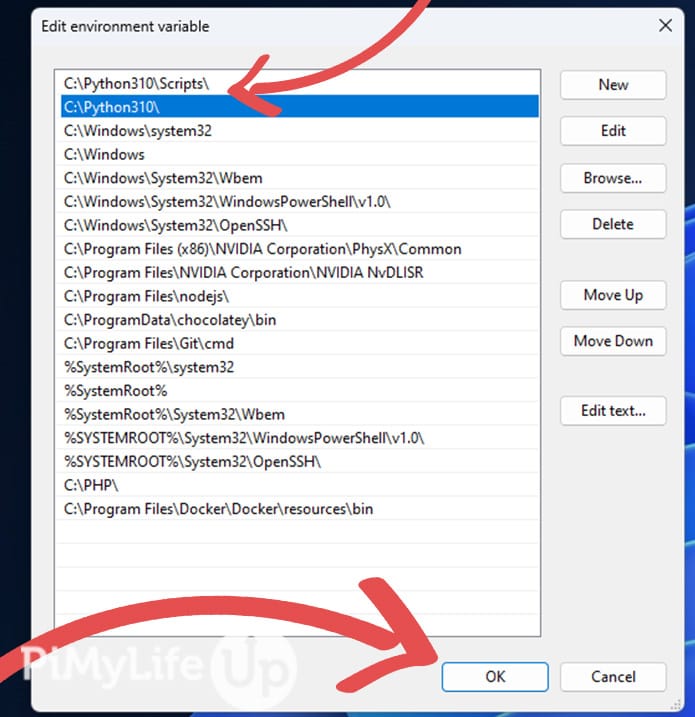
4. Lastly, on this screen, add the Python path (eg. C:\Python310\) and the Python script path (eg. C:\Python310\Scripts\). You should confirm the directory locations before adding them to the screen. Once done, simply click ok.
Upgrading and Downgrading Pip on Windows
The process of upgrading and downgrading pip is straightforward. In most cases, you will likely want to upgrade pip to the latest version. However, you may want to downgrade if you run into compatibility issues.
1. To install the latest version of pip you will need to run the following command. Keeping pip updated will help ensure you have all the latest security fixes, features, and more.
python -m pip install --upgrade pipCopyYou will need to make sure you are using the terminal or cmd application with administrator privileges; otherwise, you will get permission errors. To open the application as the administrator, right-click on it and click on run as administrator.
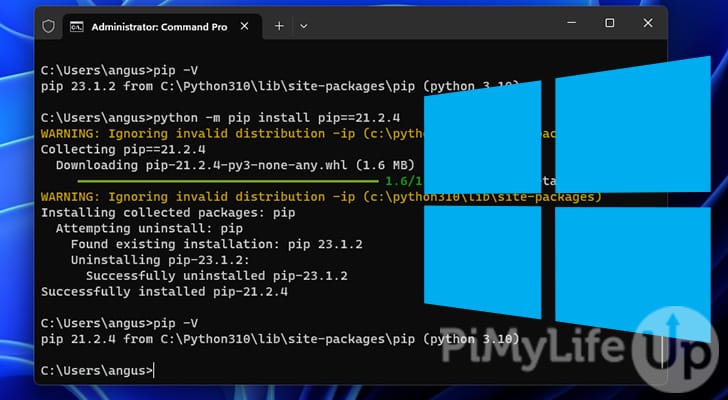
Using pip -V will confirm that pip is on the latest version available.
2. If you need to downgrade your version of pip, you can easily do this by specifying the version you wish to install. The example below will downgrade pip to version 21.2.4.
python -m pip install pip==21.2.4CopyConclusion
I hope you now have pip installed on your Windows computer, and it works without any issues. If you are facing an error or having issues, please try going through each step again.
We have plenty of tutorials covering the many aspects of the Windows operating system, and we are constantly working on more. If you want to learn more, please check out our tutorials on Windows. You will likely find them very helpful.
If you encounter any problems or have any suggestions to contribute, please don’t hesitate to leave a comment down below.