Installing Python on a Windows operating system is a simple process. With these few steps you can have Python up and running in no time.

Python is not a compiled language like C or C++ but is instead an interpreted one. This means to run Python code, you need the Python interpreter installed to your operating system.
Throughout this guide, we will walk you through the simple steps to installing the latest version of the Python interpreter to your Windows device.
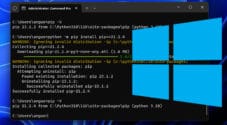
One advantage of the Windows installer of Python is that the extra packages that you will rely on, such as “pip”, are installed right off the bat.
This makes the setup process incredibly easy, as all we need to do is download the latest version of Python and run the installer.
Downloading the Python installer for Windows
1. To start with, you need to download the latest available version of Python 3 for Windows.
To do this, you will need to go to the Python downloads page for Windows.
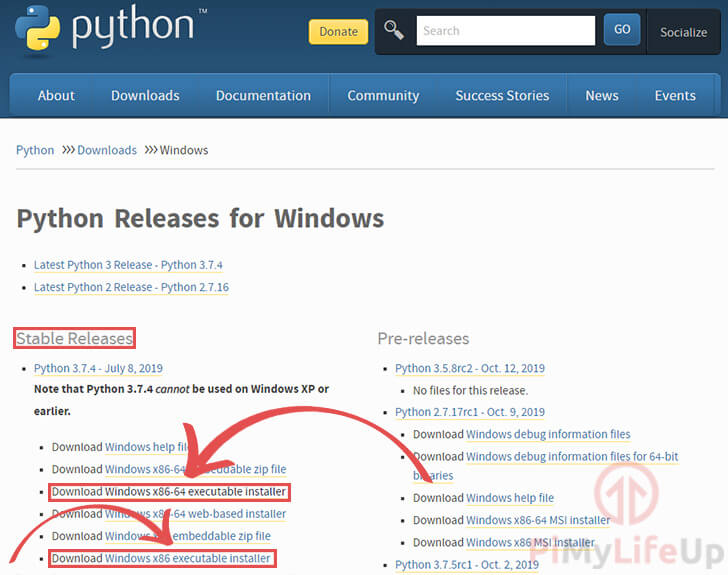
2. On this page, you will need to look under the “Stable Releases” header.
Under this header, you will need to decide whether you need Python for a 64-bit operating system or a 32-bit operating system.
Most people will be fine downloading the 64-bit version of Python.
3. Click “Windows x86-64 executable installer” to download the installer for 64-bit systems.
Otherwise, click “Windows x86 executable installer” to download the installer for 32-bit systems.
Running the Python Installer for Windows
1. With the Python installer downloaded to your Windows computer, go ahead and run it.
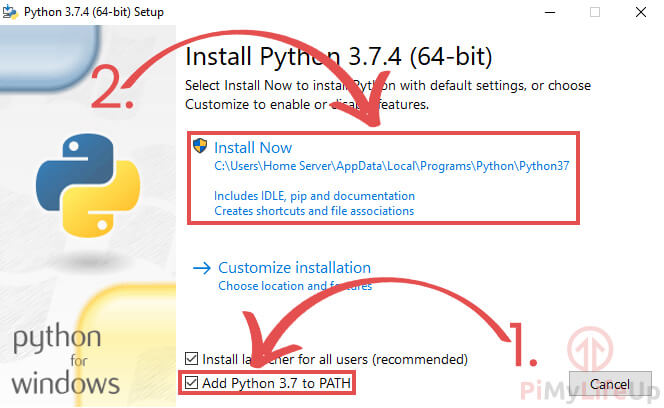
2. Upon running the Python installer, you will be greeted by the following screen.
You need to first ensure that the “Add Python 3.x to PATH” (1.) option is enabled. This will allow you to easily use Python through the command line.
With the checkbox ticked, we can now click the “Install Now” (2.) button to install Python to your computer. You will require administrative privileges to do this.
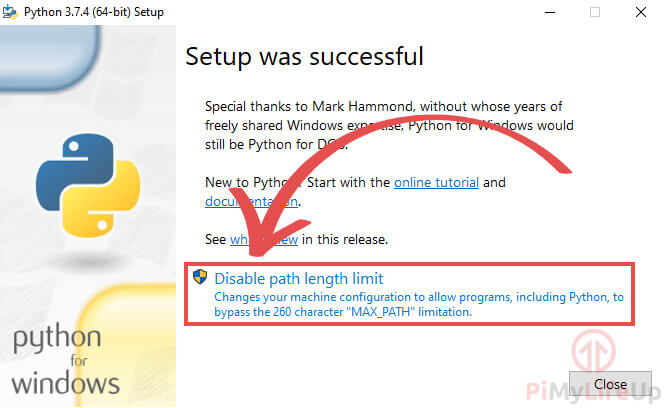
3. Once the installation process has finished, you will have the chance to “Disable path length limit“. Please note that this option is only available on Windows 10.
While you don’t need to select this, it can help with some Python scripts that weren’t developed with Windows in mind and are making use of large path sizes.
With that done, you should now have Python successfully installed to your Windows operating system.
Verifying that Python is installed to Windows
In this section, we will be running you through a quick way to verify that Python has been successfully set up on your Windows operating system.
1. To get started, start up the command prompt application.
You can do this by either searching for “command prompt” or by pressing WINDOWS KEY + R, then typing in CMD and hitting ENTER.
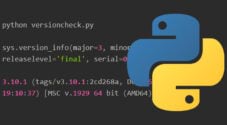
2. Within the command prompt, enter the following command.
This command should print out the version number of the installed Python interpreter.
python -VCopy3. If Python is installed and recognized by the command prompt tool, then you should see something like below appear in the command line.
Python 3.7.4CopyIf you get an error about Python not existing, then try restarting your computer.
In some cases, the newest version of the “PATH” environment variable isn’t read in, and restarting ensures that everything will have the updated version of the variable.
Hopefully, at this point you now have Python up and running on Windows.
You can now safely proceed with our getting started with Python guide.
If you run into any issues or have any feedback, then feel free to drop a comment below.