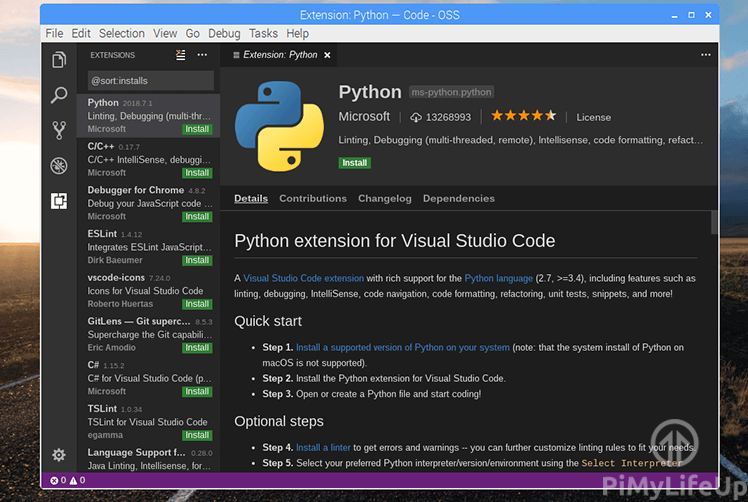
In this tutorial, we will go through the steps to installing Visual Studio Code (VS Code) onto the Raspberry Pi.
Visual Studio Code is one of the best code editors that you can run on your Raspberry Pi.
The code editor is packed with numerous features and contains everything you need to write code on your device confidently.
In addition to Visual Studio Codes baked-in features, there is also a wealth of add-ons that you can use to extend its functionality even further.
Best of all, Visual Studio Code on the Raspberry Pi is officially supported by the development team.
This official support means the software should continue to receive updates and function well on the device.
Visual Studio Code is our favorite code editor both on the Raspberry Pi and off it. We highly recommend it for anyone who is looking for a versatile code-editor.
For the best coding experience with VS Code, we recommend that you look into using git. You can set up your Raspberry Pi as a self-hosted Git server, or you can even install GitLab.
Equipment
Below are all the equipment pieces that we used to set up VS Code on the Raspberry Pi.
Recommended
- Raspberry Pi Amazon 2 or newer
- Micro SD Card Amazon
- Power Adapter
- Ethernet Cable Amazon or Wi-Fi Amazon
- USB Keyboard Amazon
- USB Monitor Amazon
- HDMI Cable Amazon
- Monitor Amazon
Optional
- Raspberry Pi Case Amazon
Main Features of Visual Studio Code
Many features of Visual Studio Code make it stand out from alternatives. One of the best parts is that it’s completely free and very customizable.
Open Source & Free
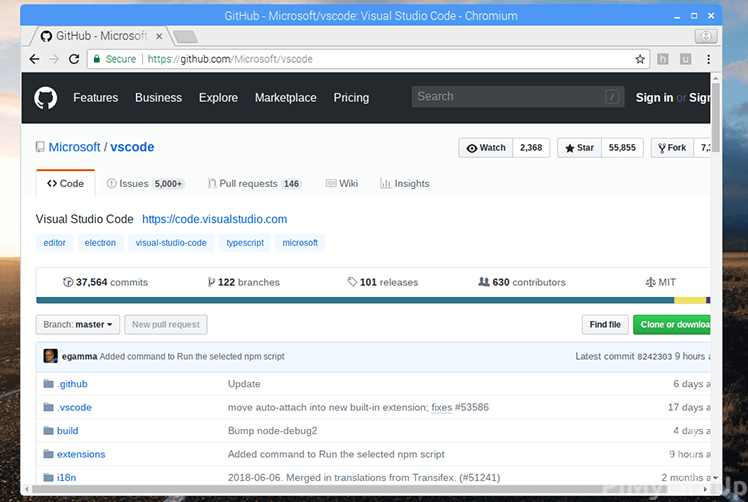
An exciting part of VS Code is that it is open-source. You can view the entirety of the code on GitHub if you want to follow the code editor’s development.
Visual Studio Code is registered under the MIT license giving you the flexibility to fork and edit the code.
Built-in Git
This feature is super handy if you want to use version control with your code.
It works with Git and other SCM (Software Configuration Management) providers. It allows you to review diffs, stages, and commit files from within the editor.
Debugging Capabilities
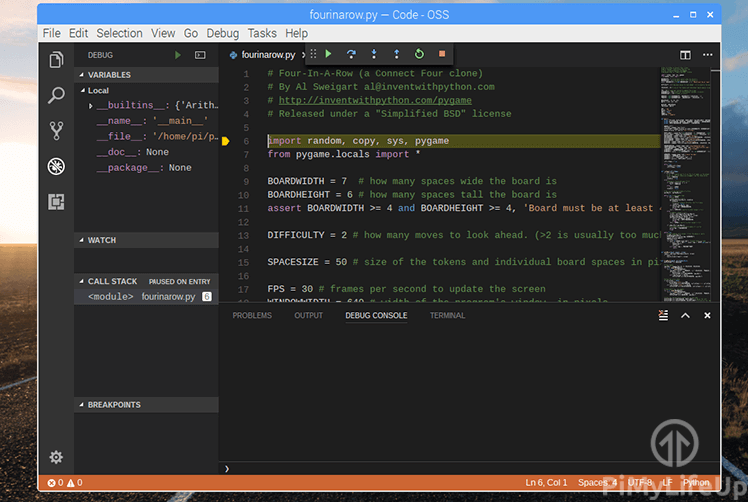
You can debug your code within the editor, which helps reduce the amount you need to rely on print statement debugging.
Using VS Code, you can add breakpoints, view call stacks, and make use of a handy debug console.
Extensible and Customizable
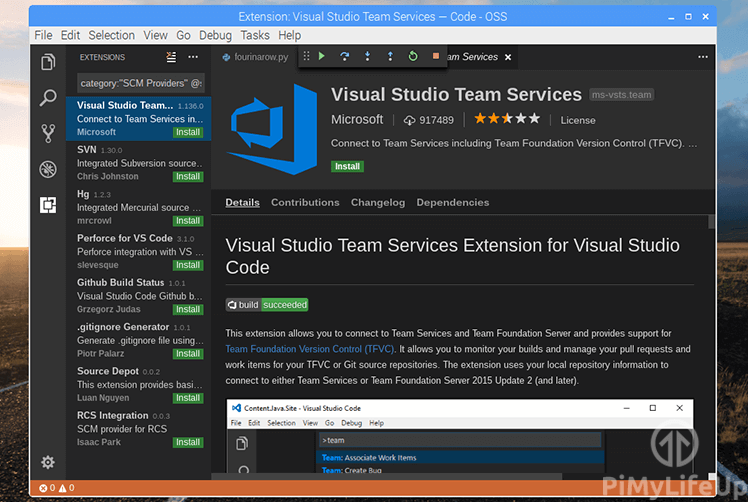
One of the coolest features of Visual Studio Code is how extensible the code editor is.
For example, you can install new language packs, themes, debuggers, formatting tools, and so much more.
Each of the extensions you add is separated into their own process so that they won’t slow down the editor.
Installing Visual Studio Code
In this section, we will show you how to install Visual Studio code on your Raspberry Pi.
To achieve this, you will need to have a web browser installed to your Raspberry Pi, such as Chromium.
You will be using this web browser to download the latest available package of Visual Studio Code.
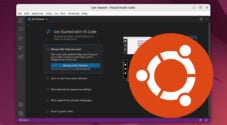
While our steps are written for Raspberry Pi OS, they will also work on alternative operating systems such as Ubuntu.
1. Within your favorite web browser on the Raspberry Pi, go to the Visual Studio Code website.
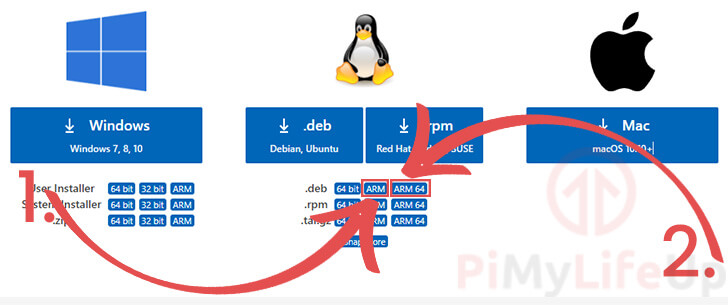
2. Once on the website, you should scroll down until you see the download buttons, as shown below.
In our case, we have two different architectures that we can choose from. One is the base ARM build, and the other is the ARM64 build.
If you are running the standard edition of Raspberry Pi OS (Non-64-bit edition), then click the “ARM” download button (1.).
Alternatively, if you are using the 64-bit edition of the Raspberry Pi OS, make sure you click the “ARM 64” option (2.).
Download this .deb file to somewhere easy to locate on your Raspberry Pi.
In our case, we downloaded this package file for Visual Studio Code to the standard “downloads” folder for our pi user.
3. With the .deb package file for Visual Studio Code downloaded to your Raspberry Pi, we can now install it.
To start the install process, locate where you downloaded the VS Code package file, then double-click it.
In our case, we downloaded the file to the “/home/pi/Downloads/” directory.
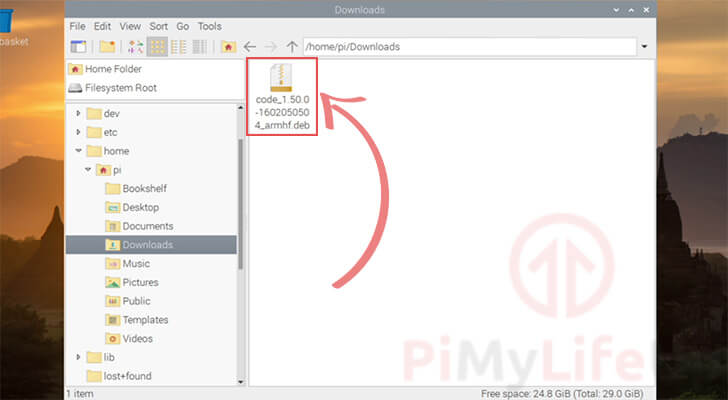
Double-clicking the file will begin the installation process.
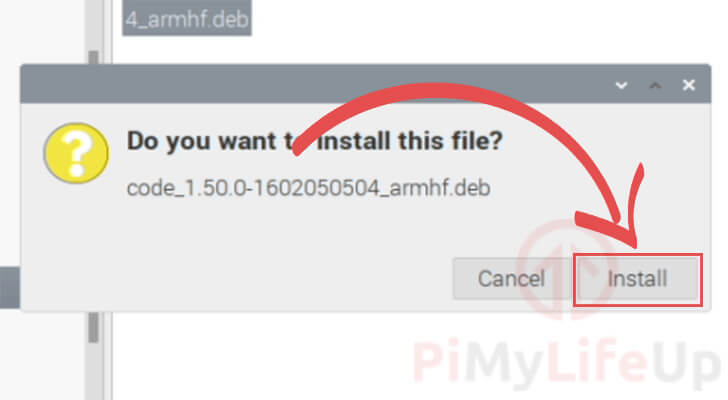
4. You will first be greeted by a message asking if you want to install the file.
Verify that the deb package name is correct, then click the “Install” button.
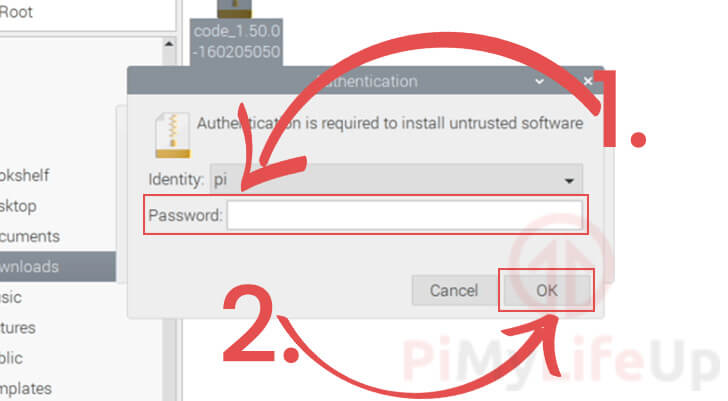
5. As we downloaded the Debian package straight from the internet with no package keys, you will be required to complete some additional authentication.
When prompted, type in the password for the pi user (1.). By default, this password will be set to “raspberry“.
Once you have entered the user’s password, click the “OK” button (2.) to proceed with the installation of Visual Studio Code.
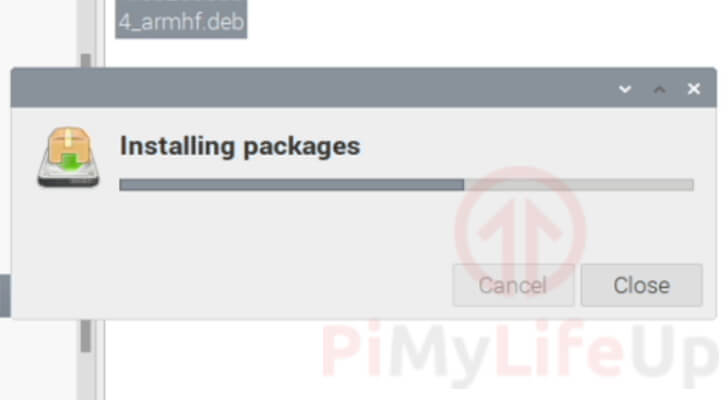
6. The operating system will now download and install Visual Studio Code to your Raspberry Pi.
During this process, the package manager will also install any dependencies that VS Code may require.
Once the installation process has finished, you can now run Visual Studio Code on the Raspberry Pi.
Running Visual Studio Code on your Raspberry Pi
In this section, you will see how you can launch VS code on your Raspberry Pi.
1. On your Pi’s desktop, open the start menu by clicking the Raspberry icon in the top left corner.

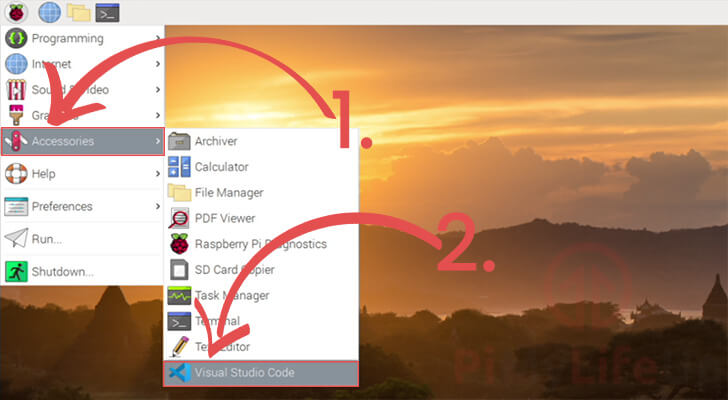
2. Within the start menu, you need to hover over the “Accessories” option (1.). Hovering over this option will show an additional sub-menu.
Within the additional menu that pops up, find and click “Visual Studio Code“.
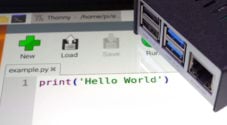
3. Hopefully, you should now have Visual Studio Code opened on the Raspberry Pi.
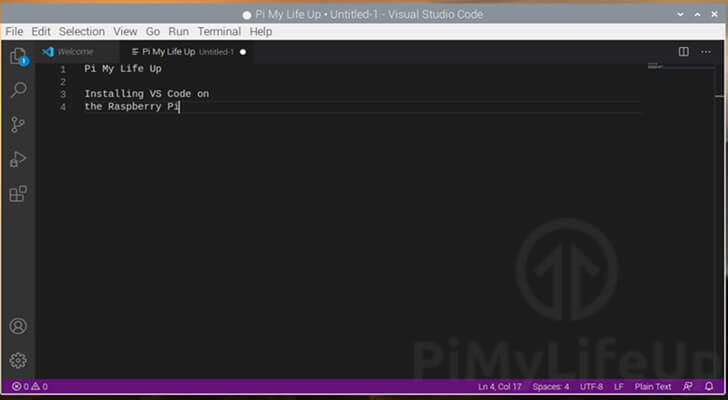
You can now start coding to your heart’s desire on the Raspberry Pi. Quickly you will realize why Visual Studio Code has become a favorite amongst many avid programmers.
We hope that this tutorial on installing Visual Studio Code on the Raspberry Pi has shown you all the steps to setting up this versatile code editor.
If you have any thoughts, tips, or anything else, please feel free to comment below.

This is a great tutorial but I am running into issues when I try and run the program on my rPi. All of the commands execute as expected but when I attempt to open the program nothing happens. Has anyone else experienced this or know how to fix it?
Hi Sam,
From memory there is some weird issues with Visual Studio on the Raspberry Pi that still haven’t been solved.
Apparently some libraries were updated awhile back that were incompatible with the ARM architecture of the Pi so updates have basically grinded to a halt.
Cheers,
Emmet
Worked great on my RPi 4
for some reason, the 2nd step isn’t working for me.
curl -L https://code.headmelted.com/installers/apt.sh | sudo bashthe error I get is “
Ocurl: (6) could not resolve host: code.headmelted.com“Hi Renzo,
It appears as if that code.headmelted.com is currently having DNS routing issues.
We have updated the tutorial to point to the file directly from the github repository.
Try running the following command instead
curl -L https://raw.githubusercontent.com/headmelted/codebuilds/master/docs/installers/apt.sh | sudo bashCheers,
Emmet
Just FYI – The latest (as of Summer 2019) insider-version of Visual Studio Code supports remotely connecting to a Raspberry Pi via plain SSH (and I also run it on Tinker Boards). This means your dev environment runs on your standard host (PC/Mac/…) while your files as well as execution environment are on the Pi. This is a bit of an early code but to me it looks very interesting.
It is very good I have download vs code & I loved it.
This worked great! The fix provided above for the blank screen was required in my case as well.
If you use ssh, you can connect your VS Code with the SFTP plugin.
Better than coding on the pi 🙂
But how to do that? I try to run it via ssh and enable the server, then connect to the server from my laptop, but it seems to be impossible. When I run it, it simply stops after a second
@swiic THANK YOU!!! omg, I feel dumb for not thinking of that sooner. I was looking at Samba or Bonjour or setting up some kind of file sharing, just so I could write code on my Mac and have it loaded on the Pi.
Since I already have VSCode and the SFTP plugin, your solution instantly clicked as the easiest thing to do, and it was. (and using “upload on save” of course)
I am getting blank screen on Rasoberry Pi 3B+ after installing code-oss. Can you please help?
Hi,
Please see the comment above for a fix regarding the blank screen for code-oss.
Hi,
thanks a lot for this tutorial!
I can install code-oss fine, but I cannot get it to start properly, it is just showing me an empty black screen.
This behaviour happens when opening from the menu, opening from the terminal or by opening a (very simple) script.
Would you have any tip about this?
Thanks
Hi Ulu,
A recent update seems to have made this happen.
You can downgrade VS code by running the following command.
Mark it “on hold” so it doesn’t upgrade to the latest version automatically.
To remove the hold, just enter the following.
Multiple Github issues have been opened regarding this issue, so hopefully it will be fixed soon.
This looks interesting, I will try it out asap.
Wonderful, worked perfectly!!! It will help a lot my 9-year-old daughter learn coding. Thank you very very much!!!