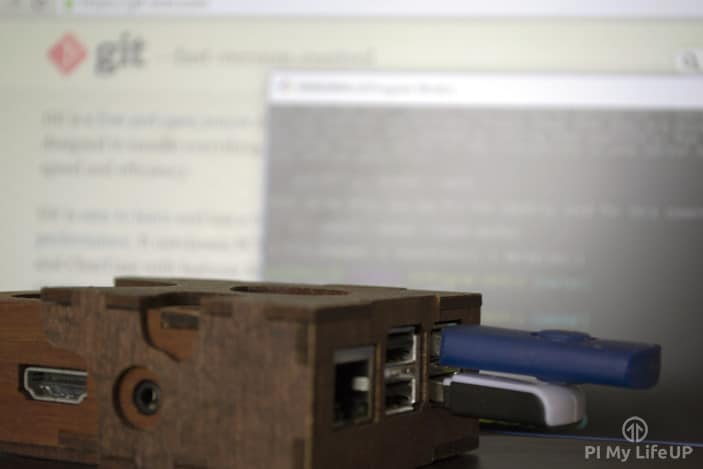
In this tutorial, we make a simple yet cool Raspberry Pi Git server that is perfect for hosting your next code project.
If you’re a programmer, then you probably have heard of Git before. For those who haven’t heard of it, Git is a hugely popular version control software for the development of software.
There are plenty of hosted Git solutions out there, but you may be wanting your own private Git server for one reason or another. Such as having full control over your code and being able to keep it as private as possible.
One good benefit of learning how to run your own Git Server is that you gain an understanding of a lot of the Git commands. Knowing these commands is extremely handy, especially in jobs where they don’t use a GIT graphical interface.
Equipment
You will need the following equipment to get this private Git server up and going.
Recommended
Optional
- Raspberry Pi Case Amazon
- USB Keyboard Amazon
- USB Mouse Amazon
- External Hard drive Amazon or USB Drive Amazon
Note: If you plan on using an external hard drive than it is likely you will need a powered USB hub. This requirement is because the Pi is unable to provide enough power via the USB port to keep an external drive powered.
Video
You can watch our video below if you want to see how this is all done. It will take you through all the steps to getting your very own Raspberry Pi GIT server up and going.
If you like the video, then please make sure you subscribe, so you stay up to date on all our future projects.
Installing the Raspberry Pi Git Server
The process of installing the Raspberry pi Git server is pretty straight forward. If you’re not familiar with Git and its commands, then I highly recommended that you take the time to learn them. I will go into a few basics further down the page and also point out a few good places to learn more about using Git.
1. As always let’s first make sure that the Pi is up to date. Run the following commands.
sudo apt update
sudo apt upgradeCopy
Firstly, make sure Git is installed. It should already be installed.
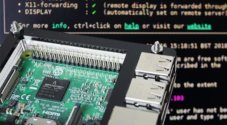
sudo apt install git-coreCopy2. You will need to make sure you have SSH enabled. If you haven’t got this done, then you can find out how to do this in our SSH tutorial.
3. Now you might want to store this on a USB drive. If you want to do this, then you will need to mount the USB drive. You will find our guide to mounting a USB drive on Raspberry Pi incredibly handy.
This process is all you need to do to have the Git server up and running. It really is pretty easy, the next part we will go into creating your first repository and pushing updates to it.
Setting up your First Repository
Now let’s make our very own first repository so that we can start pushing code/data to it. There are more complex commands that you will probably want to learn, but these basics will be perfect to get you going.
1. Firstly, we need to make a directory for where our new repository will be stored. The -p tag will create any directories in our path that doesn’t already exist.
mkdir -p /home/pi/git/myFirstRepositoryCopy2. Now let’s move into the directory by using the cd command.
cd /home/pi/git/myFirstRepositoryCopy3. Now let’s initialize the Git repository using the bare command.
git init --bareCopy4. You will need to repeat these steps whenever you need to make a new repository. Now that’s all done we’re ready to do our first commit.
5. On Windows or Mac computer you will need to download Git to be able to start pushing code to our repository. I recommend downloading and using git-scm.
6. Once you have installed it, you should have some extra options when you right click within a folder.
7. In the folder you wish to commit, right click and then go to Git bash. It should open a window that looks like a command prompt.
8. If this is not already a Git directory, then you will need to initialize it before we can push the code to our Pi. To do this enter the following command:
git initCopy9. Now we need to add our remote Git directory by adding the following line.
git remote add myFirstRepository pi@192.168.1.108:/home/pi/git/myFirstRepositoryCopy10. Now we can easily push data to our repository. To do this enter the following commands.
git add .
git commit -m "Our first commit"
git push myFirstRepository masterCopy
11. It should come up with a success message. This message means our code has been pushed to our Git server.
12. To test to see if everything is working correctly, you can clone the repository we just set up to a new folder. First, open up Git bash in a different folder and then run the following commands:
git clone pi@192.168.1.108:/home/pi/git/myFirstRepository/Copy13. As you can see, the Raspberry Pi Git server is now storing our code correctly. Now, this is the very basics of Git, and there is so much more to learn.
Now there is a lot more to learn about Git and the commands you’re able to use. I have come across a couple of websites that have been incredibly helpful in learning more about Git and how it works. If you’re looking at getting into programming, then it is important that you learn about code version control systems.
If you want to learn more about Git, codecademy has some fantastic tutorials that you can check out. Also, Git-scm has plenty of great documentation on the many different commands you can use.
Accessing the Private Git Server Remotely
Now you may want to access your Git repositories outside your local network. To do this, you will need to setup port forwarding on your router.
There are a few security risks involved with allowing communication through a port but is the easiest way for gaining access to your server.
It is essential that you update the pi user’s password to something a lot stronger if you’re going to allow external access.
If you want to setup external access, check out our guide on port forwarding with the Raspberry Pi. You will need to port forward the SSH port (22) to gain access outside your local network.
If you use an external port other than 22, then you will need to specify this either in ~/.shh/ssh_config or using a URL style address instead like as followed.
ssh://pi@XXX.XXX.XXX.XXX:23/home/pi/git/myFirstRepository.git/CopyWhere X represents your external IP and 23 is the external port.
I hope that you now have a fully working Raspberry Pi Git server. If you come across any problems, I have missed something, or anything else, then be sure to drop me a comment below.


when I enter ‘git push myFirstRepository master I get:
error: src refspec master does not match any
error: failed to push some refs to ‘pi@10.0.0.19:/home/pi/git myFirstRepository’
What did I do wrong?
I have the same question meh dude
In case another stumbles along this thread, make sure you have a file in the folder first. Add the file to git with “git add [file]”. Then continue with step 10. Just make sure to change the comment!
For those who have this error:
Create a file in your folder. It does not matter if it’s empty or not.
An interesting second part to this article may be a guide to install a complete git management site like github. There should be many options. I tried a simple one written in Go called gogs https://github.com/gogits/gogs and worked pretty well on mt odroid c1 which is very similar to rasp 2