In this tutorial, we will be showing you how to install the time management software TimeTagger on a Raspberry Pi.
TimeTagger is a lightweight web-based time management tool. It lets you easily track every task you do through a simple interface.
This software works by allowing you to start a timer. You label this timer with what task you are completing. Using hashtags in the title, you can group relevant tasks, which is helpful if you are working on tasks for different clients or projects.
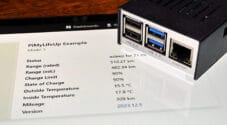
You can even export a report to easily show what you have been spending your time.
This time management software is also super lightweight, meaning you can run TimeTagger on your Raspberry Pi without taking away too many resources from other software.
Best of all, installing this software is a super simple process that we will be exploring over the following few sections.
Please note that the TimeTagger team only provides container images for ARM64. You must be running a 64-bit variant of Raspberry Pi OS.
Equipment
Below is a list of equipment we used when setting up TimeTagger on our Raspberry Pi.
Recommended
Optional
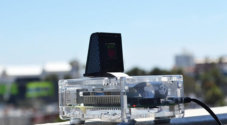
This tutorial was last tested on a Raspberry Pi 400 running the latest version of Raspberry Pi OS Bookworm 64-bit.
How to Install TimeTagger on the Raspberry Pi
Over the following sections, we will walk you through installing and running TimeTagger on your Raspberry Pi.
This process is relatively simple, thanks to being able to run TimeTagger within a Docker container.
Preparing your Raspberry Pi for TimeTagger
1. Before we install TimeTagger onto the Raspberry Pi, we must complete a few tasks.
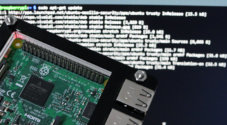
The first task is ensuring we are working off an updated base. Use the following two commands to update your operating system.
sudo apt update
sudo apt upgrade -yCopy
The first command will update the package list cache. With the second command, we are upgrading any out-of-date package.
2. We now will want to use two packages that we can use to generate the credentials for TimeTagger’s interface.
The two packages we need are “sed” and apache2-utils“.
sudo apt install sed apache2-utilsCopy3. Once the update completes, follow our guide on installing Docker to the Raspberry Pi.
This guide will get Docker up and running with how we expect it to work on your Pi.
4. Our next step is to create a directory where we will write the Compose file for TimeTagger.
We can create this directory by making use of the mkdir command.
sudo mkdir -p /opt/stacks/timetaggerCopy5. After creating the directory, we must change to it by utilizing the cd command.
Most of the commands we are using will expect you to be in this directory.
cd /opt/stacks/timetaggerCopyGenerating your Credentials for TimeTagger
5. Before we continue, we need to take a short detour to generate the line we need to use for TimeTrigger’s credentials. TimeTagger hashes the password using bcrypt, which we can create using “htpasswd“.
Use the following command to generate the password string for TimeTagger. Replace “<PASSWORD>” with the password you want to use to access the time management software.
htpasswd -bnBC 8 "" <PASSSWORD> | tr -d ':\n' | sed 's/$2y/$2a/; s/\$/$$/g'; echoCopyAfter running the command above, you should end up with a string like below.
$$2a$$10$$llfrAjv2Kz6A7j8KVMZ7SOlkqqk.fbr81sSQqMRdfLRFuIEot1FfC6. Your final step for generating your password is to put your username before the hashed password followed by a semicolon (:).
For example, if we used the username “pimylifeup“, our credentials line would look like following. Keep this line handy for the next section.
pimylifeup:$$2a$$10$$cQw.BzCcMGdk85tKgK8KFe8vbZiLt8ws5T07ocYrqPMbIe08VVa8.Writing the Compose File for TimeTagger on the Raspberry Pi
6. Now, we can start writing the Compose file that will set up TimeTagger on our Raspberry Pi.
You can begin writing this file by using the following command.
sudo nano compose.yamlCopy7. Within this file you will want to type out the following lines. These lines will set up TimeTagger to run on port 8989 on our Raspberry Pi. You can run this on a different port. Just replace “8989” with your chosen port.
The one thing you must do while typing this out is replace “<CREDENTIAL>” with the line you generated in the previous section.
version: "3"
services:
  timetagger:
    image: ghcr.io/almarklein/timetagger
    ports:
      - "8989:80"
    volumes:
      - /opt/stacks/timetagger/data:/root/_timetagger
    environment:
      - TIMETAGGER_BIND=0.0.0.0:80
      - TIMETAGGER_DATADIR=/root/_timetagger
      - TIMETAGGER_LOG_LEVEL=info
      - TIMETAGGER_CREDENTIALS=<CREDENTIALS>Copy
8. After typing out the previous section, you can save by pressing CTRL + X, Y, and then the ENTER key.
Starting up TimeTagger on your Raspberry Piru
9. To start TimeTagger on your Raspberry Pi, we need to run the following command within the terminal.
If you want to be able to manage this container better, we highly recommend setting up Dockge on your Pi as well.
docker compose up -dCopyBy using the “-d” option, Docker will detach from the current terminal session once it finishes starting up TimeTagger.
Using the TimeTagger Interface
Over this section, we will be quickly running through how to access and use the TimeTagger interface.
Accessing the TimeTagger Web Interface
1. To access TimeTagger, you will need to know the IP address of your Raspberry Pi.
One of the easiest ways to get your local IP is to use the hostname command.
hostname -ICopy2. Once you have your IP ready, go to the following address in your favorite web browser.
http://<IPADDRESS>:8989Logging in to your Raspberry Pi TimeTagger Installation
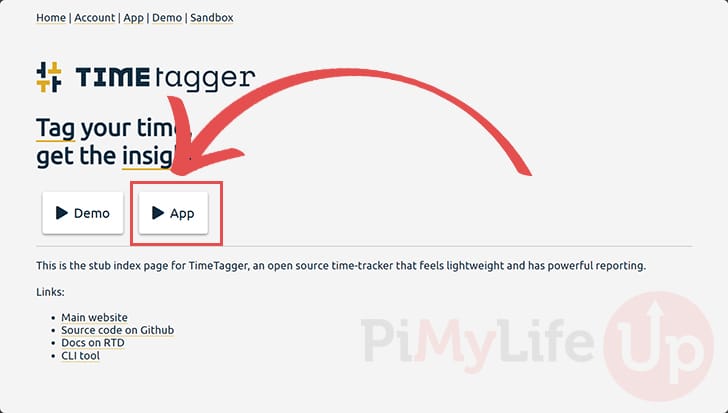
3. Once you have the TimeTagger web interface up, you will be greeted with the following page.
To start using the software, you will want to click the “App” button.
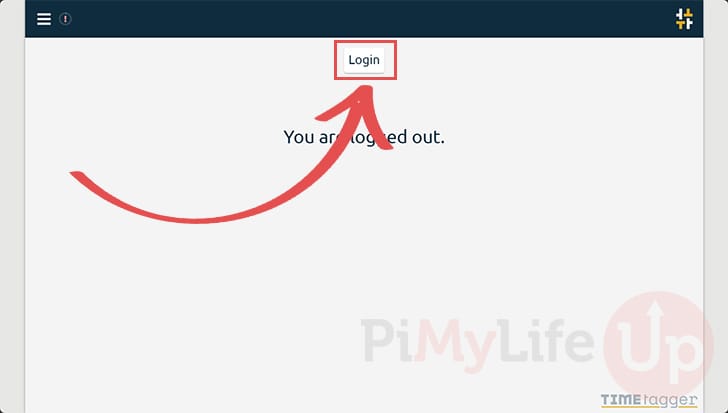
4. You will be greeted by a big message saying you are not logged in.
Click the “Login” button to continue.
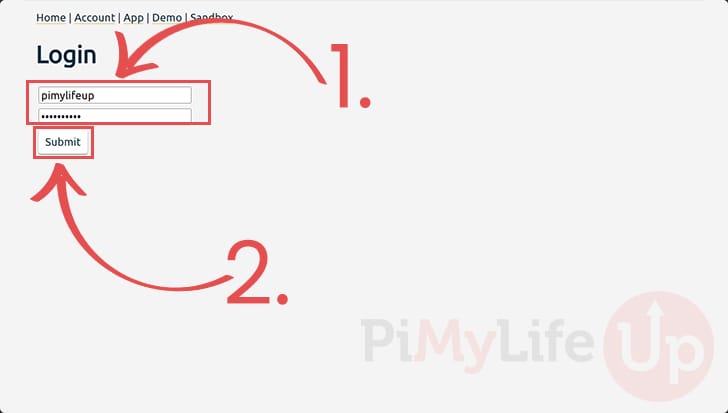
5. Now use the input box on this screen to log in to your account (1.). Use the username and password you generated the credentials line for earlier in this guide.
After filling out your account details, click the “Submit” button (2.).
Making your First Time Recording
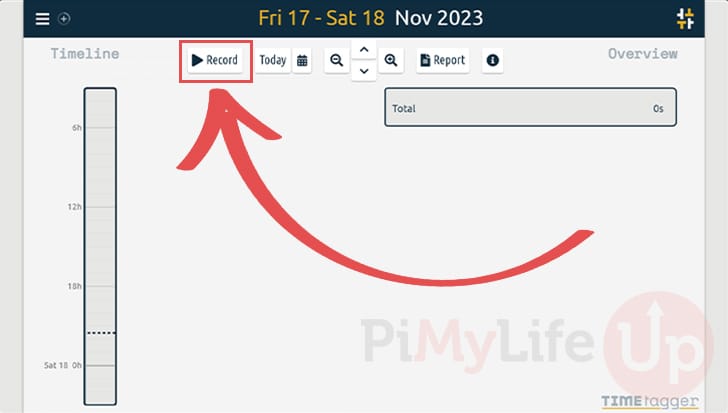
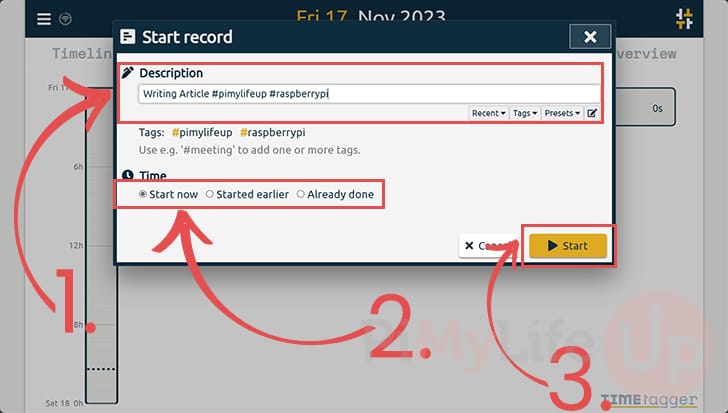
6. To start adding records to TimeTagger, click the “Record” button.
7. A pop-up will appear on your screen. Start by filling out the description (1.). Here, you will want to describe what you are recording time for. You can use hashtags (#) to group similar items together later.
Next, you must select when you want this timer to start. For our example, we are going with the “Start now” option (2.).
Finally, you can start your time by clicking the “Start” button (3.).
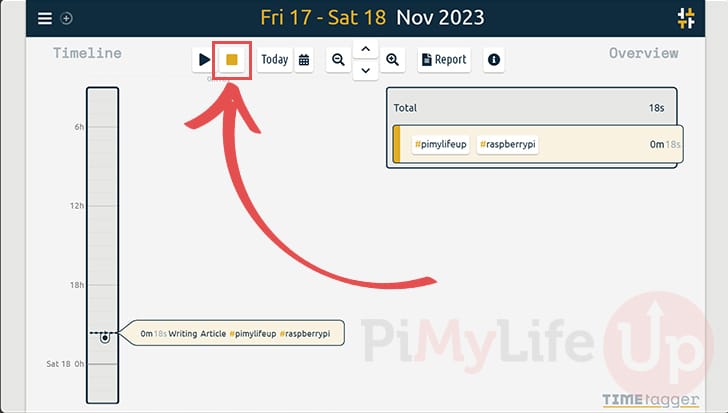
8. Whenever you have finished your task for the day, all you need to do is click the “Stop” button.
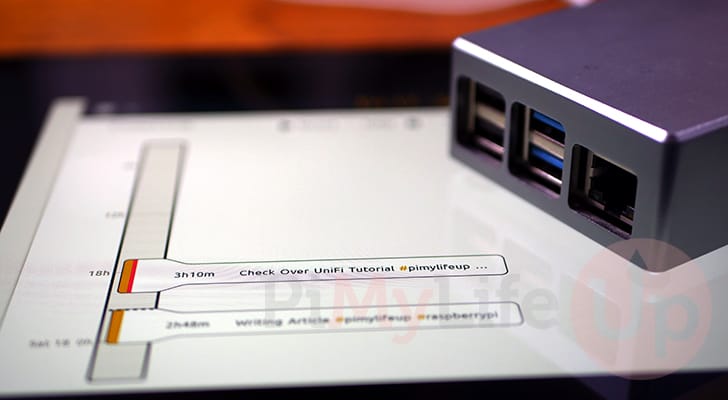
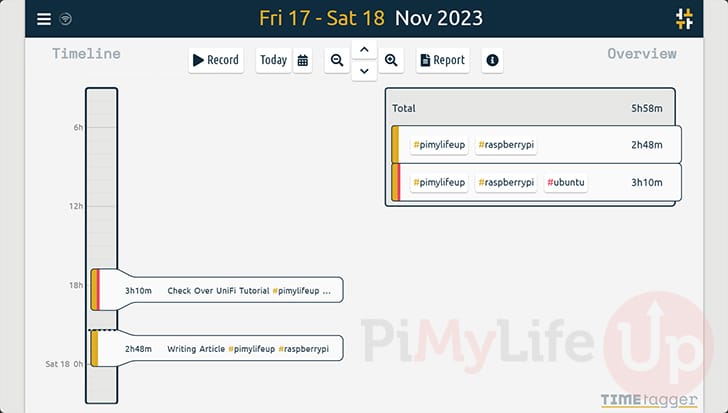
9. Below you can see how the TimeTagger web interface starts to look as you record more time slots.
Conclusion
Hopefully, at this stage, you will now have the TimeTagger time management software up and running on your Raspberry Pi.
This software is an elegant, lightweight tool to use. It allows you to easily track how long you spend on projects and better manage your time.
Please feel free to comment below if you have any issues with getting TimeTagger to work on your Pi.
We highly recommend you check out our many other Raspberry Pi projects if you found this tutorial useful.