This project will show you how to run the Plant-it software on your Raspberry Pi.
Plant-it is a self-hosted and open-source application that is aimed at being a companion to your gardening.
This app aims to be a companion to help you keep track of all your plants. It allows you to log events such as watering, fertilizing, and more. You can even use the web interface to upload photos of your own plants.
The Plant-it software even has support for the Trefle API, allowing you to get a wealth of information about a plant without manually typing in all their details yourself.
Best of all, Plant-it is a relatively low-resource program, meaning you can run it on the Raspberry Pi without any issues.
It is also super easy to get Plant-it up and running on the Raspberry Pi as it is distributed as an ARM-compatible Docker container.
Equipment
Below is a list of equipment we used when running the Plant-it gardening companion app off of our Raspberry Pi.
Recommended
Optional
This tutorial was last tested on a Raspberry Pi 5 running the latest version of Raspberry Pi OS Bookworm (64-bit).
Installing Plant-it on the Raspberry Pi.
Over the following steps, we will walk you through installing the Plant-it gardening software on your Raspberry Pi.
Since we are using Docker, this process is relatively straightforward. The only caveat is that you must be running a 64-bit operating system. Plant-it does not provide builds for 32-bit versions of Raspberry Pi OS.
Preparing your Raspberry Pi to Run Plant-it
1. Before we begin, we should ensure that we are running an updated operating system.
To update the packages on your Raspberry Pi, you will want to use the following two commands within the terminal.
sudo apt update
sudo apt upgrade -yCopy
2. With your Raspberry Pi up to date, your next step is to follow our guide on installing Docker.
We will be using Docker to run the Plant-it software on our Raspberry Pi.
https://pimylifeup.com/raspberry-pi-docker/3. Before proceeding further, you must set up a static IP address on your Raspberry Pi.
This static IP address ensures your Pi isn’t assigned a random IP every time it starts. Once you have a static IP set, make a note of it.
4. Once you have Docker installed, your next step is to create a new folder that will be used for Plant-it on your Raspberry Pi. This folder will store both the Plant-it Compose file and its data.
You can create this directory by using the mkdir command within the terminal.
sudo mkdir -p /opt/stacks/plantitCopy5. Our next step is to change into the directory we created using the cd command.
The rest of the installation guide will expect you to be within this folder.
cd /opt/stacks/plantitCopyWriting a Compose File for Plant-it
6. We are at the stage where we can begin writing the Compose file to run Plant-it on our Raspberry Pi.
A Compose file is like a set of instructions that Docker will use to launch the various Plant-it containers.
sudo nano compose.yamlCopy7. Within this file, you will want to enter the following lines. We don’t have to worry about changing anything here as all the configuration is handled through two environment files we will write shortly.
version: "3"
name: plant-it
services:
  backend:
    image: msdeluise/plant-it-backend:latest
    env_file: backend.env
    depends_on:
      - db
      - cache
    restart: unless-stopped
    volumes:
      - "./upload-dir:/upload-dir"
      - "./certs:/certificates"
    ports:
      - "8080:8080"
  db:
    image: mysql:8.0
    restart: always
    env_file: backend.env
    volumes:
      - "./db:/var/lib/mysql"
  cache:
    image: redis:7.2.1
    restart: always
  frontend:
    image: msdeluise/plant-it-frontend:latest
    env_file: frontend.env
    links:
      - backend
    ports:
      - "3000:3000"
    volumes:
      - "./certs:/certificates"
Copy
8. Once you have finished filling out the Compose file, you can save and quit by pressing CTRL + X, Y, and then ENTER.
Setting up the Environment Files
For the following steps, we must write an environment file used by both the Plant-it frontend and backend.
Writing the Environment File for the Backend
9. To begin writing an environment file for the Plant-it backend, use the following command in the terminal.
sudo nano backend.envCopy10. Within this file you will want to type in the following lines. These lines set up the configuration for Plant-it’s database, server configuration, and cache on your Raspberry Pi.
<SQLPASSWORD>: The first thing you must replace in the environment file below is the SQL password. This password is used for Plant-it to interact with the database.<SECRETKEY>: Next, you must specify a secret key that will be used to help secure the JSON web tokens.<TREFLEKEY>: Finally, you will want to specify an API key for Trefle to make the most of Plant-it on your Raspberry Pi. Trefle is an API that allows the software to grab a lot of information about plants.
You can grab an API key for Trefle by signing up on their website.
#
# DB
#
MYSQL_HOST=db
MYSQL_PORT=3306
MYSQL_USERNAME=root
MYSQL_PSW=<SQLPASSWORD>
MYSQL_ROOT_PASSWORD=<SQLPASSWORD>
MYSQL_DATABASE=bootdb

#
# JWT
#
JWT_SECRET=<SECRETKEY>
JWT_EXP=1

#
# Server config
#
USERS_LIMIT=-1
UPLOAD_DIR=/upload-dir
API_PORT=8080
TREFLE_KEY=<TREFLEKEY>
LOG_LEVEL=DEBUG
ALLOWED_ORIGINS=*
UPDATE_EXISTING=false

#
# Cache
#
CACHE_TTL=86400
CACHE_HOST=cache
CACHE_PORT=6379

#
# SSL
#
SSL_ENABLED=false
CERTIFICATE_PATH=/certificatesCopy
11. Once you have finished filling out the environment file, you can save it by pressing CTRL + X, Y, and then ENTER.
Writing the Environment File for the Front End
12. Your next step is to write the environment file that will be used for Plant-it’s frontend interface. This file is significantly shorter.
You can begin writing this file by running the command below.
sudo nano frontend.envCopy13. Enter the following lines into the environment file to continue.
<RASPBERRYPIIP>: You must replace this value with the IP address assigned to your Raspberry Pi.
PORT=3000
API_URL=http://<RASPBERRYPIIP>:8080/api
WAIT_TIMEOUT=10000
CACHE_TTL_DAYS=7
BROWSER=none
SSL_ENABLED=false
CERTIFICATE_PATH=/certificates/Copy
14. After filling out the file, save and quit by pressing CTRL + X, Y, and then ENTER.
Starting up Plant-it on your Raspberry Pi
15. You can now start up the Plant-it container using Docker Compose by running the following command.
During start-up, the container will download and start the latest version of Plant-it. Since we are using the “-d” option, Docker will detach from the current terminal session once it has started the Plant-it software.
docker compose up -dCopyIf you want a better way of managing Docker containers on your Raspberry Pi, we highly recommend checking out Dockge.
Accessing the Plant-it Web Interface
16. With Plant-it up and running on your Raspberry Pi, you can now access its web interface.
To access the gardening companion app, you will need to know the IP address of your Raspberry Pi. The easiest way to get the local IP address assigned to your Pi is to use the hostname command.
hostname -ICopy17. Once you know the IP address of your Raspberry Pi, you can go to the following address to access the Plant-it web interface.
Ensure you replace “<IPADDRESS>” with the IP of your Pi.
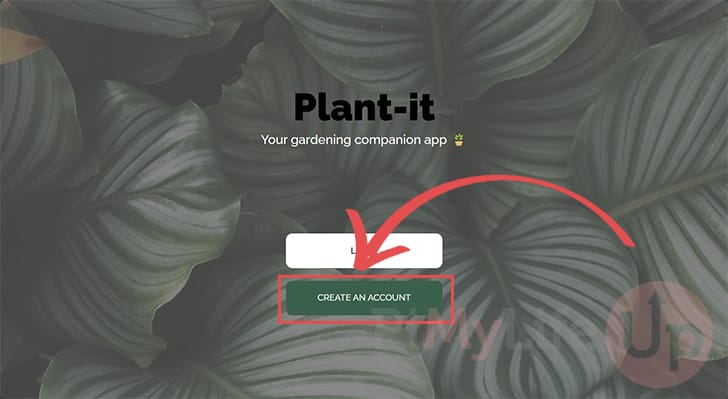
https://<IPADDRESS>:300018. The first time you use the Plant-it web interface, you must create an account.
To create an account, click the “CREATE AN ACCOUNT” button.
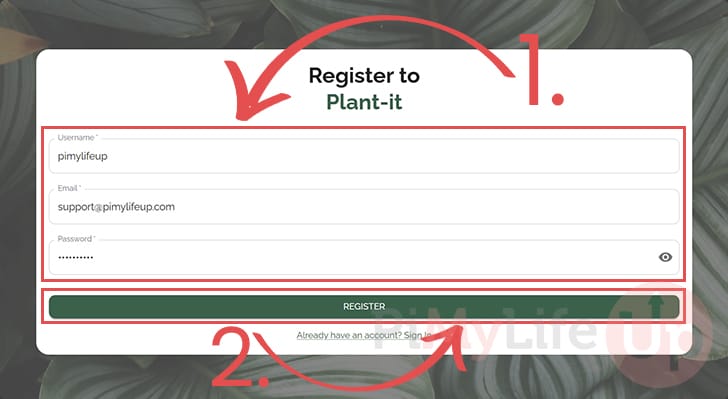
19. On this next screen, you must fill out a username, email, and password for your account (1.).
After entering your details, click the “REGISTER” button (2.).
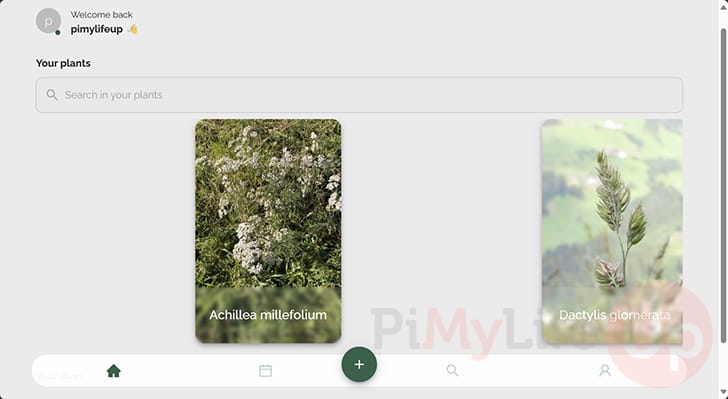
20. Below, you can see that we now have access to the Plant-it gardening companion app running off of our Raspberry Pi.
Updating Plant-it on your Raspberry Pi
Thanks to using the container version of Plant-it, updating the software is very easy.
Over the following steps, you will see how easy upgrading to the latest release is.
1. To update the Plant-it container on your Raspberry Pi, you must change to the directory where we wrote the Compose file earlier.
You can change to this directory by running the following command with the terminal.
cd /opt/stacks/plantitCopy2. We can now use Docker Compose to pull the latest version of Plant-it and the other containers it relies upon.
To pull the latest version, use the command below.
docker compose pullCopy3. Docker won’t automatically move Plant-it to the latest version. Instead, we need to run the same command we used to start up the container in the first place.
When Docker starts the container, it will detect the new version and automatically move the service to it.
docker compose up -dCopyConclusion
Hopefully, at this stage, you will now have the Plant-it gardening companion app running on your Raspberry Pi.
This app is a great way to keep track of your plants, allowing you to log when you watered or fertilized a plant, among other things. You can even get notifications to remind you when certain tasks must be completed.
Please feel free to comment below if you have questions about running Plant-it.
If you found this tutorial helpful, we highly recommend you check out our many other Raspberry Pi projects.


Hi Gus,
I liked the sound of your app but after many hours of trying to get it to run on an RPI3b in a Docker container I still get an error message when trying to connect to it in any browser “Cannot connect to the backend at http://192.168.1.xxx:8080/api“.
The main Plant-it web page comes up with the login request but the error prevents creating a new account. Any suggestions?
Thanks
Tel
Hi Terry,
I thought this app from MDeLuise was pretty neat as well.
Is there any errors that pop up when starting up the Docker containers? You can check the status of it all by using “docker compose ps” within the same folder as where you wrote the “compose.yml” file.
The backend should be up and running otherwise that gives us a good place to start to see why it breaking.
Kind regards,
Emmet
Found the 404 problem. you DON’T go to ipaddress:8080 in a web browser. I imagine that’s for the android app.
go to ipaddress:3000 in a browser.
Thank you for reporting this issue! We have updated the tutorial so it specifies the correct port!