In this project, we will be showing you how to install and set up Restreamer on the Raspberry Pi.
Restreamer is a neat piece of software developed by datarhei that allows you to live stream and restream from your Raspberry Pi easily.
It allows you to easily take one video stream and push it to multiple services, whether that be Twitch, YouTube Live, or more. Best of all, it can all be controlled from a very simple-to-use web interface.
The web interface that is a core part of Restreamer allows you to check the status of your stream quickly. This includes data such as how many viewers, the upload rate of your video streams, and the stream’s bitrate.
Using your Raspberry Pi with Restreamer is perfect for those wanting to set up a 24/7 stream using a webcam. The Pi uses relatively little power, so you won’t drastically increase your power bill by leaving it on.
You will want to run a Raspberry Pi 4 or newer to get the most out of this software. However, Restreamer has support for the Raspberry Pi 3 as well.
Equipment
Below is a list of the equipment we used when setting up Restreamer on our Raspberry Pi.
Recommended
Optional
This tutorial was last tested on a Raspberry Pi 400 running the latest version of Raspberry Pi OS Bullseye 64-bit.
Installing Restreamer on the Raspberry Pi
Over the following sections, we will walk you through the straightforward process of installing Restreamer to the Raspberry Pi.
Restreamer is distributed using a Docker container, so we can get it up and running in a few short steps. The advantage of using a container is that we don’t have to worry about any of the software’s dependencies.
Preparing your Pi for Restreamer
1. We first need to update the package list and upgrade any out-of-date packages.
You can perform both tasks by using the following command in the terminal.
sudo apt update
sudo apt upgradeCopy
2. Once the update has completed you now must install Docker on your Raspberry Pi.
Follow the guide we have linked above before continuing with this tutorial. The guide will walk you through installing the latest version of Docker and configuring it to work properly on the Pi.
Docker is what will allow us to run the Restreamer software on the Raspberry Pi easily,
3. After installing Docker our next step is to create a folder to store a Docker compsoe file in.
A compose file will allow us to manage the Restreamer container easier later on. Additionally, it is an easier way to change environment settings if you ever have to.
Create this directory by using the following mkdir command within the terminal.
mkdir ~/restreamerCopy4. Next, we must change into our newly created directory using the cd command.
cd ~/restreamerCopyWriting a Docker Compose File
5. Our next step is to write a Docker compose file for Restreamer on our Raspberry Pi. A compose file is like a set of instructions that Docker can run.
Begin writing this compose file using the nano text editor by using the following command.
nano docker-compose.ymlCopy6. Within this file, you will want to type in the following lines.
If you don’t plan on using any hardware, such as a USB camera or the Raspberry Pi camera, remove the “privileged: true” line from this file.
version: "3"

services:
  restreamer:
    image: datarhei/restreamer:rpi-latest
    restart: always
    privileged: true #Remove if not using a USB Webcam or Raspicam
    ports:
      - 8080:8080
      - 8181:8181
      - 1935:1935
      - 1936:1936
      - 6000:6000/udp
    volumes:
      - /opt/restreamer/config:/core/config
      - /opt/restreamer/data:/core/dataCopy
7. Once you have finished entering these lines, you can save and quit by pressing CTRL + X, followed by Y, then the ENTER key.
Running Restreamer on the Raspberry Pi
8. With the Docker compose file now written, running Restreamer is simple.
While in the directory we created earlier, you can start the Restreamer software on your Raspberry Pi by using the command below.
docker compose up -dCopyUsing the “-d” option tells Docker that it should detach from the current terminal session. Detaching will allow Restreamer to run in the background.
After a container is started using Docker, it will be automatically started whenever your Raspberry Pi starts up. You don’t have to worry about setting up a separate service to keep the restreaming server running.
Viewing the Raspberry Pi Restreamer Web Interface
At this point, you will now have the Restreamer streaming software installed on your Raspberry Pi and running in the background.
Your next step is to access this software’s web interface so that you can control the software. Restreamer is controlled entirely through its web interface.
Accessing the Web Interface
1. Before proceeding, you will need to know the IP address of your Raspberry Pi.
If you are unsure of the local IP of your Pi, you can use the hostname command within the terminal.
hostname -iCopy2. Once you have your Pi’s IP address, go to the following address in your favourite web browser. If you are connecting directly from your Raspberry Pi, use “127.0.0.1” or “localhost“.
Ensure you replace “<IPADDRESS>” with your IP address.
http://<IPADDRESS>:8080/ui/Initial Setup Steps
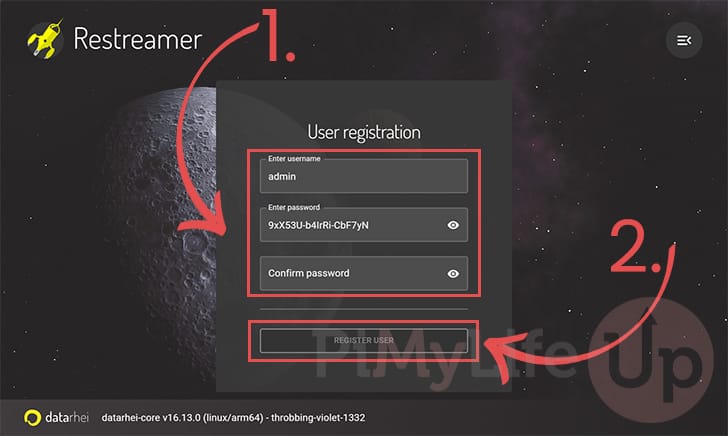
3. When you first access your Raspberry Pi’s Restreamer web interface, you must do some initial setup steps.
This first step requires you to specify a username and password for the web interface (1.).
After setting a secure username and password, click the “REGISTER USER” button (2.).
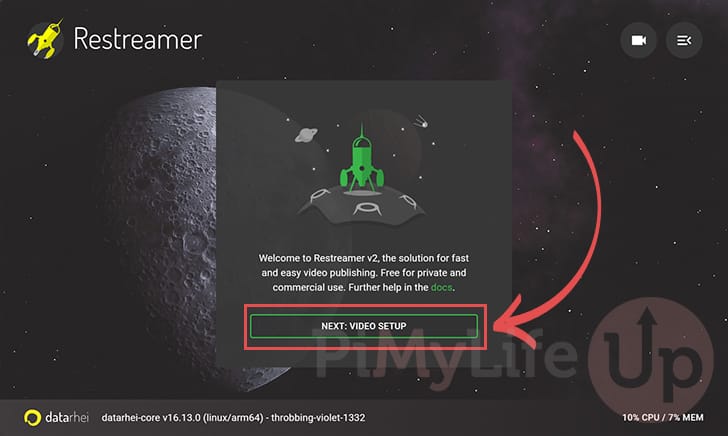
4. Next, you will see a screen welcoming you to the Restreamer software. This page also provides an easy link to the official documentation.
To proceed, click the “NEXT: VIDEO SETUP” button.
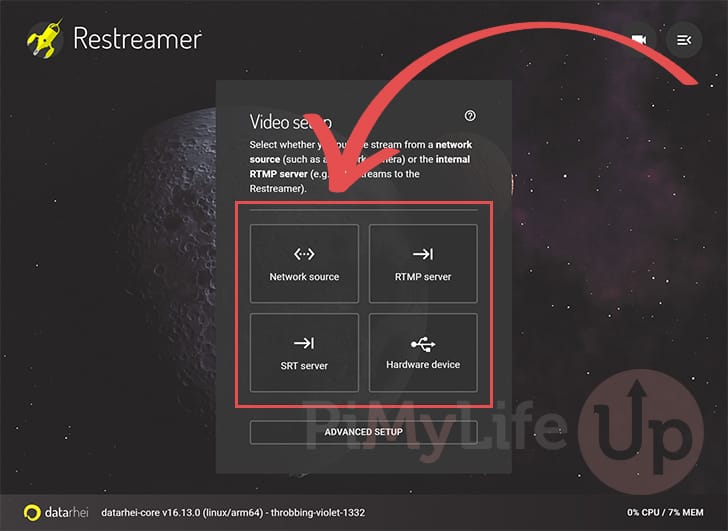
5. You will now be required to set up your first video stream for Restreamer to utilize.
In our case, we will be using a “Network Source” from one of our Ubiquiti cameras. If you are using a USB webcam, you will want to select “Hardware device“.
We won’t be covering how to set up the source as this differs per camera and setup option. During the setup process, Restreamer will verify that the stream will work.
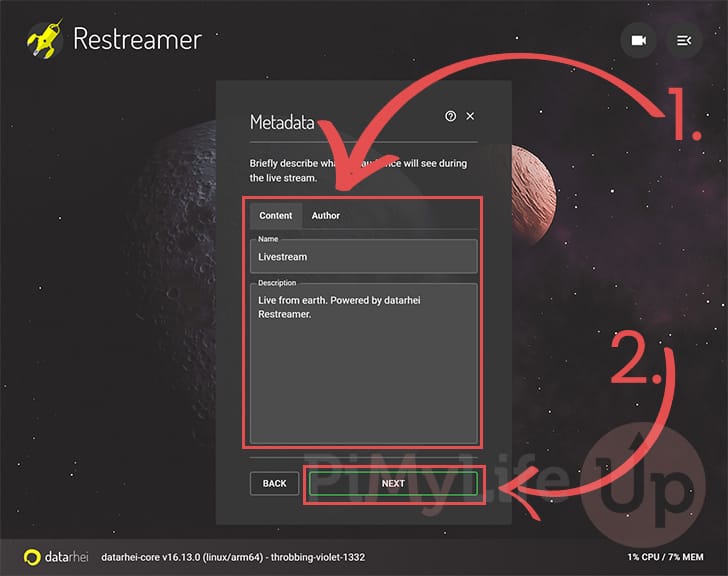
6. After setting up your video stream for the Raspberry Pi Restreamer software, you will be asked if you want to set up some metadata.
This metadata (1.) is used to help describe your stream and will be used when publishing your stream to different platforms.
After filling out the information you want displayed, click the “NEXT” button (2.).
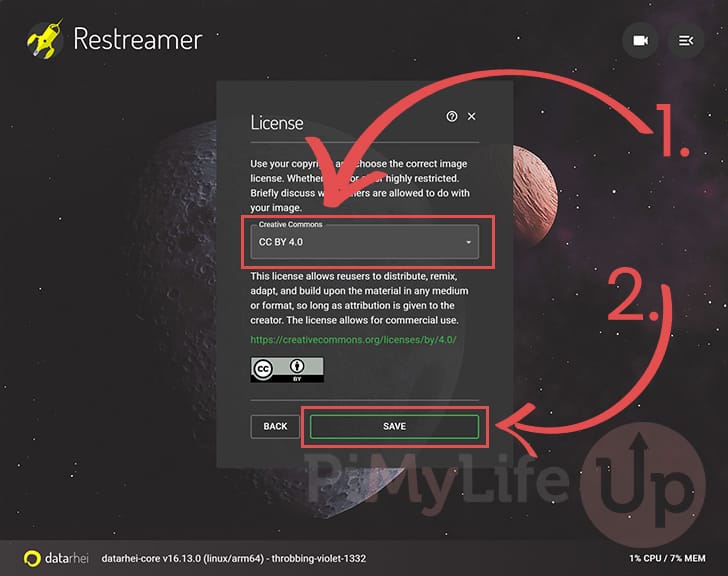
7. Next, you must select the license (1.) you want attached to your restream. Be sure to research on which license you are using.
After selecting a license, click the “SAVE” button (2.) to complete the initial setup process.
The Restreamer Dashboard
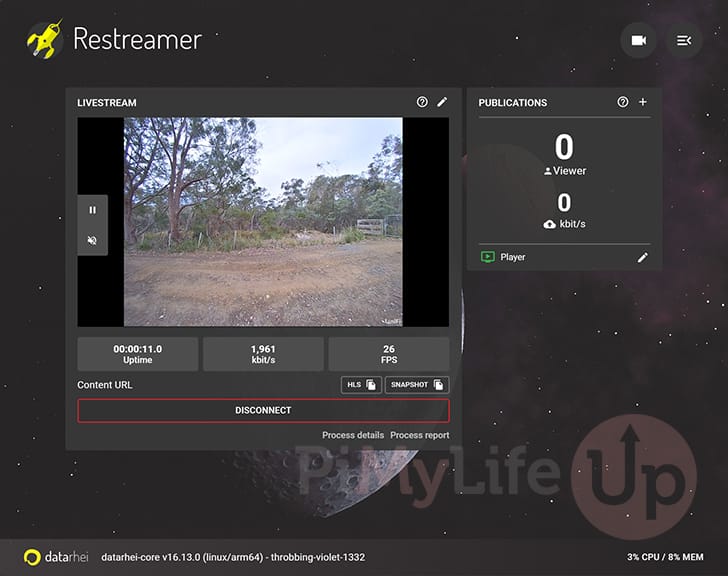
8. Once you have set up a video stream for Restreamer to use on your Raspberry Pi, you will be greeted with the following screen.
This screen gives you an overview of your stream, including the number of viewers, data usage, and more.
Restreaming to Other Services from your Raspberry Pi
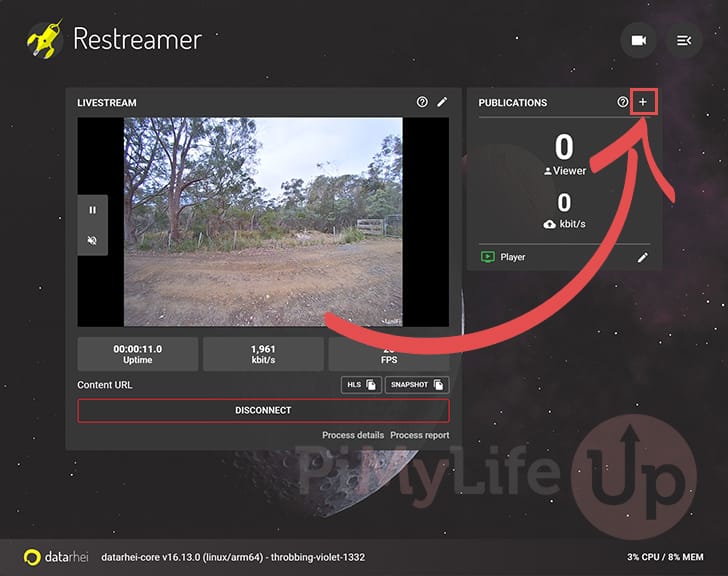
9. A key feature of using Restreamer on your Raspberry Pi is the ability for the software to stream to multiple sites simultaneously.
To add a new publication, you will want to click the plus (+) symbol next to the “PUBLICATIONS” text.
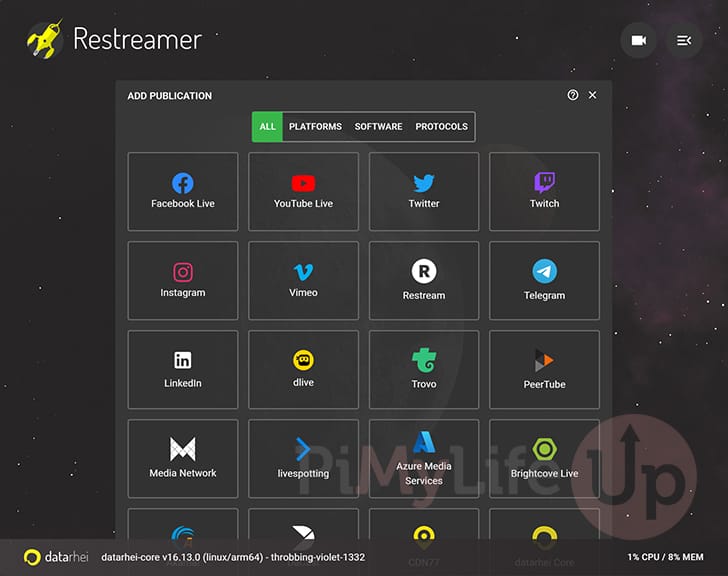
10. You will now see an extensive list of all the streaming services that the Restreamer software supports out of the box.
Select the service you want to utilize and follow the prompts to start restreaming your stream to that service.
Conclusion
At this stage you should have the Restreamer software up and running on your Raspberry Pi.
This software allows you to easily stream one video feed to several streaming providers at once.
Best of all, it is designed with the Raspberry Pi in mind, so it has solid support for the limited hardware.
Please comment below if you have issues getting this software to work on your Pi.
If you found this tutorial to be interesting, be sure to browse our numerous other Raspberry Pi projects.