In this quick tutorial, we will be showing you how to install OBS Studio on your Raspberry Pi.
OBS stands for Open Broadcaster Software and is a super powerful tool for video recording or live streaming. It has built-in streaming support for almost every major provider, including Twitch, YouTube, and Facebook.
This software has become a standard within the streaming industry thanks to its versatility, compatibility, and performance.
While OBS Studio hasn’t been optimized to run on the Raspberry Pi, it is still possible to use this software if you want to record video or stream at a lower resolution, such as 720p. The higher the resolution you record/stream, the more your Pi will struggle as the encoding process consumes its processing power.
If you require the OBS Browser source, you won’t be able to use OBS Studio on your Raspberry Pi. At the time of publishing, this source relies on libraries that aren’t compatible with the Pi’s ARM architecture.
To run OBS Studio, we highly recommend that you use a Raspberry Pi 4. Older versions of the Pi will struggle to run the software due to its processing and memory demands.
For the best experience, we highly recommend that you use a Raspberry Pi 5. The newer and faster processor in this Pi will help significantly when streaming or recording video.
Equipment
Below is a list of equipment we used to set up and run OBS Studio on our Raspberry Pi.
Recommended
Optional
This tutorial was last tested on a Raspberry Pi 5 running the latest version of Raspberry Pi OS.
How to Install and Set Up OBS Studio on Your Raspberry Pi
Luckily for us, installing OBS Studio is a super straightforward process as it is available through the official Raspberry Pi OS repository.
As long as you are running Pi OS Bullseye or newer, you can install OBS Studio using the following simple steps. If you are using an older release of Raspberry Pi OS, we highly recommend that you upgrade.
While it is possible to run this software on older releases, it involves significantly more steps as you need to compile it from source code.
Installing OBS Studio
1. Before we install OBS Studio, we must ensure that our Raspberry Pi’s operating system is up to date.
Use the following two commands to upgrade any out-of-date packages on your system.
sudo apt update
sudo apt upgrade -yCopy
2. Once your Raspberry Pi is up to date, we can install OBS Studio and FFmpeg by running the following command within the terminal.
We need to install FFmpeg as OBS relies on many of the encoders and decoders that the software provides.
sudo apt install ffmpeg obs-studioCopy3. You can verify that you have installed OBS Studio by running the command below. This command will get the streaming software to output its version to the terminal.
obs --versionCopyBelow, you can see that we have successfully installed OBS 29.0.2.1.
OBS Studio - 29.0.2.1-1+b1 (linux)Repairing the OBS Studio Desktop Shortcut on the Raspberry Pi
4. For OBS Studio to run on our Raspberry Pi, we must override the version of OpenGL it attempts to utilize. This means the default desktop shortcut will only work if we make some changes.
Luckily, editing this desktop icon can be done from the terminal by running the following command.
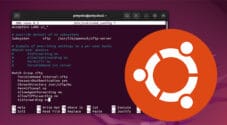
sudo nano /usr/share/applications/com.obsproject.Studio.desktopCopy5. With the desktop file now open, look for the following line. This line is what tells the shortcut what command to execute when clicked.
Exec=obsWe must adjust this line so that we can set the “MESA_GL_VERSION_OVERRIDE” environment variable to 3.3.
Exec=env MESA_GL_VERSION_OVERRIDE=3.3 obs6. After making this change to the desktop file, save and quit by pressing CTRL + X, Y, and then ENTER.
Launching OBS on your Raspberry Pi
Now that you have OBS Studio installed on your Raspberry Pi, we can move on to showing you how to launch the software.
You can always launch OBS straight from the terminal by simply using the command: “MESA_GL_VERSION_OVERRIDE=3.3 obs“.
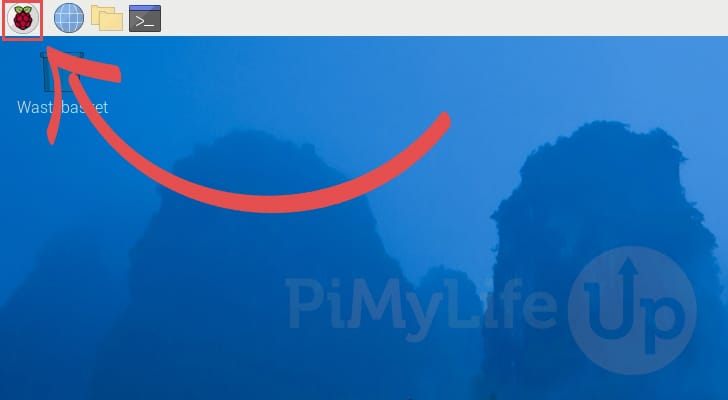
1. On your desktop, open the start menu by clicking the Raspberry icon in the top-left corner of the screen.
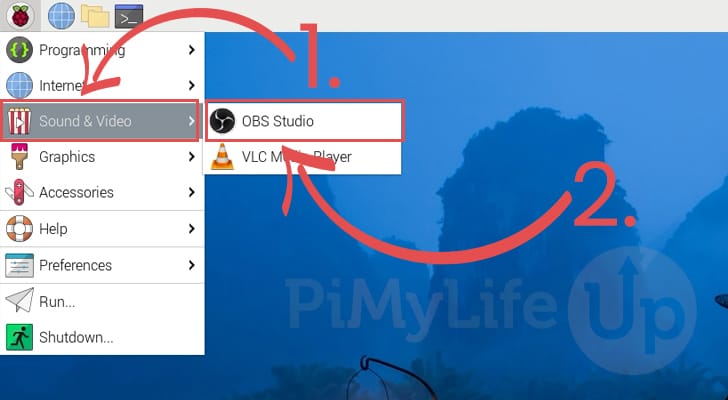
2. Now that the start menu is open, hover over the “Sound & Video” option (1.).
You can now click the “OBS Studio” option (2.) to launch the program on your Raspberry Pi.
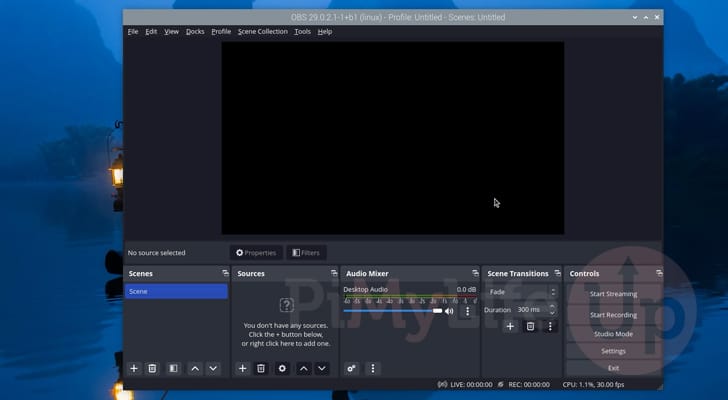
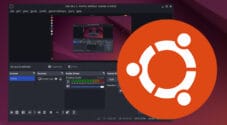
3. Below, you can see that we now have OBS Studio up and running on our Raspberry Pi.
We can now begin to add sources to our scene and stream or record them.
Conclusion
Hopefully, at this stage, you will successfully have OBS Studio up and running on your Raspberry Pi.
While OBS Studio doesn’t perform the best on a Pi, it should still be good enough if you don’t need to stream or record at full resolution.
Please feel free to comment below if you have any questions about running OBS Studio on your device.
If you liked this guide, we highly recommend checking out our many other Raspberry Pi projects.

Spent a week trying to set up a live streaming to youtube. Between obs not originally working, vlc and ffmpeg showing errors. this worked. Thanks!
I have a project for a 24/7 Youtube live stream through an IP Camera. Since we need a pc to be on permanently, I tough of using a Raspberry Pi for the project, running OBS to capture the IP camera’s footage and stream it to Youtube using a regular account key.
Has anyone done this, is this even possible with the Raspberry Pi’s power?
Thanks!
Hi Nathan,
Part of it depends on what resolution that you will be streaming at. If the IP camera is only 1080p and only uses a standard codec like x264 you can probably get away with using a Raspberry Pi.
Of course, I haven’t tested this scenario myself yet.
Kind regards,
Emmet