In this project, we will be exploring how to set up a Lighttpd Web Server on your Raspberry Pi.
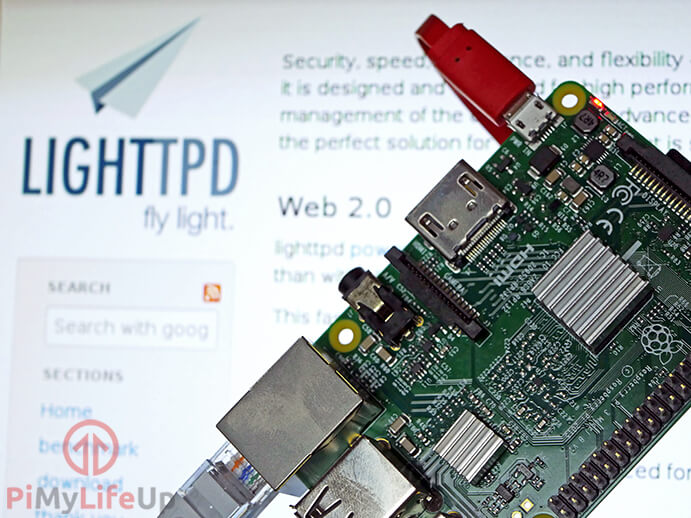
Lighttpd like NGINX is a fast and memory efficient alternative to Apache that is designed to have a relatively low memory footprint and a small CPU load, both of which are perfect qualities for the Raspberry Pi. One of the largest users of Lighttpd is the Wikimedia Foundation.
We will be exploring how to set up a basic Lighttpd server running off the default configuration, while also exploring on how to setup Lighttpd to work with PHP-FPM, as this does not work straight off the bat with the Raspbian version of Lighttpd.
There are a ton of other server projects for the Pi that you’re able to do. Each of them has their own pros and cons, but the Pi makes for a great little device to test them all.
Equipment List
Below are all the bits and pieces that I used for this Raspberry Pi Lighttpd tutorial, you will need an internet connection to be able to complete this tutorial.
Recommended
- Raspberry Pi Amazon 2 or newer
- Micro SD Card Amazon
- Power Supply Amazon
- Ethernet Cable Amazon or Wi-Fi Amazon
Optional
- Raspberry Pi Case Amazon
This tutorial was last tested on a Raspberry Pi 5 running Raspberry Pi OS Bookworm.
Setting up Lighttpd on the Raspberry Pi
Before you get started, make sure that you are running the latest version of Raspberry Pi OS. Newer versions of software are typically more secure and reliable.
1. Now before we go to install Lighttpd, we need to update the Raspberry Pi to ensure we are running the latest software.
Run the following two commands to update your Raspberry Pi.
sudo apt update
sudo apt upgrade
2. Now with the Raspberry Pi up to date, we will need to remove Apache2. This removal is required since Raspberry Pi OS may include it by default.
If you are certain, you do not have Apache2 installed you can skip this step.
sudo apt remove apache23. With the Raspberry Pi now up to date and Apache removed, we can get on with installing Lighttpd. Luckily for us, Lighttpd is provided in the package repository.
Install it by running the following command.
sudo apt install lighttpd -yCopy4. Once Lighttpd has been installed, we can now check if is running, browse to your Raspberry Pi’s local IP Address from any web browser.
If you do not know your IP address, type in the following hostname command to get it.
hostname -ICopyOn a successful connection, you should see a screen somewhat like what is displayed below.
If you had to uninstall Apache2 first, you may be greeted with an Apache default page. Don’t be alarmed, as this confirms that Lighttpd is up and running.
If you see a 403 forbidden page, this likely means the placeholder html file is missing and needs to be created. See the next step.

5. If you would like to make edits to the placeholder page, you can run the following command. All the files that are loaded are kept in “/var/www/html“.
sudo nano /var/www/html/index.htmlCopyInstalling PHP for Lighttpd
6. For this Raspberry Pi Lighttpd tutorial, we will have to make use of PHP-FPM. We will show you how to install PHP to your Raspberry Pi.
7. You can run the command below to install PHP 8.2 to your Raspberry Pi.
We will also be installing several additional PHP modules that will help you run most PHP scripts without the need to have to install more packages.
sudo apt install php8.2-fpm php8.2-mbstring php8.2-mysql php8.2-curl php8.2-gd php8.2-curl php8.2-zip php8.2-xml -yCopyWhen running this command on an older version of Raspberry Pi OS, you might run into a “package not found” error. You can work around this error by adding a third-party PHP repository to your device.
Once you have finished installing PHP 8.2 to your Raspberry Pi, we will have to go ahead and make some configuration changes to Lighttpd so that it knows to make use of it.
Configuring Lighttpd for PHP
8. Now that we have installed PHP-FPM there are a few things we will have to do.
To start off we will first need to run the following two commands. These commands create two symlinks so that Lighttpd will start reading the configuration files that set it up for PHP.
sudo lighttpd-enable-mod fastcgi
sudo lighttpd-enable-mod fastcgi-phpCopy
9. Now before we can go reloading Lighttpd, we will have to make changes to its configuration. By default, it is configured to work with PHP-CGI and not PHP-FPM, luckily it is easy to make these changes.
Let’s begin by running the following command to start editing the file.
sudo nano /etc/lighttpd/conf-available/15-fastcgi-php.confCopy10. Change the file so that it looks like below. Basically, this makes it, so it just utilizes the PHP-FPM socket file.
Besides the definition of the socket to use and the broken-scriptfilename setting, we discard the other options.
# -*- depends: fastcgi -*-
# /usr/share/doc/lighttpd/fastcgi.txt.gz

## Start an FastCGI server for php
fastcgi.server += ( ".php" =>
        ((
                "socket" => "/var/run/php/php8.2-fpm.sock",
                "broken-scriptfilename" => "enable"
        ))
)Copy
Simply save & exit by pressing CTRL + X and then pressing Y. Lastly, press ENTER.
11. Finally, with that all done, we can now force Lighttpd to reload by typing the following command into the terminal.
sudo service lighttpd force-reloadCopy12. With that done, let’s make a PHP file to test whether our new setup is working, run the following command to begin writing a new PHP file in our “/var/www/html” folder.
sudo nano /var/www/html/index.php13. Within this file, type in the following lines, we use “phpinfo()” as it is one of the best indicators that php is working correctly.
<?php phpinfo()?>CopyNow you should be done, and you can save and exit by pressing CTRL + X and then pressing Y, followed by the ENTER key.
14. Finally, you can now go to the Raspberry Pi’s local IP address in a web browser like we did earlier.
You should see a screen showcasing all the PHP information. If this screen is displayed, you have successfully set up a Lighttpd web server on your Raspberry Pi that can also utilize PHP.
Conclusion
I hope this tutorial on Raspberry Pi Lighttpd has been able to help you with getting your web server setup.
Check out some of our other web server tutorials for different software setups. We also have a range of PHP tutorials worth checking if you wish to learn more about programming using PHP.
If you have any questions, queries, thoughts, or anything else, then be sure to leave a comment below.


When I tried the above, I got this…
So I tried to start it and got this…
Hi JonnooINUK,
Taking a quick look over the errors you have received from this, it looks like Lighttpd failed to start up as it was trying to read in a certificate that did not exist.
Did you happen to enable HTTPS by any chance?
Kind regards,
Emmet
Nicely done! I’m glad to see it written out in text.
I spent many days of unsuccessful attempts of getting php scripts running under lighttpd. Your tutorial solved my problem! Thank you very much!
Greetings from Germany,
Jotty
Holy Moly you have done a fantastic job here. Thank you. Thank you for not making it a video. Concise, accurate, and perfectly descriptive. A jewel.
Awesome! very clear and easy to follow and it’s works
Thanks for sharing!
Clear and concise instructions – thank you
Worked on 2021 thanks a lot.
Worked great!
Thank you for contributing to the community with these instructions!
Hi!
When I launch the command
sudo apt-get install php7.3-fpm php7.3-mbstring php7.3-mysql php7.3-curl php7.3-gd php7.3-curl php7.3-zip php7.3-xml -yIt gives me errors that can’t find packages, how can I fix it?
Thanks!
Hi Marco,
What version of Raspbian are you running? We recommend being on the latest.
You can also try fetching the package list again by running the following command.
Hi im new to the raspberry pi. I set up the server and everything was successful but i cant figure out how to make my own page after. Is there a certain folder i have where i have to save the file in order for it to be found on localhost?
Hey Zach,
The web server will serve any files located with the “/var/www/html/” folder.
Cheers