In this tutorial, you will be learning how to set up the Homebridge software on the Raspberry Pi.
Homebridge is a lightweight NodeJS server that is built to emulate the iOS HomeKit API.
Using this software, you can integrate various aspects of your home with Apple Home.
You can also make use of Homebridge to connect various 3rd party apps that aren’t normally supported by Apple Home.
For example, you can install a plugin that allows you to control a Mi Air Purifier, a device that doesn’t have Apple Home support out of the box.
Being a lightweight server means it is perfect for your Raspberry Pi as it won’t drain all of the Pi’s limited processing power.
Equipment List
Below is a list of the equipment that you will need to set up the Homebridge software on the Raspberry Pi
Recommended
Optional
For this tutorial, we were running the latest available version of Raspbian Bullseye running on a Raspberry Pi 4.
Installing Homebridge on your Raspberry Pi
This section will show you the straightforward steps to installing Homebridge on the Raspberry Pi.
These steps will walk you through adding the official Homebridge repository and installing the server software.
1. Our first step is to add the repository GPG key for Homebridge to our Raspberry Pi. This key is used to authenticate packages downloaded from the repository.
Use the following command in the terminal to download and install the key.
curl -sSfL https://repo.homebridge.io/KEY.gpg | sudo gpg --dearmor | sudo tee /usr/share/keyrings/homebridge.gpg  > /dev/null
Copy
2. With the repository GPG key now downloaded to the correct location, we can now add the Homebridge repository.
In the terminal, use the following command to save the Homebridge repository to the sources list on our Raspberry Pi.
echo "deb [signed-by=/usr/share/keyrings/homebridge.gpg] https://repo.homebridge.io stable main" | sudo tee /etc/apt/sources.list.d/homebridge.list > /dev/null
Copy
3. We need to refresh the package list cache as we have changed the repository sources.
Use the command below within the terminal to update this list.
sudo apt updateCopy4. Finally, we can now install Homebridge to the Raspberry Pi.
Thanks to the steps we completed earlier, installing Homebridge is as easy as running the following command.
sudo apt install homebridgeCopyAll packages needed to run Homebridge will be automatically installed alongside it.
5. Once the installation has finished, you can now continue on to see how to access Homebridge’s web interface.
Accessing the Homebridge Web Interface
With Homebridge installed on your Raspberry Pi, you can now access its web interface. This web interface allows you to control all aspects of the software without physical access to your Pi.
1. To access the web interface, we will need to know the IP address of our Raspberry Pi.
You can get the local IP address of your Raspberry Pi easily by using the hostname command in the terminal.
hostname -ICopy2. In your favorite web browser, go to the following address.
Make sure you replace “[RASPBERRYPIIPADDRESS]” with the IP address you retrieved in the previous step.
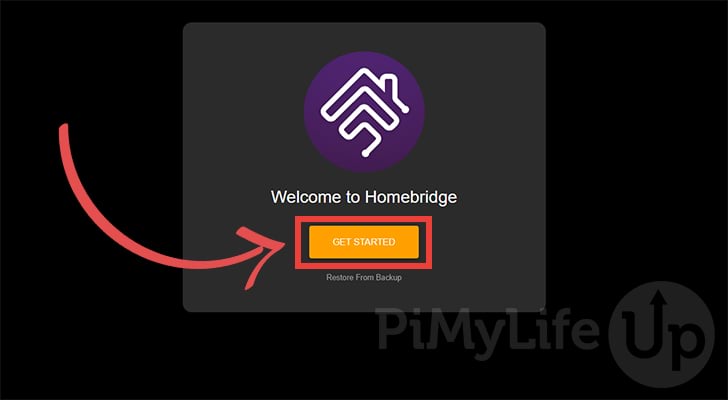
http://[RASPBERRYPIIPADDRESS]:85813. When you first open up the Homebridge website on the Raspberry Pi, you will be greeted with the following screen.
To begin setting up the software, click the “GET STARTED” button.
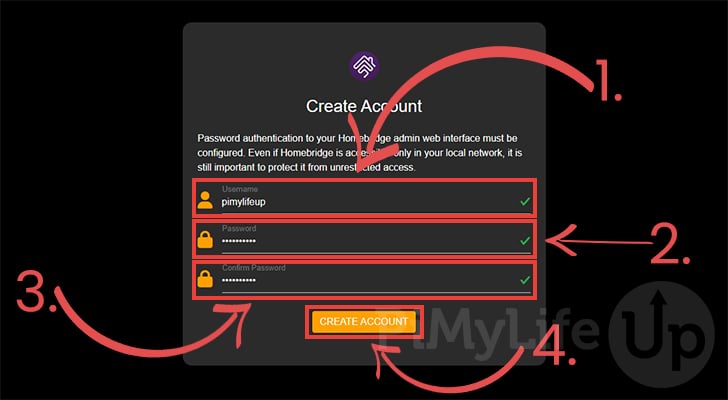
4. To utilize Homebridge’s web interface, you will need to start by creating an account.
First, you need to type in the username you will use to log in to the interface (1.)
Next, you will need to decide on the password you want to use for this new user (2.). Make sure to use a secure password.
Additionally, you will be required to re-enter your password to confirm it (3.).
Once everything is set, you can click the “CREATE ACCOUNT” button (4.) to continue.
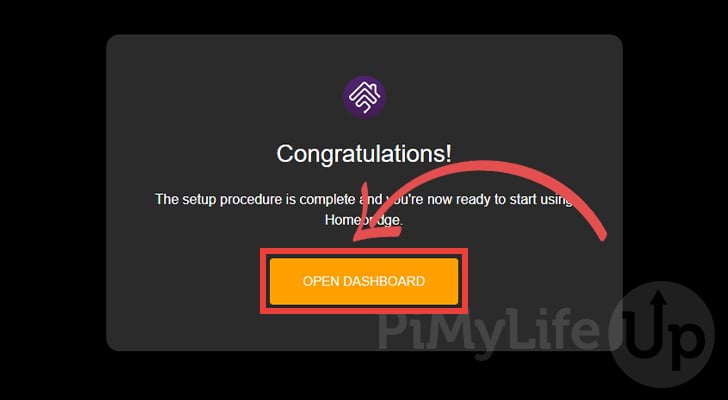
5. Your Raspberry Pi Homebridge server is now set up and ready to be utilized.
You can now continue to the dashboard by clicking the “OPEN DASHBOARD” button.
6. You should now have access to your Raspberry Pi’s Homebridge web interface.
This web interface will show you several pieces of information, including the code you need to use to connect the Homebridge software to the Apple Home software.
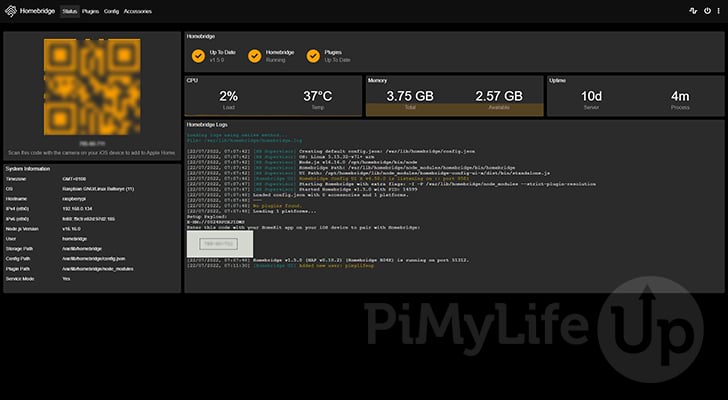
Within this web interface, you can install, remove, and update plugins while also giving you the ability to modify the Homebridge configuration. You will quickly find that the UI makes dealing with Homebridge a breeze.
Uninstalling Homebridge
If, at any time, you have decided you no longer want to make use of the Homebridge software on your Pi, you can uninstall it by following the steps below.
1. Our first step is to remove the Homebridge package from our Raspberry Pi.
You can remove the package by using the following command within the terminal.
sudo apt remove homebridgeCopy2. Your next step is to remove the Homebridge package repository and its GPG key.
You can remove both by using the following two commands within the terminal.
sudo rm /usr/share/keyrings/homebridge.gpg
sudo rm /etc/apt/sources.list.d/homebridge.listCopy
3. Since we have removed the package repository, we should now perform an update of the package list cache.
Update the package list cache by using the command below.
sudo apt updateConclusion
Hopefully, at this point, you will now have successfully set up the Homebridge software on your Raspberry Pi.
Homebridge is a useful software that allows you to connect various software to the Apple Homekit system. Thanks to it being lightweight, it runs extremely well on the Pi’s limited hardware.
If you have run into any issues in connecting your Raspberry Pi to Apple Home, feel free to drop a comment below.
Additionally, be sure to check out our many other Raspberry Pi projects.


Thank you for the guide. However there’s a much simpler setup from the official homebridge github page. It would be nice if you can update the guide according to this version.
[SNIP]
I love pointing people to this site, and they would prefer if there’s a much simpler tutorial as most of the other tutorials here
Hi Nazrin,
Thank you for alerting us to this. I have updated our steps so we utilize the official package repository.
I also went through and updated our screenshots for the newer web interface as well.
Cheers,
Emmet
Thank you! Since I wasn’t able to set up Wi-Fi with the pre-built Homebridge image that can be installed with the Pi Imager tool (it just didn’t want to connect to my Wi-Fi after entering the password on the Captive Portal site), I searched and found this guide. 🙂
Thanks! Accurate, straightforward, and pointed me towards the Homebridge web GUI, which I did not know about.