The Raspi-config on the Raspberry Pi can be quite daunting at first as it has quite a few options and settings that you’re able to change.
In this guide, I am going to explain some of these options so that you will be able to understand them better and be able to make the appropriate changes. This guide is perfect for anyone who is just getting started with the Raspberry Pi.
If you’re in the desktop (GUI) version of Raspbian, then a lot of these options can be changed by going into the opening the settings application located in the menu.
Opening the Raspi-Config Tool
These few steps are straightforward, and the most important part of this tutorial when it comes to getting access to the configuration tool.
1. Either SSH into the Raspberry Pi or open up the terminal from within the Raspbian desktop, there is an icon located in the menu bar.
2. Type the following command:
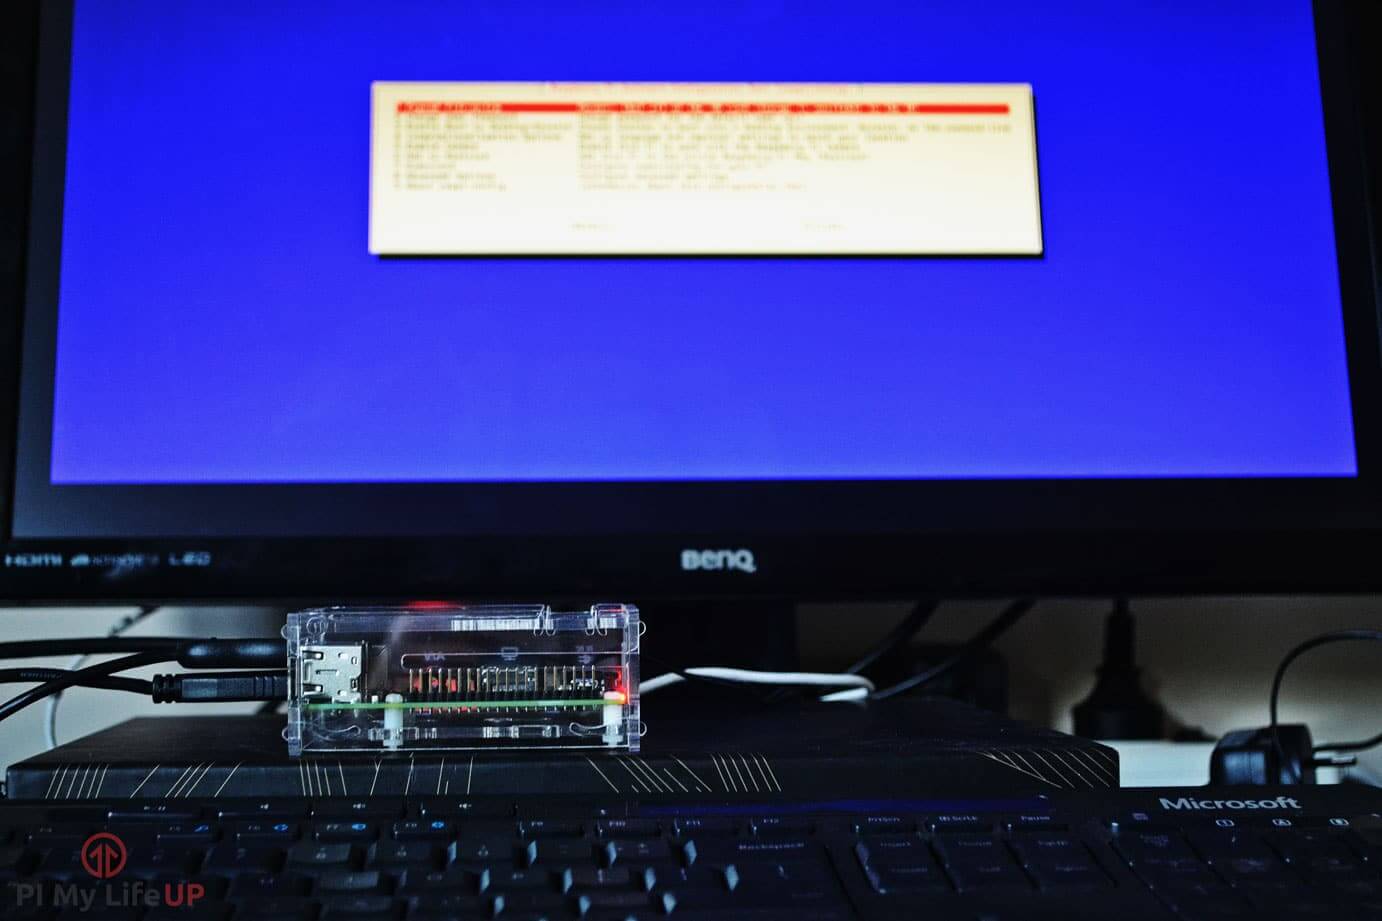
sudo raspi-configYou will now have access to the Raspi Config tool so let’s now go into the function of each item.
Change User Password
The Raspberry Pi default login is very easy to find out via a Google search. You can probably even just guess the username and password, it so it is important you change the password if you don’t want others accessing your Pi.
You can change the password for the user pi by using this tool, and I highly recommend that you do. The default password for the pi user is raspberry, so it’s pretty easy to guess. You’re not able to change any other user’s passwords using this tool.
Network Options
This menu contains options related to the network capabilities of the Raspberry Pi.
Hostname: This option allows you to set the Raspberry Pi network name. It’s handy if you have multiple Raspberry Pi’s and want to differentiate between them.
Wi-Fi: You can set the Wifi SSID and passphrase by using this tool. This option is super handy if you have found setting up WiFi manually a little frustrating via the command line.
Network Interface Names: This option allows you to enable or disable the predictable network interface names. This option is off by default and should only be switched on if you require it. There is more information about this option in our WiFi guide.
Boot Options
The third item in the raspi config tool determines how your Pi will boot. The default is that the Pi will boot into the desktop which is not ideal for most users. (Raspbian lite defaults to command line)
Desktop/CLI: This option allows you to choose whether you want the Raspberry Pi to boot to desktop or the command line.
Wait for Network at Boot: If you want your Pi to wait for a network connection during boot then turn this option on.
Splash Screen: Choose whether to see a graphical splash screen or the default text boot. Text can be handy if you’re looking for errors, or you can refer to the error log.
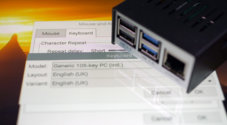
Internationalization Options
If you need to change settings such as your locale, time zone or the update the Raspberry Pi keyboard layout.
Change Locale: In here you can change your locale for example, en_au.UTF8 UTF8 or en_gb.UTF-8 UTF-8.
Change Timezone: Use this option if you wish to set the Raspberry Pi timezone. Using this will allow you to update and set the time zone so that it is the correct time for your location. Simply follow the prompts to update your timezone correctly.
Change Keyboard Layout: This one can take a while to load all the keyboard layouts that are available. Once it has loaded, you’re able to select the relevant keyboard layout. Keep in mind the UK keyboard is a different layout to a US layout.
Change Wifi Country: You should update this, so it is the same as the country you’re currently living in. Many countries have different legal channels that you’re able to use for WiFi.
Interfacing Options
This option allows you to disable or enable different the number of interfacing functions available to the Raspberry Pi.
Enable Camera
You will need to enable this if you wish to use the Raspberry Pi camera module. Simply go in here and select the option and then simply enable it.
You will need the camera module enabled if you’re planning on following my Raspberry Pi Time-Lapse guide.
SSH
This option allows you to disable or enable SSH access to your PI. Enabling this will allow you to access your Pi from a remote location, if you don’t plan on ever using SSH, then it is best to keep it disabled.
If you plan on using the Raspberry Pi on a public network, then make sure you have changed the pi user’s password so that it is not raspberry.
VNC
Later versions of Raspbian have VNC preinstalled so if you want to connect to the Raspberry Pi using RealVNC then make sure you switch this on.
SPI
Allows you to disable or enable the SPI (Serial Peripheral Interface) kernel module which is needed by PiFace. It will allow you to connect a four wire serial link, so you have sensors, memory, and peripherals.
I2C
Allows you to disable or enable the I2C kernel module, so you’re able to connect I2C devices.
Serial
This option allows you to disable or enable shell and kernel messages from the serial connection.
1-Wire
Turn on the 1-wire interface if you plan on using something like the DS18B20 temperature sensor or other devices that make use of the 1-wire protocol.
Remote GPIO
This option allows remote access to the GPIO pins and should only be switched on if you know you need it switched on.
Overclock
You’re able to overclock your Raspberry Pi to get more power out of it. The default Raspberry Pi overclock settings is set to off, and the CPU sits of 700 MHz. However, you’re able to overclock it up to 1000 MHz using this tool. These values will vary depending on the version of Raspberry Pi you have.
You should also note that overclocking may cause higher instability and also shorten the lifespan of your Pi. It is also disabled on later versions of the Raspberry Pi such as the Raspberry Pi 3.
Advanced Options
Advanced options are the last lot of options in the Raspi-Config tool, and these are a little more involved. You probably don’t need to alter these unless you’re doing more outside the basics of the Pi.
Expand Filesystem
If you installed Raspbian via the NOOBS setup, then you can safely ignore this option as NOOBS automatically expands the file system for you.
If you deployed the Raspbian image straight to the PI using an image rather than NOOBS then you will be restricted to only the first 3GB of the SD Card.
Use this option to expand your installation to the entire SD card. This expansion will allow you to fit much more stuff onto the SD card.
Note: This option will require a reboot.
Overscan
If you’re finding that your TV has a black border around it, then you’re suffering from an issue called underscan.
On the flip side, you’re finding that stuff is overflowing off the screen then this is called overscan.
If you’re suffering from underscan, then enable this option, and it will help fix the display. You’re able to edit this more in the config.txt to get this so that the image is displaying correctly on your monitor/TV.
Memory Split
This option allows you to alter the amount of memory that is made available to the GPU (Graphics Processing Unit). You might need to make this larger or smaller depending on what you’re planning on doing with the Pi.
Audio
Audio allows you to force sound out of either the 3.5mm jack or the HDMI port. By default, this is set to auto, which means it will automatically determine which output to send sound through.
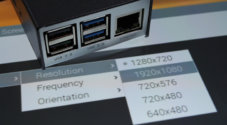
Resolution
If you don’t like the default resolution, then you can use this option to change it. As the Pi becomes more powerful, there is likely to be more resolution choices to pick from so be sure to check this option later.
Pixel Doubling
This option doubles every pixel on the screen making everything twice as big. Pixel doubling is handy on high-resolution screens or large screen TVs. It is also a useful option if you have visual impairments.
GL Driver
Turn on or off the experimental GL driver. It’s best to leave this off unless you know you will need it.
Update
This option will update the Raspi Config tool and other software packages to the latest version. They’re constantly updating this tool, so it is important to keep it updated.
About Raspi Config
This option explains more about the Raspi-Config tool if you need to know more information. There isn’t a huge amount to read here.
Removed Features
If you’re wondering where some features have gone, then you can find them below.
Add to Rastrack
If you want to have your Pi added to the global map of Raspberry Pi users across the world, then you can simply use this option to have your Pi added.
If you want to check out Rastrack, then you can head straight to their website at rastrack.co.uk. It is pretty cool but has unfortunately shut down and is no longer available.

Finishing using the Raspi Config Tool
Select finish once you’re ready to proceed with the changes you have made. You may be asked if you would like to reboot, it is usually best to reboot so that all the changes made can be applied.
Note: If you have resized your SD Card then there may be a delay in rebooting.
If you have any issues regarding the tool, you can head over to their Github page at github.com/asb/raspi-config
I hope this guide into the raspi-config tool has proved to be helpful. If you have any feedback, tips or anything else, then please leave a comment below.


Hi,
I’ve just tried loading an old image (raspbian 2017-09-25) on my PRi3 mod B in order to enable the installation of an Easycap video grabber (chipset STK1160) to capture composite video but my Pi boots straight to raspi-config as in the picture at the top of this article. This in itself is ok BUT my keyboard and mouse won’t work.
Any ideas on how to resolve would be very much appreciated.
Thanks in anticipation…