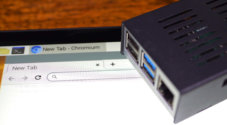
In this tutorial, I go through all the steps to installing the Midori browser to the Raspberry Pi operating system.
Midori is yet another lightweight browser for the Raspberry Pi. Much like Luakit, for what this browser lacks in extensions and features, it makes up for in performance.
There are probably a lot of other better choices when it comes to Raspberry Pi browsers, but if you’re willing to give something a little different a go, then Midori should be on your list to try.
If you’re ready to give this browser a go, follow all the steps of installing Midori to the Raspberry Pi right below.
Equipment List
All the pieces of equipment that I made use of for this simple Raspberry Pi Midori tutorial can be found right below.
Recommended
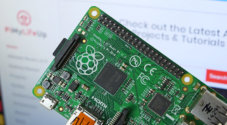
- Raspberry Pi Amazon 2 or newer
- Micro SD Card Amazon
- Power Supply Amazon
- Ethernet Cable Amazon (Recommended) or Wi-Fi Amazon
Optional
- Raspberry Pi Case Amazon
Midori Features
Midori might be lightweight, but it does contain a lot of the basics that you require with a modern browser. I will go through just a couple of the features, but you can find out more over at their website.
Built for the Modern Web
Midori can handle most of the latest web technologies such as HTML5, CSS3 and much more. You will be able to have the full experience on most modern websites. Some websites such as Spotify may require further configuration to work on the Raspberry Pi.
Built-in Privacy Tools
Another must-have in a modern browser is the ability to clear any data that you don’t want lingering around. Midori also has the ability to disable scripts, third-party cookie blocking, and strip referrer details. You can also set up automatic history clearing. Installing something like NordVPN will help further increase your privacy and web security.
Open Source
If you love open-source software, then you will be pleased to see that the Midori browser is open source. You’re able to download the source code over at the Wiki. You can also browse the development repositories.
How to Install Midori on the Raspberry Pi
Installing Midori to the Raspberry Pi is super easy much like the rest of the browsers. This process is for Raspberry Pi OS, but it should work on most other operating systems as well.
1. First, ensure that Raspberry Pi OS and its packages are up to date by running the following commands.
sudo apt update
sudo apt upgrade
2. Next, let’s install Midori, to do this simply run the following command.
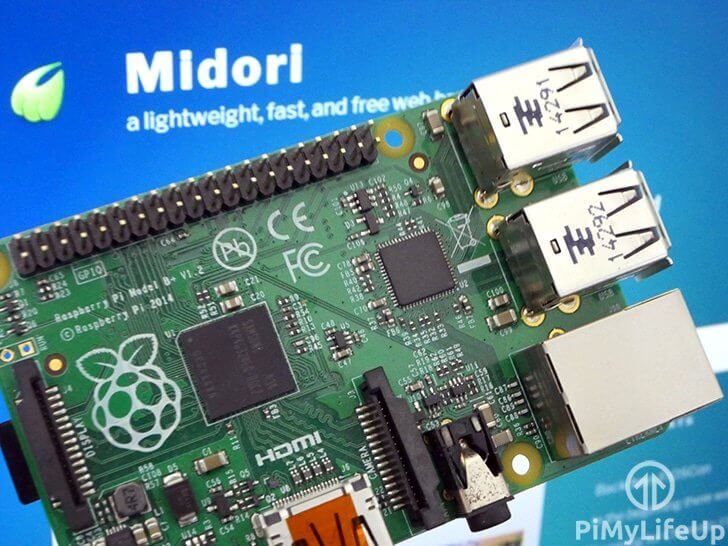
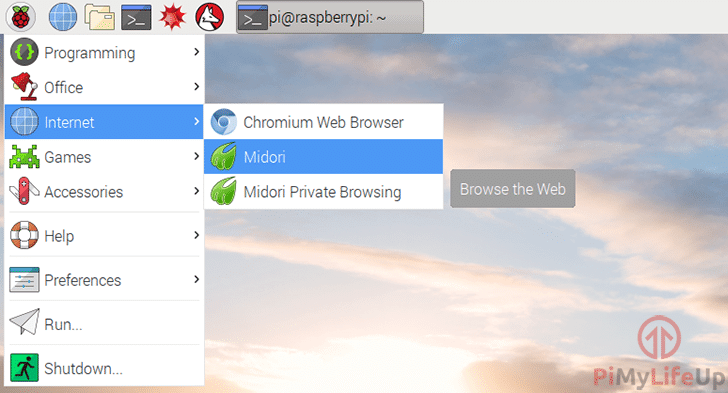
sudo apt install midori3. Once installed, you will be able to find the browser in the Menu -> Internet -> Midori.
You should by now have setup Midori on the Raspberry Pi. If you have run into issues with this tutorial, please do not hesitate to leave a comment below.