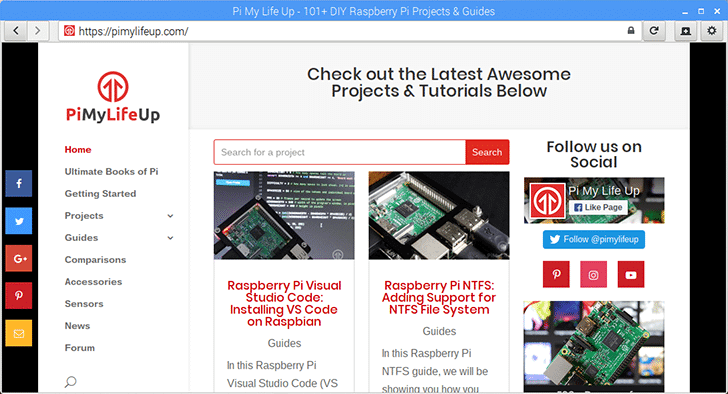
In this Raspberry Pi Epiphany browser tutorial, I go through everything you need to know about this simple web browser.
Epiphany is also known as Gnome web due to its integration with the Gnome desktop. Either name is fine for when talking about the browser.
If you love playing around with different browsers, then you certainly need to give this one a go. It’s a straightforward browser that will enable you to do some light browsing.
There are many other options that you should check out for when it comes to browsers for the Raspberry Pi. The pre-installed chromium browser is a solid choice, but others such as Vivaldi are strong contenders.
You can find all the steps to installing the Gnome web browser right below.
Equipment List
I made use of the following bits of equipment for this Raspberry Pi Epiphany tutorial.
Recommended
- Raspberry Pi Amazon 2 or newer
- Micro SD Card Amazon
- Power Adapter
- Ethernet Cable Amazon or Wi-Fi Amazon
Optional
- Raspberry Pi Case Amazon
What’s the Epiphany Browser (Gnome Web)
Epiphany was previously the primary web browser for the Raspberry Pi until it was replaced with the Chromium browser.
You will find that Chromium is much more feature packed and easier to extend. However, if you don’t like the Chromium browser, then this is a strong contender as an alternative.
Unfortunately, the Epiphany package for the Raspberry Pi isn’t at feature parity with the official version. You will find a lot of the newer features are missing from the Raspberry Pi version of the browser.
You may want to use the Epiphany browser because you like it over the Chromium browser or for other reasons.
How to Install the Epiphany Browser
Installing the Epiphany browser to the Raspberry Pi is incredibly easy. It involves installing one package but first we should update our package list and packages.
1. To update the Raspbian packages to the latest version enter the following two commands.
sudo apt-get update
sudo apt-get upgrade
2. To install the Epiphany browser merely run the following command.
sudo apt-get install epiphany-browser3. You should find it is already installed, to launch the browser via the command like enter the following command.
epiphany4. To add the browser to the main menu, we will need to do a few very easy steps.
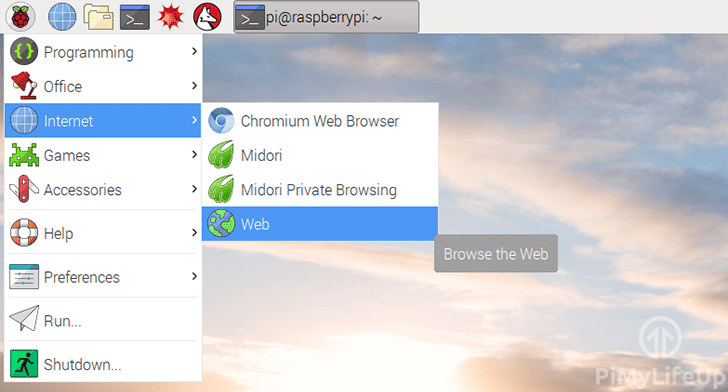
4.a First, go to the Raspberry Pi icon -> Main Menu Editor

4.b Now go to internet in the left column and tick any one of the Epiphany Web Browser entries.

4.c It should now appear in the main menu under Internet. It’s likely to just be called web.
I hope that this Raspberry Pi Epiphany browser tutorial has shown you all there is know about this browser. If you have anything else to add, then feel free to leave a comment below.