In this tutorial, we go through all the steps to getting the Firefox browser installed on the Raspberry Pi.

This tutorial is perfect if you are a fan of the Firefox browser and would prefer to use it instead of something like Chromium.
We use the default operating system for the Raspberry Pi. If you haven’t got the latest version of Raspberry Pi OS installed, the installation process may differ from what is detailed in this tutorial.
By default, the full version of Firefox should be available on your Raspberry Pi. However, if it is missing or you cannot find it, our instructions below will guide you to the right place.
Equipment List
All the pieces of equipment that were used for this project are listed below.
Recommended
Optional
- Raspberry Pi Case Amazon
Firefox for the Raspberry Pi Features
There are many reasons why you may want to use Firefox over the other browsers for the Raspberry Pi. I will list below some of the highlights of what you will find with this browser.
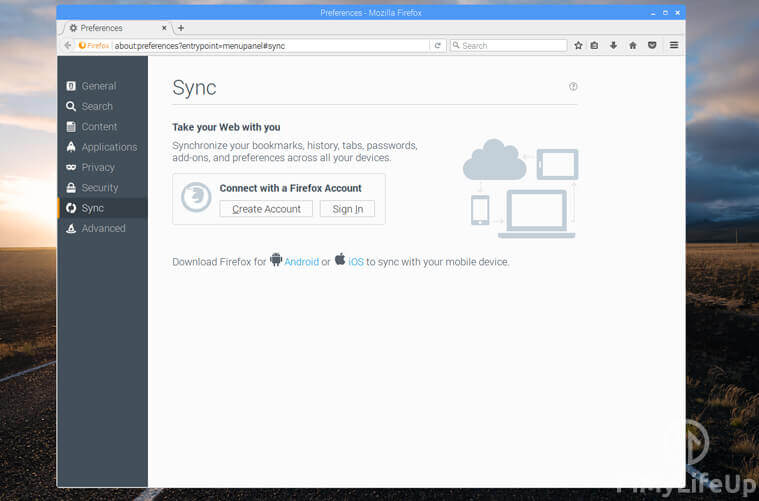
Sync Between Devices
This feature is an extremely handy feature if you Firefox across all your devices. You can have all your details synced across your phone, tablet, Raspberry Pi, and any other electronic devices that make use of a browser.
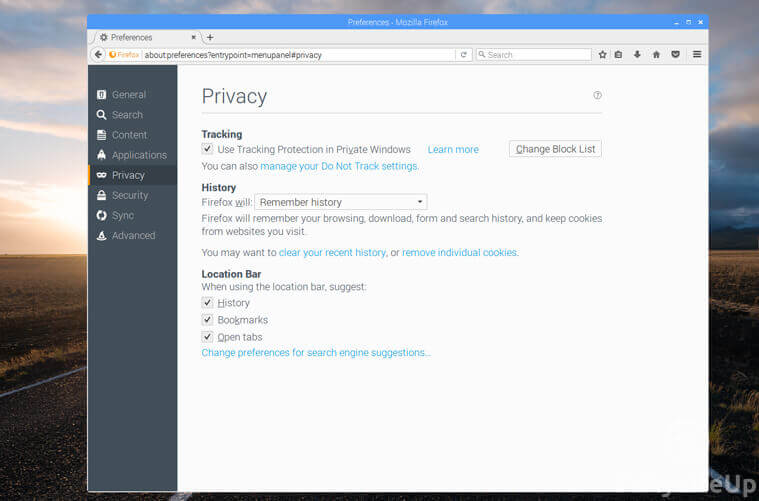
Focus on Privacy
If privacy is your thing, you will be pleased to hear Firefox has some features to keep your browsing private.
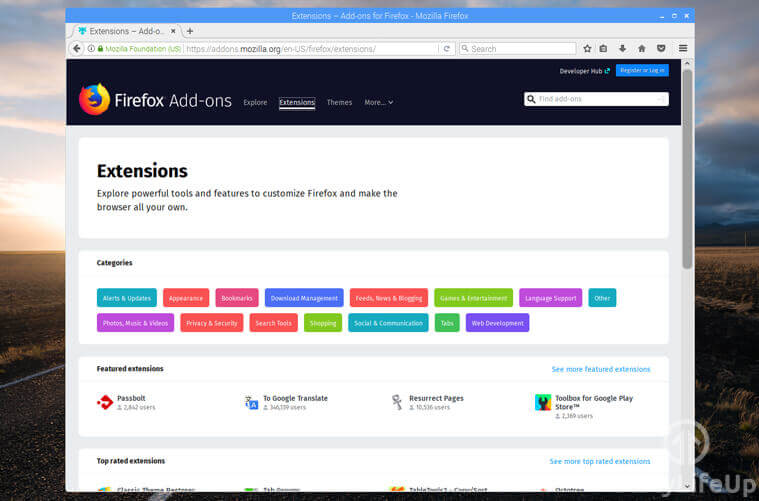
Add-ons and Extensions
If you like having a good range of extensions, Firefox is excellent. There are tons of add-ons you can install such as an adblocker, Grammarly, YouTube enhancer, multi-account containers, and so much more.
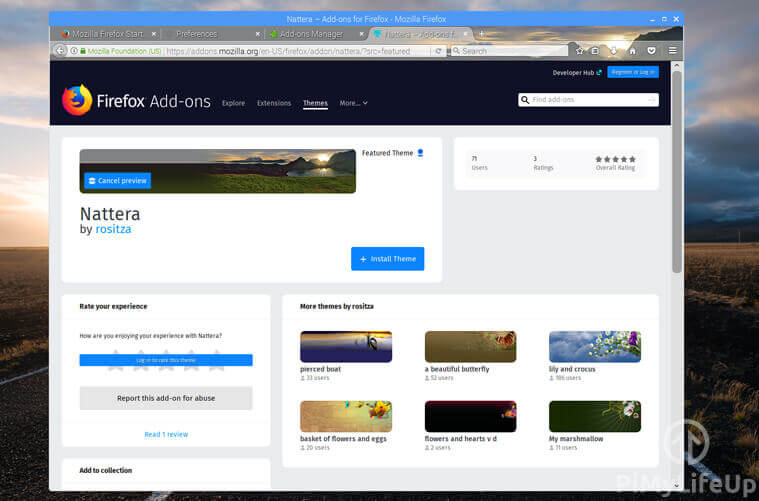
Customizable
Much like the Vivaldi browser, Firefox has an excellent range of options to help you customize the browser that is best for you. These options include cool themes that you can download from the Firefox add-on library.
How to Install Firefox
This section is the most important part of this tutorial. The process of installing Firefox to the Raspberry Pi is incredibly easy and can be done in just a few short steps.
1. First, ensure that Raspberry Pi OS is completely up to date. You can do this by running the following two commands.
sudo apt update
sudo apt upgradeCopy
2. Now that’s done, install Firefox by using the following command. If it already exists, the operating system will update it to the latest version available.
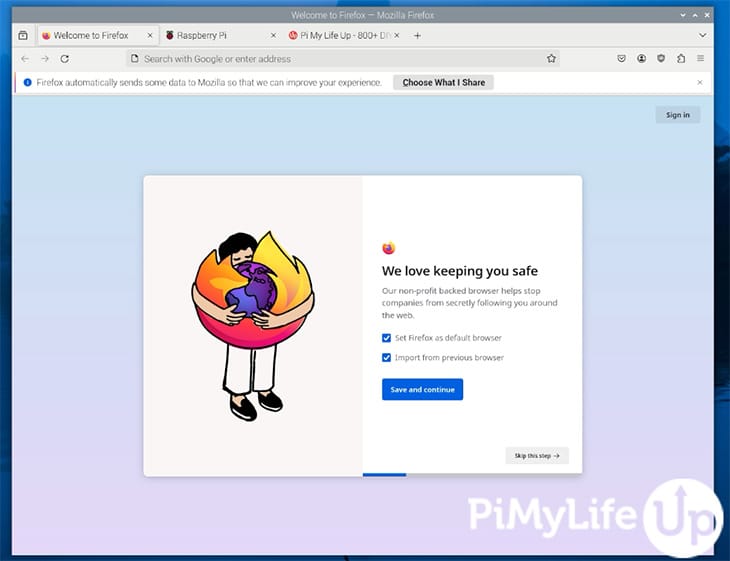
sudo apt install firefoxCopy3. Once the command has finished, you will have Firefox installed.
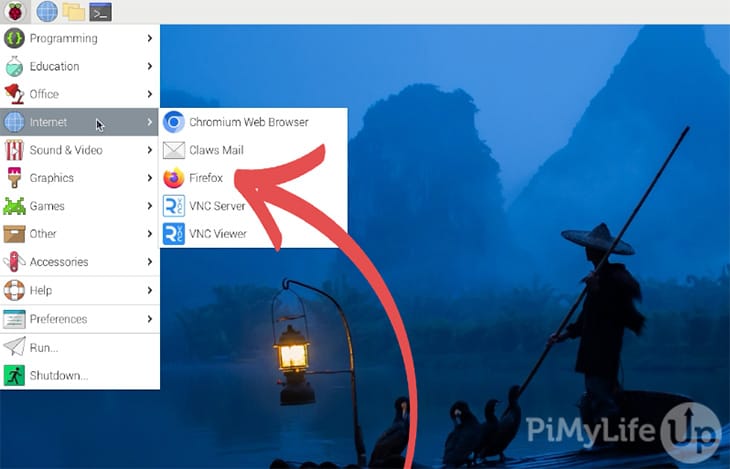
To find the browser, simply go to the Menu -> Internet -> Firefox.
That is all you need to do, and the browser will work on most websites with a few exceptions. It is pretty much perfect if you are looking for a replacement for the native Chromium browser on the Pi.
Conclusion
I hope you now have Firefox working on your Raspberry Pi without issues.
There are many other browsers that you can install for the Raspberry Pi. If you are starting with the Raspberry Pi, I recommend that you stick with the inbuilt Chromium browser and install a different browser once you are more comfortable with the operating system.
I hope that this tutorial has shown you all the steps to getting Firefox installed and working on the Raspberry Pi. If you run into issues or require help, please do not hesitate to comment below.


Hello,
I tried to install firefox following your instructions. After I did the update and upgrade this is what happened:
What is your suggestion?
Hi Heather,
May I ask what version of Raspberry Pi OS you are running? Bookworm made the move to more standard versions of Firefox.
If you are running an old release of Pi OS, you will need to install Firefox by using the ESR version instead. You can install this by running the command below.
Please let me know if you need any more assistance.
Kind regards,
Emmet
Easy to do and worked great on my Raspberry Pi 4 with Raspbian, thanks for posting the information!
I get the Error : “E: Unable to locate firefox-esr” when i run apt-get instal firefox-esr
Hi Erza,
It is installing fine for us.
Make sure that you run the following command before trying to install firefox.
Cheers,
Emmet
Hi Ezra.
install has t l’s I notice from your question that you only have one l in install.
I can’t get the command “sudo apt-get install firefox-esr” to work. I’ve added my account and deleted pi. Could that be the reason?
It should still work, what’s the error you’re getting?
Thanks for this, so simple!