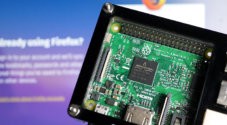
In this Raspberry Pi Luakit tutorial, I take you through all the steps on how to install the Luakit browser.
I assume you will be using Raspbian for this tutorial so if you’re running something else, then the steps might differ slightly.
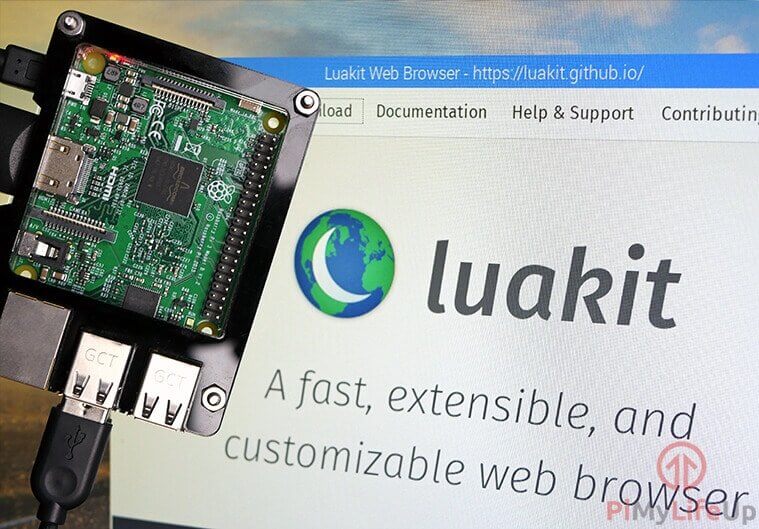
Luakit is a little different, so it may or may not take your fancy. For example, instead of the address bar being located at the top of the page it is instead located on the bottom. Several other changes make this browser stand out a bit that I go into detail a bit further down the page.
You can find out more about the browser on their GitHub page. You can also lodge issues if you find a bug with the browser. The Luakit Wiki is also handy if you’re a beginner, but at the time of writing some pages are only in Russian on the Wiki so you may need to use Google translate.
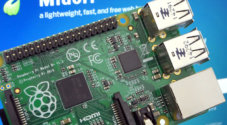
Luakit is an excellent browser if you want to keep your Raspberry Pi as minimal as possible. Perfect if you’re looking to run some other cool raspberry Pi projects.
Equipment List
All the pieces that I made use of for this Luakit tutorial are listed right below.
Recommended
- Raspberry Pi Amazon 2 or newer
- Micro SD Card Amazon
- Power Supply Amazon
- Ethernet Cable Amazon (Recommended) or Wi-Fi Amazon
Optional
- Raspberry Pi Case Amazon
Luakit Features
Luakit isn’t nearly as feature-packed as other browsers such as Firefox or Vivaldi. However, the lack of features makes it lightweight, fast and perfect for anyone who wants a slim browsing experience.
Extensible using Lua
You can extend the functionality of the browser with the use of the Lua programming language. It’s perfect if you’re already well versed in programming and want to customize the browser to your liking.
Bookmarks and Download Manager
You will be glad to hear that even though this browser is basic it still can bookmark web pages. You can also use the download manager to help manage any downloads you have. You can load up the bookmarks by either using the :bookmarks command or using the shortcut (g followed by b or shift+b for a new tab).
Minimalistic UI
Most browsers you probably have used have an abundant number of buttons, menus and more to navigate. Luakit strips right back to the bare minimum and relies on keyboard shortcuts for navigation. Perfect if you’re a power user and prefer a minimal user interface.
You can find out more of the shortcuts over at the Arch Linux Luakit wiki.
There are more features that you might find attractive as these are just the top features that I found with the browser. If you’re looking for something that is super minimal but still powerful, then Luakit is undoubtedly a browser that you should consider.
How to install LuaKit on the Raspberry Pi
The process of installing Luakit is extremely easy. If you’re willing to give this lightweight browser a go then be sure to follow the few steps below.
1. First, make sure your Raspberry Pi is up to date by running the following two commands.
sudo apt-get update
sudo apt-get upgrade
2. Next, to install Luakit, just run the following command.
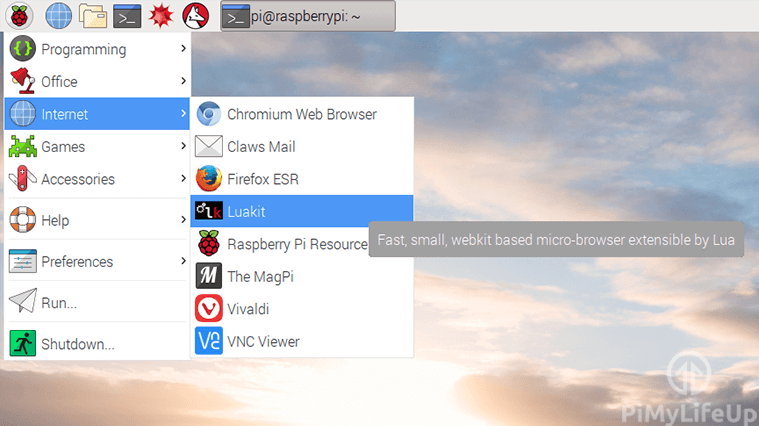
sudo apt-get install luakit3. Once done, you will find Luakit in the menu->internet->Luakit
I hope you have been able to get Luakit installed on your Raspberry Pi without any issues if you have some thoughts on this Raspberry Pi Luakit tutorial, then be sure to let us know in the comments section below.