In this tutorial, we look at all the steps on how to install the Vivaldi browser on the Raspberry Pi and why you might want to.
You may not have heard of this browser, as it is not nearly as popular as some of the mainstream web browsers. However, Vivaldi is packed with features that make it an enticing alternative browser.
The company who develops the Vivaldi browser was founded by Jon Stephenson Von Tetzchner, the former CEO at Opera. The browser has more than a million users and is steadily growing.
There are many reasons why you may want to add another browser to your Pi, especially if you are looking to use it as a desktop computer rather than something like a headless server. Vivaldi might simply have more features that appeal to you than the default Chromium browser.
If you are looking for a Chromium alternative, this browser is one of the better ones you can install on the Raspberry Pi. Below, I will go through the few steps to set this up and provide a brief overview of the browser itself.
Equipment
You don’t need anything except for the default equipment for the Raspberry Pi.
Recommended
Optional
- Raspberry Pi Case Amazon
Vivaldi Coolest Features
I will quickly highlight some of the coolest features of the Vivaldi and why you might want to download it and use it rather than the default Chromium browser.
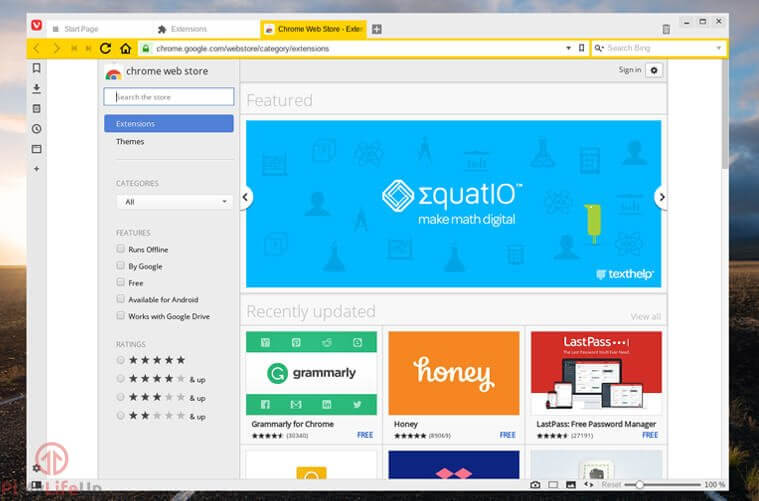
Extensions
You can still get all your favorite Chrome extensions on Vivaldi with no extra configuration required. Perfect if you love having a vast range of extensions in your browser. Remember some extensions can be quite performance heavy and may impact on your overall experience with Vivaldi on the Raspberry Pi.
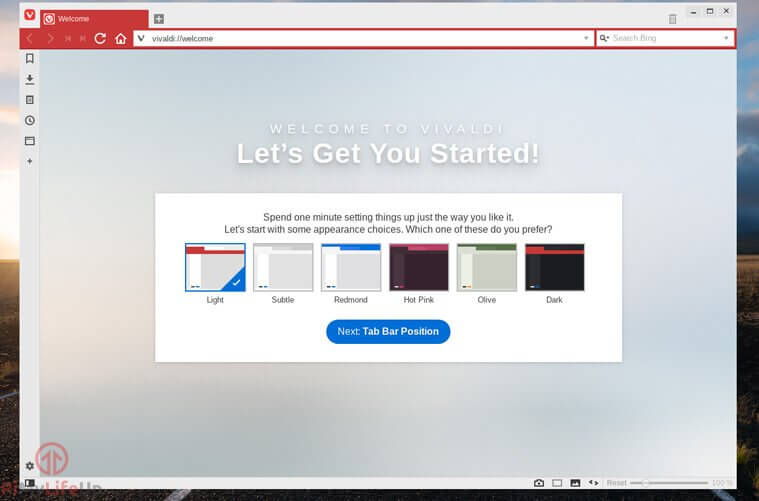
Styling
One of the biggest things I like about Vivaldi is the styles that you’re able to pick from. There is a lot of different customization that you can do so you can best personalize the browser for you.
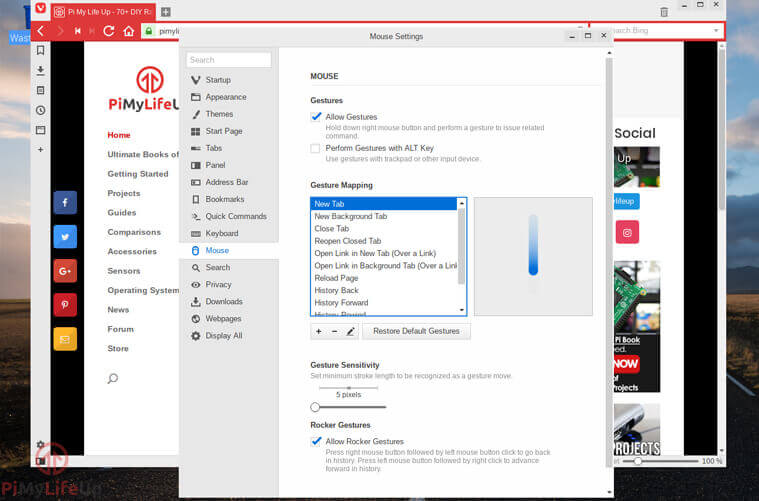
Mouse Gestures
If you’re a fan of mouse gestures, then you will be please Vivaldi supports using your mouse to do basic commands. This feature is perfect if you’re a bit of a power user and love the ability to shortcut a lot of typical actions you do when you’re browsing.
Side by Side Browsing
Side by side browsing is extremely handy if you find the need to open two or more websites side by side. This feature is an extension of the tabbing feature where you can have multiple pages or sites under the one tab.
To move multiples sites onto a single tab simply drag the tab down then onto the tab you want. To view the tabs side by side in the same window simply right click and go “Tile Tab Stack”.

There is much more to the Vivaldi browser, and these are just some of the highlights. There are tons more extras, such as note-taking, in-depth history statistics, quick commands, and much more. If you’re eager to get started, follow our Raspberry Pi Vivaldi installation guide below.
How to install Vivaldi on the Raspberry Pi
The most important part of this Raspberry Pi Vivaldi tutorial is the installation. It’s a pretty straightforward setup that I will go into detail below.
1. Make sure your Raspberry Pi is completely up to date by running the following commands.
sudo apt update
sudo apt upgrade
2. To install, first download the Vivaldi deb file using wget.
Alternatively, you can download the browser directly from the Vivaldi website’s download page. Simply select the version under Linux DEB ARM64. You can also copy the link and use it in the wget command below.
wget https://downloads.vivaldi.com/stable/vivaldi-stable_7.5.3735.74-1_arm64.debCopy3. Now you want to install the software. To do this, run the following command.
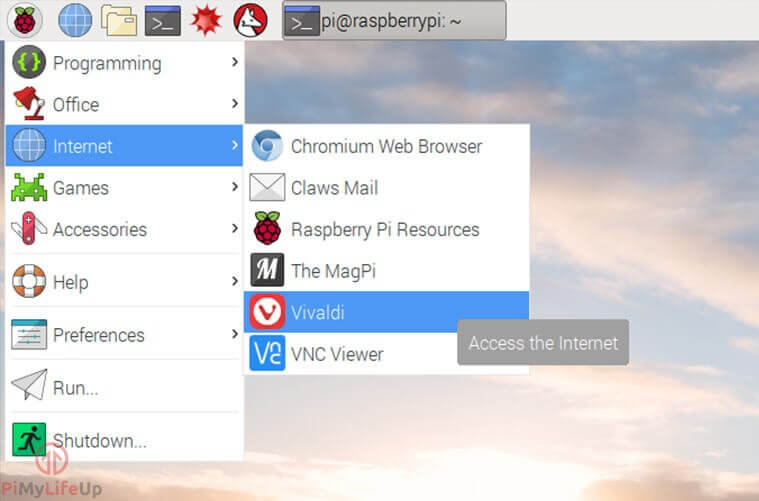
sudo apt install ./vivaldi-stable_7.5.3735.74-1_arm64.debCopy4. When the installation has finished, you can find the browser in the main menu -> Internet. Click on it to load it.
5. The browser should now run and function correctly.
Performance Enhancements
For a smoother performance of the Raspberry Pi Vivaldi browser, it is recommended that you increase the swap space on the Raspberry Pi from 100mb to 2048mb. This change can be easily accomplished by following these steps.
1. First, run the following command to open up the dphys-swapfile in the nano editor.
sudo nano /etc/dphys-swapfileCopy2. In here, find and edit the CONF-SWAPSIZE line so it looks like the line below. (Changing 100 to 2048)
CONF_SWAPSIZE=2048Copy3. Once done, save and exit by pressing CTRL + X, then Y, and then ENTER.
4. Now restart the swap service by entering the following line
sudo /etc/init.d/dphys-swapfile restartCopy5. This increase in swap space should now help with the performance of the Vivaldi browser on the Raspberry Pi. Please note that increasing the swap size may shorten the life of your micro SD Card.
Media Extensions
Based on my testing, most websites will function correctly by using the basic installation method outlined in this tutorial. If you want websites like Spotify to work, you will need to install some extra software.
Vivaldi has put together a very handy guide that addresses most issues you might encounter with the browser running on a Pi. Including running Spotify within the Vivaldi browser. I highly recommend checking it out if you’re having any issues. Some things require a bit more tinkering to work, but hopefully, this guide has helped get all the basics up and running.
If you are happy with this guide and want more, be sure to check out all our guides for getting started with the Raspberry Pi.
I hope by now you have been able to install Vivaldi on the Raspberry Pi. If you want to discuss more on this tutorial, then be sure to leave a comment below.


I followed your instructions and it works terrific!
What do I do if the installation stalled at 46% please?
I recommend cancelling the install and trying again. I have updated the tutorial to use the latest version of Vivaldi, just in case that was causing issues.
cool that you can do this!
Installed Vivaldi as per instructions, seemed to work OK. But next time I tried an apt-get update I got this error…
W: GPG error: http://repo.vivaldi.com/stable/deb stable Release: The following signatures couldn’t be verified because the public key is not available: NO_PUBKEY 8D04CE49EFB20B23
E: The repository ‘http://repo.vivaldi.com/stable/deb stable Release’ is not signed.
N: Updating from such a repository can’t be done securely, and is therefore disabled by default.
N: See apt-secure(8) manpage for repository creation and user configuration details.
Fixed problem with…
gpg –keyserver keyring.debian.org –recv PUBKEY
gpg –export –armor PUBKEY | sudo apt-key add –
Newer rev numbers of Vivaldi may have also worked , but this worked for me.
These are great tutorials,
Sign me as,
Antipodal Unabashed GUS Too