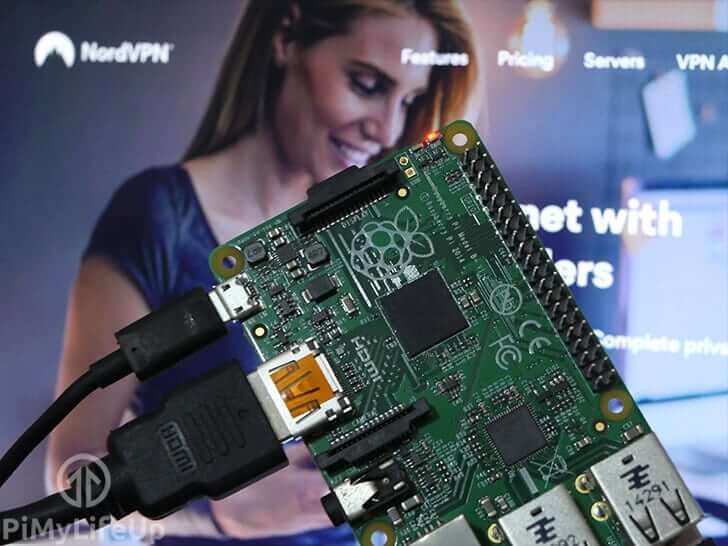
In this tutorial, I will be going through the steps to set up the popular NordVPN service on the Raspberry Pi.
This setup is perfect if you use your Pi in a way that you will benefit by running through a VPN service.
If you’re looking for a VPN WiFi access point, then our other tutorial will take you through all the steps to set that up. This setup is ideal if you only need to connect to a VPN on the Raspberry Pi itself.
Apart from regular web browsing anonymizing, the VPN can be used in conjunction with other projects such as the Pi TorrentBox. Basically, it’s a good setup for any tutorial that being anonymous is preferred.
This tutorial has been tested for Raspbian Stretch. If you’re running an older version of Raspberry Pi OS, then you may run into issues. We recommend that you upgrade to the latest version of Raspberry Pi OS.
A similar set up as described below can be used on most VPN services that provide you with ovpn files. These services include VyprVPN, HMA, ExpressVPN and many more.
Equipment List
All the equipment that you need to setup this Raspberry Pi NordVPN tutorial is listed right below.
Recommended
- Raspberry Pi Amazon
- Micro SD Card Amazon
- Ethernet Cable Amazon or Wi-Fi Amazon
- Power Supply Amazon
- NordVPN Subscription NordVPN
Optional
Setting up NordVPN on the Raspberry Pi
The process of setting up NordVPN on the Raspberry Pi is pretty straightforward. Once set up you can easily connect to your desired location by using specific ovpn files.
1. First, you will need to sign up to NordVPN if you haven’t already.
2. Open the terminal on the Raspberry Pi or use SSH to gain access.
3. Enter the following lines to update Raspbian to the latest packages.
sudo apt update
sudo apt upgradeCopy
4. Next, install the OpenVPN and zip packages by entering the following command.
sudo apt install openvpn unzipCopyOpenVPN is the client software that we will use to connect to NordVPN’s servers.
5. Navigate to the OpenVPN directory by typing in the following change directory command.
We will download and extract the ovpn files in to this directory.
cd /etc/openvpn/Copy6. We now need to download the archive containing the NordVPN ovpn files.
This download can easily be done by entering the following wget command into the terminal.
sudo wget https://downloads.nordcdn.com/configs/archives/servers/ovpn.zipCopy7. Next, unzip the archive we just downloaded by using the command below.
sudo unzip ovpn.zipCopyAfter extracting there will now be two additional folders.
One directory will be called called “ovpn_tcp” and will contain the TCP version of NordVPN’s files and another called “ovpn_udp” will contain the UDP versions.
8. You can list out the files of these directories by making use of the ls command.
For our example we are just going to use the command to list out the TCP version of the files.
ls -l /etc/openvpn/ovpn_tcpCopyUse this list of files the command generates to select the NordVPN server that you will want your Raspberry Pi to connect to.
You will need to know this filename for the next steps.
9. To connect to NordVPN using the OpenVPN client we will be entering the following command.
sudo openvpn <strong>file_name</strong>CopyYou will need to replace “file_name” with the file for the server that you wish to connect to.
For example, if we were to connect to an Australian NordVPN server using the TCP protocol you would run the following command.
sudo openvpn /etc/openvpn/ovpn_tcp/au689.nordvpn.com.tcp.ovpnCopy10. You will now need to enter your credentials. Once you have done that, you will be connected to the VPN server.
You can test this by going to the NordVPN website and looking at the banner at the top.
11. If you wish to disconnect, then simply use CTRL + C on the keyboard.
If this doesn’t work, then you can use the following command.
sudo killall openvpnCopyNordVPN Start at Boot
If you wish to start your NordVPN service at boot, then the steps below will take you through everything you need to know.
1. First, we will need to save our username and password in a file.
Begin writing this file using the nano text editor by running the command below.
sudo nano /etc/openvpn/auth.txtCopyThis file will be read in by OpenVPN to get the login credentials for NordVPN.
2. In this file, add your username and password, both on separate lines.
username
password
3. Save and exit by pressing CTRL + X, then Y and lastly ENTER.
4. Copy the ovpn file you wish to use at startup, simplify its name as well.
For example, let us take the file we used before and copy it to the “/etc/openvpn/” directory.
sudo cp /etc/openvpn/ovpn_tcp/au689.nordvpn.com.tcp.ovpn /etc/openvpn/au689.confCopy5. Now let’s edit this new file using the following command.
sudo nano /etc/openvpn/au689.confCopy6. In here you will need to edit one line.
Find
auth-user-passReplace with
auth-user-pass auth.txtChanging this line will tell OpenVPN that it should use our “auth.txt” file for the login credentials.
7. Save and exit by pressing CTRL + X, then Y, then ENTER.
8. Lastly, we need to setup OpenVPN to autostart and to use our file.
Enter the following line to begin editing the ovpn config.
sudo nano /etc/default/openvpnCopy9. Within this file we need to find and modify the “AUTOSTART” line to point to our new config file.
Find
#AUTOSTART="all"Add above it
AUTOSTART="au689"Replace au689 with the file name that we just created.
10. Save and exit out of the file by pressing CTRL + X, then Y, then the ENTER key.
11. Reboot and the Pi by using the following command.
sudo rebootCopyNow browse to either NordVPN or ipleak.net, and you should see that your IP is not your own.
If it hasn’t changed, then the setup above isn’t working. Go back through the steps and check if you haven’t made any mistakes.
Preventing DNS Leaks
You probably also want to make sure that your DNS isn’t leaking your location so you will need to adjust dhcpcd configuration. It’s a simple fix as we will use the Cloudflare public DNS rather than our internet service providers DNS.
1. Firstly, begin modifying the dhcpcd configuration file.
sudo nano /etc/dhcpcd.confCopy2. Within this file we need to update the following line so that it points to a different DNS server.
In our example we are using Cloudflares DNS service.
Find
#static domain_name_servers=192.168.0.1Replace with
static domain_name_servers=1.1.1.13. Save & exit by using CTRL + X, then Y, then the ENTER key.
4. Now reboot your Pi by entering the following command.
sudo rebootCopy5. Go to ipleak.net and check that your DNS is no longer leaking.
If you’re still leaking, then you might want to look at this page on WebRTC requests for more information.
Troubleshooting
If you run into any issues setting this up then the tips below might help you out. Otherwise, I recommend posting your issue over at our forum.
- If you have your VPN auto-starting, then you can stop it by simply running the following command.
sudo systemctl stop openvpnCopy- You can start it back up by replacing stop, with start.
- We’re keeping our credentials in plain text so make sure you keep your Pi secure. If an unauthorized user access this file they will be able to login to your VPN and any other service where you have reused that password.
If you rather run a VPN server out of your own home then a DIY Raspberry VPN server might take your fancy.
I hope by the end of this Raspberry Pi NordVPN tutorial you have everything working correctly. If you need further help, be sure to leave a comment below.


I needed to make 2 changes to make this work, disable ipv6 completely, andn use autoconnect=”all” instead of a named file.
Something that was missing for me was the DNS setup, I continue getting DNS PROVE errors.
I followed this guide and it worked like a charm
https://pimylifeup.com/raspberry-pi-dns-settings/
Thanks for the tutorial.
A quick suggestion – after the apt update / upgrade, a reboot may be required. Depending on what’s upgraded, you may get errors when you run openvpn.
A really interesting and useful tutorial. However I want an EU based VPN, NordVPN is based in Panama.
Look into something like ProtonVPN or VyprVPN as they’re based in Switzerland and apparently don’t store logs.
The Proton company recently gave up user details for infractions using ProtonMail. So they may not store logs, they will still hand you over to authorities if laws were broken.
Great tutorial on setting up a nord vpn on a rpi.
I still had DNS leaks using this setup because raspbian overrides the resolv.conf file on startup which also affects the dnsmasq resolvers.
To fix this I had to edit and add the following two lines into the /etc/resolvconf
nameserver 103.86.96.100 #nordvpn dns server
private_interfaces=”*” #binds all interfaces to use these settings
Cheers
Awesome tutorial, thanks. I managed to do this and now NordVPN works like a charm.