In this guide, we will show you how to install and setup Kali Linux to the Raspberry Pi. It certainly is an interesting operating system that’s worth checking out.
For those who do not know what Kali Linux is, it is a Linux distribution that has been designed purely with digital forensics and software penetration testing in mind.
Simply put, Kali is a Linux distribution designed purely for ethical hacking. It was released back in March 2013 and is still continually developed and funded by Offensive Security.
Utilizing the set of tools featured in Kali Linux, you can do numerous things. These things include cracking nearby WiFi passwords, brute force remote connections as well as many other things.
Using the tools provided with Kali, you can help check the security of your network or applications using your Raspberry Pi.
Equipment List
Below are all the pieces that I made use of for this Raspberry Pi Kali Linux Guide.
Recommended
- Raspberry Pi Amazon
- Micro SD Card Amazon
- Power Supply Amazon
- Ethernet Cable Amazon or Wi-Fi Amazon
- HDMI Cable Amazon
- Monitor Amazon
- USB Keyboard Amazon
- USB Mouse Amazon
Optional
- Raspberry Pi Case Amazon
Installing Kali Linux to your Raspberry Pi
1. To begin, we need to first download the Kali Linux image from the Offensive Security official download page.
On the download page locate the “RaspberryPi Foundation” drop-down box then download the version of Kali Linux for your Raspberry Pi.
For this guide we downloaded the “Kali Linux RaspberryPi 2, 3 and 4 32bit” image from their website.
If you are using a Raspberry Pi 2 or the Raspberry Pi 3, Kali does offer a 64 bit version of their modified operating system.
2. To write the Kali Linux image to an SD Card, we will be making use of a piece of software called Etcher.
You can obtain Etcher by going to their official website and downloading the software.
Once you have installed the Etcher software to your device, you can proceed on with this guide.
3. Begin by opening up the Etcher software on your device.
With Etcher open, click the “Select Image” button to open up the native file browser.
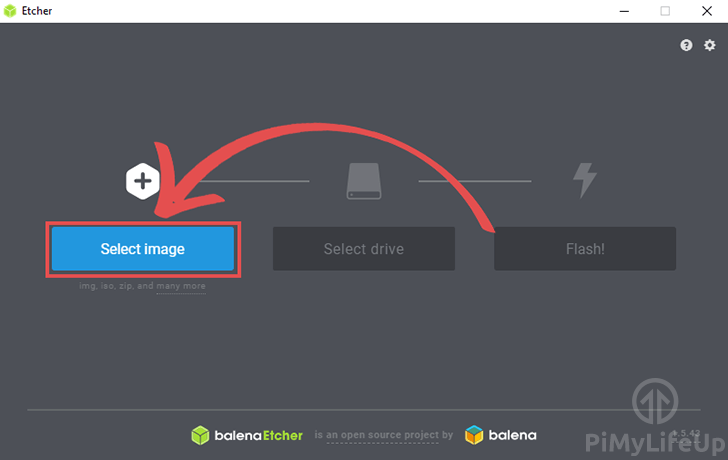
Using the file browser, locate where you have the image and select it.
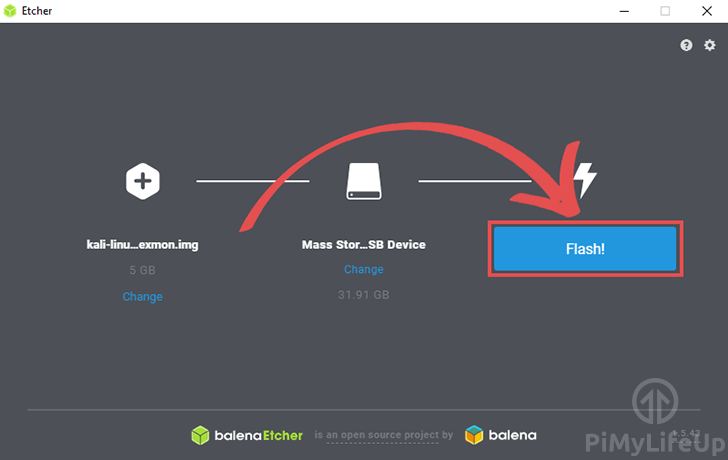
4. Next, click the “Select drive” button.
In this dialog find the SD card that you want to write then image to.
Make sure you select the correct drive as this process will wipe all content on that card.

5. To write the image to your selected SD card, go ahead and click the “Flash!” button.
This process can take some time, as it validates the SD card after writing the image.
The Kali Linux Interface
1. The Kali Linux distribution for the Raspberry Pi comes with its own GUI, so you are not required to interact with it purely using SSH.
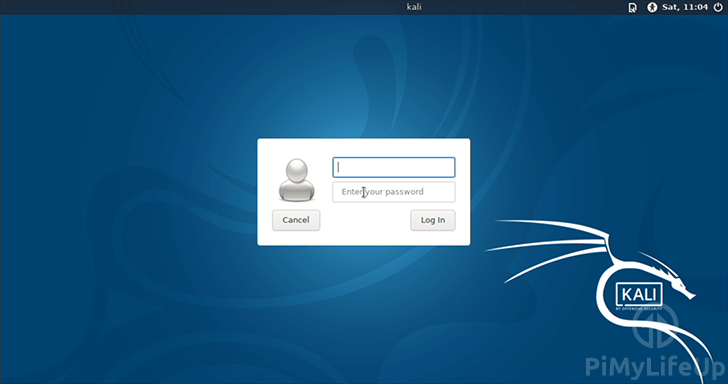
Upon booting the operating system, you will be greeted by the following screen. You can log in using the username “kali” and the password “kali“.
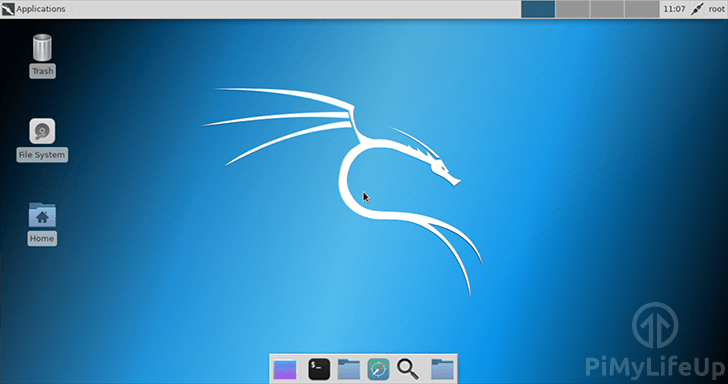
2. Upon logging into Kali Linux on your Raspberry Pi, you will be greeted by the following desktop interface.
From this interface, you can easily find all the applications that are installed by default on the Kali Linux distribution.
Feel free to explore a bit as there are quite a few tools set up by default.
Diving into Kali Linux
In the next couple of sections, we will go into details on some of the things you can do with your newly installed Raspberry Pi Kali Linux setup.
Logging into Kali Linux
1. To be able to login to Kali Linux you will have to use a different default username and password. These are both different from what is used with the typical Raspbian installation that most Pi users will be familiar with using.
To login to your newly installed operating system, you will need to use “kali” as the user, and “kali” as the password.
2. The first thing you will want to do after logging into your Raspberry Pi is to change the user’s password away from “kali“.
To do this, you will need to run the following command.
passwdUpon running this command, you will be prompted to enter a new password for your current account.
Aircrack-NG
1. Aircrack-NG is one of the many tools that are built into the Kali Linux distribution. It is a unique suite of tools that are designed to assess WiFi network security.
The four aspects that Aircrack-NG focuses on is the following.
- Monitoring: Packet capture and export of data to text files
- Attacking: Fake access points and others via packet injection
- Testing: Check WiFi cards and driver capabilities
- Cracking: WEP and WPA PSK (WPA1 and WPA2)
Before you begin using Aircrack-NG, you must make sure your Raspberry Pi is not utilizing its WiFi connection.
In this little usage guide, we will be showing you how to make use of Aircrack-NG’s monitoring software “Airmon-ng“.
You can kill any processes that may interfere with the Airmon-ng monitoring software by running the following command.
airmon-ng check kill2. To start the airmon-ng software, you need to run the command below.
This command will tell the airmon-ng software to start monitoring on the wlan0 connection. On the Raspberry Pi 3 and newer, this wlan0 connection is the inbuilt WiFi module.
airmon-ng start wlan0THC Hydra
1. THC Hydra is another piece of software that is included in the Kali Linux distribution. The software is designed to perform brute force dictionary attacks against remote authentication.
It is a useful tool for ensuring that your network can withstand a standard brute force attack and can be helpful for testing security solutions such as fail2ban.
In this example, we will be using a file called “passwords.txt” that contains a list of known bad passwords to try and brute force into the Raspberry Pi’s SSH connection.
hydra -l root -P ~/passwords.txt ssh://127.0.0.1I hope by now you have a Raspberry Pi Kali Linux setup working with little to no issues. If you have feedback regarding this guide, then please don’t hesitate to leave a comment below.


Brute newbie question. Should I use my own IP address instead of 127.0.0.1 for using Hydra’s set of passwords? Thank you!
Hi Vic,
Yes that is correct you should be using your own IP Address instead of the local loopback address that is specified in our example.
Cheers,
Emmet