In this quick guide, we will show you how to install and run CasaOS on your Raspberry Pi.
CasaOS is a set of software packages designed to make self-hosting software on your Raspberry Pi as straightforward as possible. Despite its name, this software is not an operating system in itself. Instead, it’s something you install onto an operating system such as Raspberry Pi OS Lite.
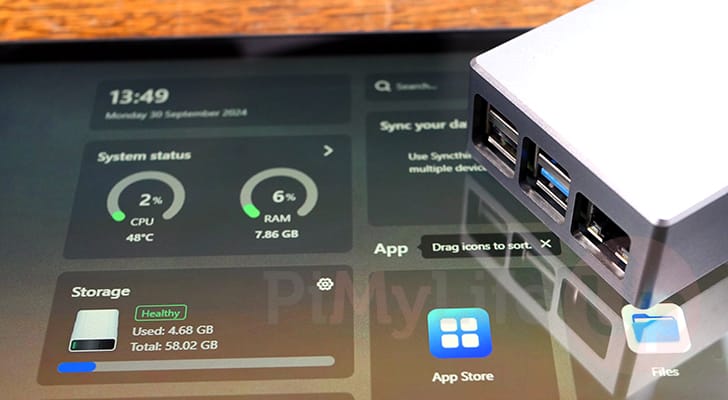
By setting up CasaOS on your Pi, you can easily get any Docker container up and running with ease through its web interface. This interface allows you to easily monitor your Pi’s system usage, including the current storage usage. Through its app store it has a range of projects that you can install and have up and running with just a single click.
You could almost think of CasaOS as being an alternative to other Docker management platforms like Dockge and Portainer. However, it is aimed at being more of a personal cloud hosting platform than just for Docker management.
It is also somewhat similar to cloud storage platforms like Nextcloud in its design as this software package even includes a web-based file manager and will help set up network shares for you.
CasaOS supports both 32-bit and 64-bit ARM operating systems, meaning you should be able to run this on a Raspberry Pi 3 and newer. Of course, the newer Pi’s will always give you a bit more headroom to run more software.
Thanks to its web interface, CasaOS is a perfect solution for those running a headless Raspberry Pi. You can control the most important aspects of your home lab without needing direct access to the machine. You could even remotely access the CasaOS interface with something like Cloudflare tunnel.


Equipment
Below you will find a list of equipment we used when installing and using CasaOS on our Raspberry Pi.
Recommended
- Raspberry Pi Amazon
- Monitor Amazon
- Micro SD Card Amazon
- Power Supply Amazon
- Ethernet Cable Amazon or Wi-Fi Amazon
Optional
This tutorial was last tested on a Raspberry Pi 5, running the latest version of Raspberry Pi OS Bookworm 64-bit.
How to Install CasaOS on to a Raspberry Pi
Over the following few sections, we will be walking you through the incredibly simple installation process for CasaOS on your Raspberry Pi,
One key design element you will notice from this software package is that it is meant to be incredibly easy for new users to get started with.
To install CasaOS onto our Raspberry Pi, we will be making use of the terminal over an SSH connection. If you are running the desktop version of Pi OS, you can open the terminal quickly by pressing CTRL + ALT + T.
Preparing your Raspberry Pi
1. Your first step before installing CasaOS is to ensure that your Raspberry Pi’s operating system is up to date.
The first command will update the package list cache. The second will upgrade any out-of-date packages.
sudo apt update
sudo apt upgrade -yCopy
2. After updating your Pi, your next step is to ensure that the curl package is installed on your machine. This package will allow us to grab and run the CasaOS installation script.
You can ensure that curl is installed by simply getting apt to attempt to install it.
sudo apt install curlCopyInstalling CasaOS onto your Raspberry PI
3. To install CasaOS onto our Raspberry Pi, we will be relying on the installation script the team provides. Of course, you should always be a little weary of running scripts directly like we are doing. You can view the contents of this script by going directly to the Get CasaOS URL.
If you are happy to proceed with installing CasaOS using this script, simply run the following command. Here, we use curl to grab the bash script from the CasaOS servers and pass it directly into the terminal.
curl -fsSL https://get.casaos.io | sudo bashCopy4. The installation of CasaOS will take some time to complete as it has a fair few packages it needs to install and confiugre.
   _____                 ____   _____
  / ____|               / __ \ / ____|
 | |     __ _ ___  __ _| |  | | (___
 | |    / _` / __|/ _` | |  | |\___ \
 | |___| (_| \__ \ (_| | |__| |____) |
  \_____\__,_|___/\__,_|\____/|_____/

   --- Made by IceWhale with YOU ---

[  OK  ] Your hardware architecture is : aarch64
[  OK  ] Your System is : Linux
[  OK  ] Your Linux Distribution is : debian
Accessing the CasaOS Web Interface
5. Once CasaOS finishes installing on your Raspberry Pi, you will see a message similar to the one we have shown below appear within the terminal.
Within this message, you should see the address you need to go to in your web browser to access the software’s web interface.
 ─────────────────────────────────────────────────────
 CasaOS v0.4.13 is running at:
 ─────────────────────────────────────────────────────
 - http://192.168.0.32 (eth0)
 Open your browser and visit the above address.
 ─────────────────────────────────────────────────────
If you missed this message, you can always get the IP address of your Pi by using the hostname command.
hostname -ICopy6. Now within your favorite web browser, go to the following address. Ensure that you replace “<IPADDRESS>” with the IP for your Pi.
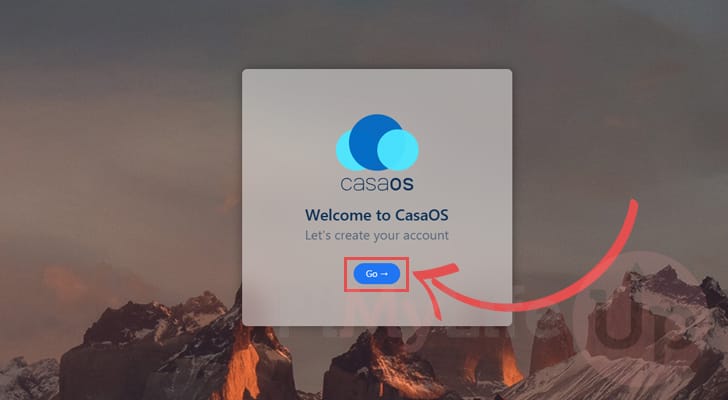
http://<IPADDRESS>/7. The first time you access the CasaOS web interface, you must go through some initial setup steps.
To begin creating your account for CasaOS, click the “Go” button.
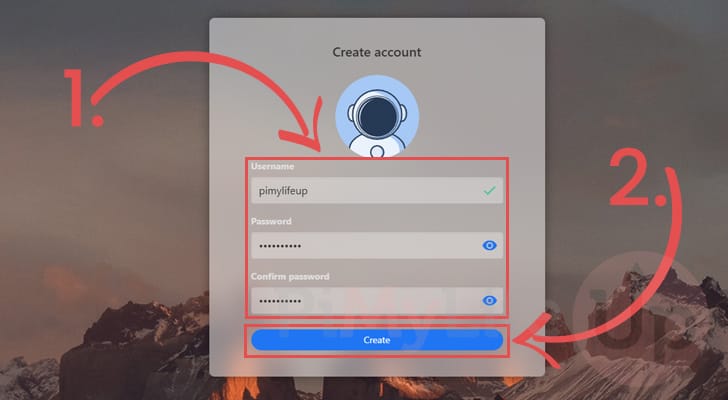
8. On this next screen you will be prompted to fill out the details that will be used to create your account for CasaOS (1.). It is important to set a secure password here as this user will be able to interact with your Raspberry Pi through CasaOS.
After filling out your username and password, click the “Create” button (2.) to continue.
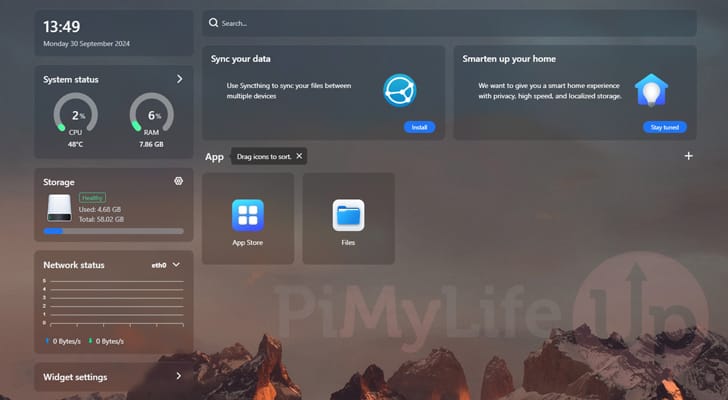
9. You have now successfully set up CasaOS on your Raspberry Pi. You can now use the software to easily self-host applications on your Pi.
The starting place for installing new “apps” to your Pi is the “App Store” link on the dashboard. This store will allow you to install numerous applications easily. It even allows you to fill out Docker container details yourself if the app you want to use is missing from their library.
Conclusion
By this point in the tutorial, you should have CasaOS up and running on your Raspberry Pi.
CasaOS is an interesting attempt to make self-hosting applications using Docker on your device as straightforward as possible. It aims to be the single frontend you need to manage all your applications as well as your Pi itself.
Please feel free to leave a comment below if you have had any issues with getting CasaOS to run.
If you liked this tutorial, we highly recommend exploring some of our many other Raspberry Pi projects.


getting error while trying to install:
Hi Eddy,
This is likely a temporary issue, please try running the command again. Alternatively you may be having something that is messing with the connection to Casaos and causing you to not get the expected SSL certificate.
Kind regards,
Emmet
Love CasaOS. Been running for about a year and it makes the home network much easier to run and maintain.