In this project, we will show you how to set up the BirdNET-Pi software on your Raspberry Pi.
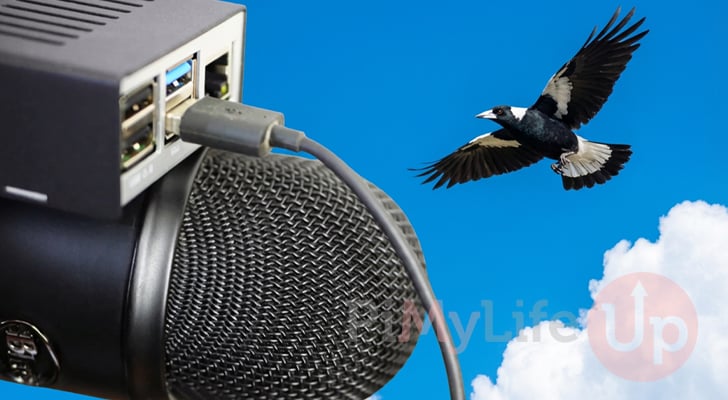
With BirdNET-Pi, you are able to transform your Raspberry Pi into a machine that is capable of detecting and classifying birds in real-time based on their bird calls. You can even use this to share your data with the rest of the world so everyone can see what birds live in your area.
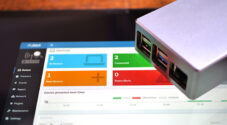
All of the data recorded by this software is easily viewable through its handy web interface. You can easily analyze the recordings and check for any false positives. The software even provides an integrated spectrogram.
BirdNET-Pi even enables you to easily integrate into the BirdWeather map, so your data can easily be viewed by yourself and anyone else who might be interested in tracking bird movements.
This software is capable of doing this thanks to a very specifically designed Ai model called BirdNET. This model has been specifically trained and designed to recognize thousands of species and is actively developed and maintained by the Cornell Lab of Ornithology and Chemnitz University of Technology.
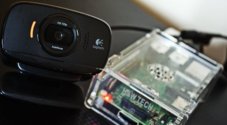
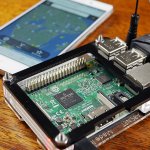
All you need for this to work is a USB microphone and a Raspberry Pi 3 or newer. The software has this requirement because it relies on a 64-bit operating system. The Pi 3 is the oldest Pi to support a 64-bit operating system.
Please note that you MUST be running a 64-bit operating system. BirdNET-Pi cannot be installed on a 32-bit operating system and will not function.
Additionally, BirdNET-Pi is really designed ot be a standalone piece of software. We recommend running a Pi dedicated solely to this software with a fresh install of Raspberry Pi OS.
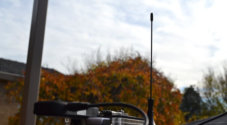
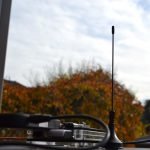
Of course, another thing you will probably want to invest in is a weatherproof enclosure; you won’t get great recordings if your microphone is stuck indoors.

Equipment
Below is a list of some of the equipment we used to turn our Raspberry Pi into a real-time bird classifier with BirdNET-Pi.
Recommended
- Raspberry Pi Amazon
- Micro SD Card Amazon
- Power Supply Amazon
- Ethernet Cable Amazon or Wi-Fi Amazon
- USB Microphone Amazon or USB Sound Card Amazon
Optional
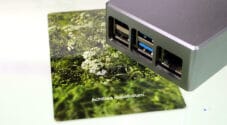
- Raspberry Pi Case Amazon
We last tested this tutorial on a Raspberry Pi 5 that was running Raspberry Pi OS Trixie (64-bit).
Setting up BirdNet-Pi on your Raspberry Pi
The BirdNET-Pi software is actually incredibly easy to set up, especially if you are running this on a clean installation of Raspberry Pi OS. Once this software is installed, most settings can be configured directly through the software’s web interface.
Before you begin, we highly recommend connecting your microphone to your Raspberry Pi. Most USB microphones will work straight out of the box with your Raspberry Pi. However, we do have a guide that walks you through setting up a microphone if yours isn’t working.
Preparing your Raspberry Pi
1. Before we begin installing BirdNet-Pi on our Raspberry Pi, we will need to do some initial preparation steps outside of connecting a microphone.
For this first step, let us ensure everything is up-to-date by running the following two commands within the terminal.
sudo apt update
sudo apt upgrade -yCopy
2. Once the update completes, we must ensure that the “curl” package is installed on your system. We will use this package to run the BirdNet-Pi installation script.
You can install this package by using the command below in the terminal.
sudo apt install curlCopy3. After installing everything, the next preparation step is to set up a static IP address for your Raspberry Pi. This essentially helps ensure it is always accessible from the same IP address.
The best way to achieve this is through DHCP reservation on your router, but we do have a guide that shows you how to achieve a static IP address directly on your Raspberry Pi.
https://pimylifeup.com/raspberry-pi-static-ip-address/Running the BirdNet-Pi Installer on your Raspberry Pi
4. With everything now prepared, installing BirdNet-Pi onto your Raspberry Pi is as simple as running the following command within the terminal.
This command grabs the BirdNet-Pi install script from their GitHub page and passes it to the terminal. This script verifies that you are running a 64-bit system and installs Git. It will then use git to clone the BirdNet-Pi repository and then execute the actual install script.
curl -s https://raw.githubusercontent.com/Nachtzuster/BirdNET-Pi/main/newinstaller.sh | bashCopy5. The installation process can take some time to complete as it has to install and set up several pieces of software on your Raspberry Pi. This includes the model that will be used to listen for and classify the various birds that your attached microphone picks up.
You will know the installation has completed when BirdNet-Pi automatically restarts your Pi.
Accessing the BirdNet-Pi Web Interface
6. Now that BirdNet-Pi is up and running on your Raspberry Pi, accessing its web interface is incredibly simple.
To access the web interface, you must know your Pi’s IP address. If you don’t remember it, you can always use the hostname command within the terminal to retrieve the assigned IP.
hostname -ICopy7. Within your favorite web browser, you will now want to go to the following address.
All you need to do is replace “<IPADDRESS>” with the IP address of your Raspberry Pi. Since BirdNet-Pi operates on the default ports, there is no need to specify any.
http://<IPADDRESS>8. You now have access to the BirdNet-Pi web interface. If everything is working properly, it should automatically detect your microphone and begin to use it to listen for bird noises and classify them.
Of course, there are probably a few different things that you will want to configure, and that is something we will cover in the next step.

Configuring BirdNet-Pi
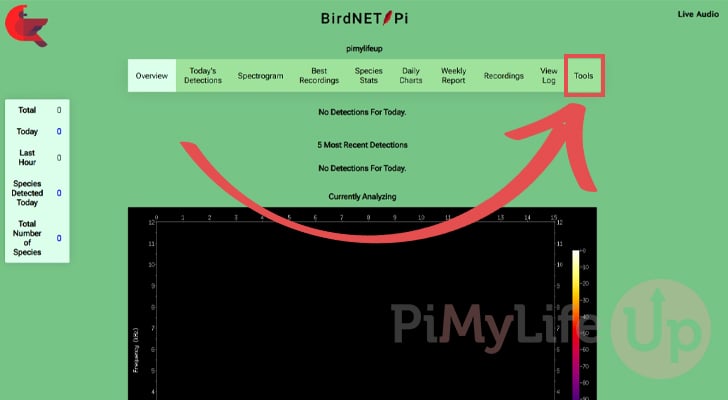
9. While connected to your Raspberry Pi’s BirdNet-Pi web interface, you can access its settings page by clicking “Tools” in the top-right-hand corner of the screen.
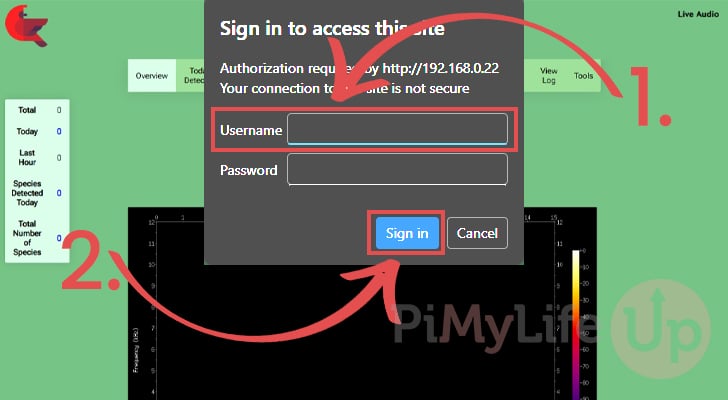
10. When accessing this page, you will be prompted to enter a username and password before continuing.
By default, all you need to do is type in “birdnet” as the username (1.), and you can leave the password blank. After typing in the username, simply click “Sign in” (2.).
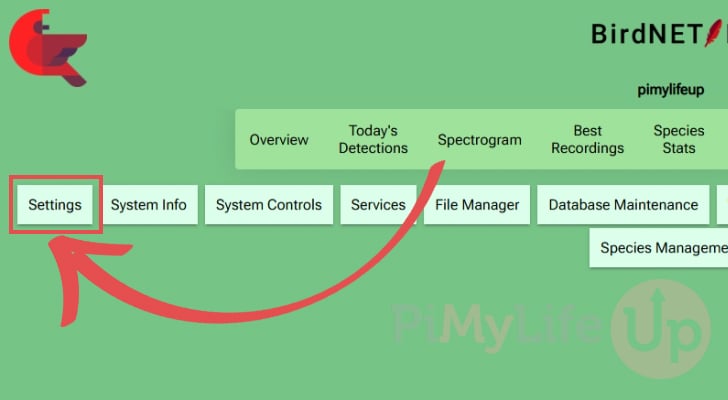
11. You should now be in the tools section of the BirdNET-Pi software. This enables you to do a fair bit, including controlling various aspects of your system. However, the one thing that we are interested in is the “Settings” page.
Click the “Settings” option to continue with this guide.
Updating the Latitude and Longitude
12. The one setting that you will want to update is the latitude and longitude of where you plan on setting up your Raspberry Pi that is running the BirdNET-Pi software. This helps services like BirdWeather tell where you are located in the world.
When BirdNET-Pi first starts on your Raspberry Pi, it will automatically guess your location, but this can often be wildly inaccurate, so it’s best to correct it yourself.
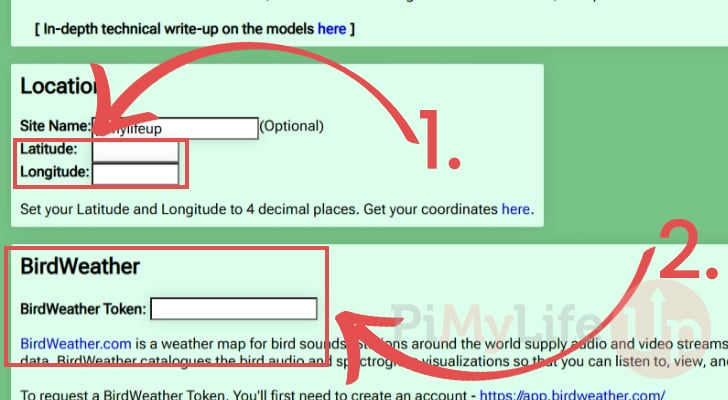
To get the correct values for this, you can use a tool like Google Maps. If you right-click on the screen, you will get the latitude and longitude of that position. Once you have got the correct values, fill out the two textboxes (1.).
While you are on this page, you might also consider setting up BirdWeather (2.). This service catalogs your recordings and makes them available to you and others. Additionally, it enables others to see what birds you are detecting in your area. You do require a BirdWeather account to connect to this service.
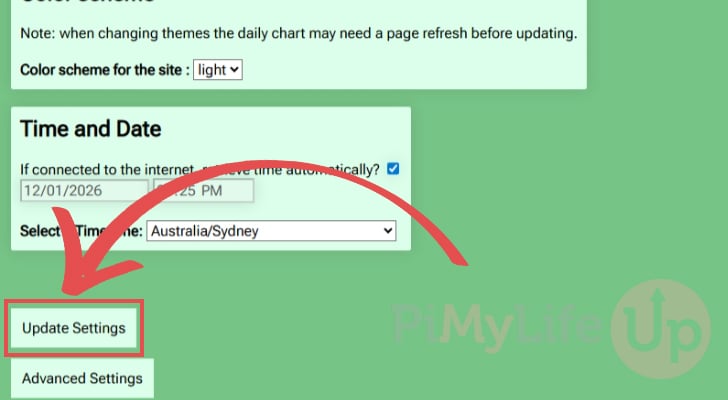
13. Once you have finished configuring the BirdNET-Pi software, scroll to the bottom of the page and click the “Update Settings” button.
Setting a Password for your Raspberry Pi BirdNET-Pi Settings Page
14. Earlier, you will have noticed to access the BirdNET-Pi settings pages, we simply needed to use “birdnet” as the username. This is a rather insecure practice, as anyone with access to your web interface will have control over your Pi.
Luckily, it is possible to set a password to make the web page a little bit more secure. This password is purely for the admin pages.
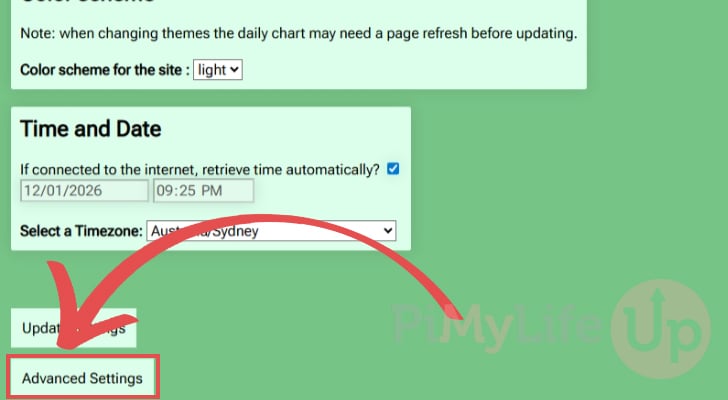
To access the password screen you will need to scroll to the bottom of the “Settings” page and click the “Advanced Settings” button.
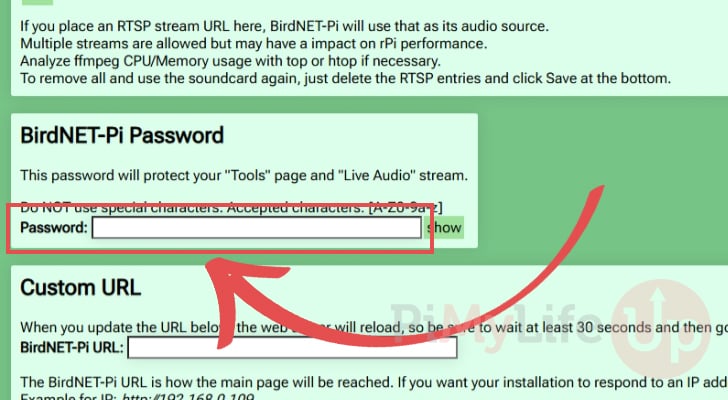
15. Within this page, you will find a textbox labeled “Password”. Type the password you want to use to access these admin pages.
Ensure the password contains only letters and numbers. No special characters are supported by this tool.
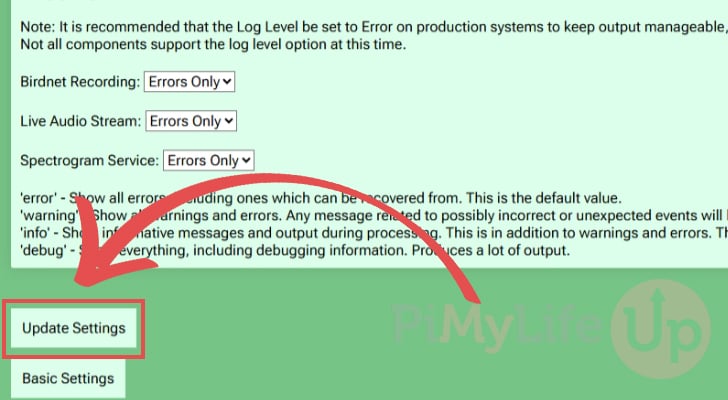
16. For this new password to be set, you must scroll to the bottom of the page and click the “Update Settings” button.
Conclusion
Hopefully, by this point in the guide, you will have successfully set up your Raspberry Pi as a real-time bird classifier by utilizing the BirdNet-Pi software.
BirdNet-Pi is an incredibly powerful and easy-to-use software stack that lets you quickly and easily get your Pi monitoring bird calls. You can have it up and running in a few short minutes and begin seeing the data it gathers immediately.
Please feel free to drop a comment below if you have run into any issues with setting up your Pi with this bird analyzer.
If you found this project helpful, we recommend taking some time to explore our many other Raspberry Pi projects.