In this tutorial, we will be showing you how to view RTMP streams on your Raspberry Pi by using three simple pieces of software.
For those who do not know, RTMP stands for Real-Time messaging protocol. It was initially a proprietary protocol developed by Macromedia for streaming audio, video and data over the Interface, primarily between there Flash player technology and a server.
However, when Adobe purchased Macromedia, they released an incomplete version of the specification of the protocol allowing the development of software such as rtmpdump. It also allowed other companies to be able to implement the protocol in their own software.


Equipment List
Below are all the bits and pieces that I used for this guide on viewing RTMP Streams on your Raspberry Pi.
Recommended
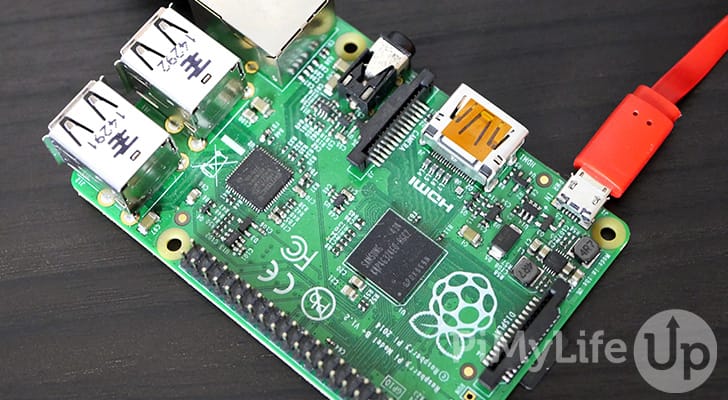
- Raspberry Pi Amazon 2 or newer
- Micro SD Card Amazon
- Power Supply Amazon
- Ethernet Cable Amazon or Wi-Fi Amazon
Optional
- Raspberry Pi Case Amazon
Installing the RTMP Software on the Raspberry Pi
1. Before we get started with setting up the Raspberry Pi to view RTMP streams, we will first need to ensure our Raspberry Pi is completely up to date.
We can do this by running the following two commands on the Raspberry Pi.
sudo apt update
sudo apt upgradeCopy
2. With the Raspberry Pi up to date, we can now proceed with installing the software that we will be utilizing. There are three pieces of software that we will be required, the first of these being rtmpdump.
rtmpdump is a toolkit designed to handle RTMP streams, and we will use this to connect to the RTMP server and capture the stream from the network. While you would typically pass this stream to a file, we will be passing it into a video player.
The second crucial piece of software that we will be utilizing for viewing RTMP streams on our Raspberry Pi is mkfifo. This piece of software allows us to create a specially named pipe to which we will be dumping our RTMP stream.
The third and final piece of the puzzle is omxplayer. This software is the video player that we will be utilizing to playback our RTMP stream on our Raspberry Pi. Omxplayer is a video player that is specifically made for the Raspberry Pi’s GPU, so it is perfect for our task.
Two of these may require installing, while omxplayer comes on most installations of Raspberry Pi OS some lite versions of it may exclude it so we will include it in our installation command.
Run the following command on your Raspberry Pi to install rtmpdump and omxplayer.
sudo apt install omxplayer rtmpdump -yCopy3. Now with the software that we need installed, we can begin setting up everything we need. The first thing we need to do is create a named pipe. This named pipe is essentially a FIFO (First in First Out) memory buffer that we can reference by a name. We will be dumping our RTMP stream into this pipe.
To create this named pipe, we need to run the following command on the Raspberry Pi. In our example, we will be naming our pipe rtmp_pipe, but you can name this anything you want. If you change this, remember to change everything instance of rtmp_pipe in this tutorial with it.
mkfifo rtmp_pipeCopyViewing a RTMP Stream on the Raspberry Pi
4. Finally, we get to the interesting part of the stream, and that is actually dumping and playing back our RTMP Stream. For this example, we will be using rtmp://184.72.239.149/vod/mp4:BigBuckBunny_115k.mov for our stream. This stream is a video of Big Buck Bunny by the Blender Institute, and it’s the same video I used as an example in the Kodi tutorial.
To view this stream we will be passing it into rtmpdump, and this will then dump the stream into our pipe, which will then be loaded in by omxplayer. To do all of this run the following command on your Raspberry Pi.
rtmpdump -r rtmp://184.72.239.149/vod/mp4:BigBuckBunny_115k --live -o rtmp_pipe | omxplayer rtmp_pipeCopy5. The stream should now be loaded in omxplayer and be playing on your screen. If the video successfully loads and plays then you have completed this tutorial correctly.
Conclusion
Hopefully, by now you have setup OMXPlayer and RTMPDump successfully and can stream RTMP streams to your Raspberry Pi without any issues.
This streamer is a fun little media project for the Raspberry Pi that I hope you didn’t run into any issues. Feel free to drop a comment below if you enjoyed this Raspberry Pi RTMP tutorial or you find yourself needing some help getting it up and running.