In this tutorial, we will be showing you how to install and use Open WebUI on the Raspberry Pi.
Open Web UI (Formerly Ollama Web UI) is an open-source and self-hosted web interface for interacting with large language models (LLM).
The idea of this project is to create an easy-to-use and friendly web interface that you can use to interact with the growing number of free and open LLMs such as Llama 3 and Phi3.
If you have ever used ChatGPT through your web browser, you will be very familiar with how Open WebUI works. Its interface is very similar and sports many of the features you would expect.
This web interface is one of the best ways to reproduce the feel of ChatGPT while using your own self-ran LLMS. It even introduces numerous features that make this tool incredibly powerful. You can explore this open-source project’s many features by visiting its GitHub page.
To use Open WebUI on your Raspberry Pi, you will need to have something for it to connect to. This software doesn’t run the models itself and is purely a smart way of interacting with them. Luckily, Ollama is pretty easy to install and run.
Since you need to run a model runner such as Ollama, we highly recommend running at least a Raspberry Pi 5 to get decent speeds.


Equipment
Below is a list of the equipment we used when setting up the Open WebUI interface.
Recommended
Optional
This tutorial was last tested on a Raspberry Pi 5 running the latest version of Raspberry Pi OS Bookworm.
Installing and using Open WebUI on your Pi
In the following sections, we will show you how to install and use Open WebUI on your Raspberry Pi.
Preparing your Raspberry PI
1. Before we start installing and setting up Open WebUI on our Raspberry Pi, we must first run through a few tasks.
Your first task is to ensure the operating system is up-to-date by using the following two commands within the terminal.
sudo apt update
sudo apt upgrade -yCopy
2. To run Open WebUI, we will utilize Docker. Docker is the easiest way to get this web interface installed and running on your Pi.
If you have yet to install Docker, we highly recommend following our guide.
https://pimylifeup.com/raspberry-pi-docker/3. With Docker now installed, your next step is to install Ollama on your Raspberry Pi.
Open WebUI doesn’t process messages; it just provides a sleek interface for interacting with large language models. In our case, we will use Ollama to process any messages we send to the interface.
https://pimylifeup.com/raspberry-pi-ollama/Allowing Docker Access to Ollama on your Pi
4. By default, Ollama is configured to only listen on the local loopback address. Luckily, we can change this to listen on all addresses. If we don’t, Open WebUI on our Raspberry Pi won’t be able to communicate with Ollama.
To start this process, we need to edit the Ollama service using the following command.
sudo systemctl edit ollama.serviceCopy5. Within this file, you will want to find the following line. It should be near the top of this file.
### Anything between here and the comment below will become the new contents of the fileCopy6. After finding this line, you must add the following. This line sets an environment variable that tells Ollama to listen on all IP addresses.
[Service]
Environment="OLLAMA_HOST=0.0.0.0"Copy
7. After adding the above lines, save and quit by pressing CTRL + X, Y, and then ENTER.
8. Since we made some changes to the Ollama service we will need to restart the Systemd daemon using the following command.
sudo systemctl daemon-reloadCopy9. After the daemon has been reloaded, you can restart Ollama by running the command below within the terminal.
sudo systemctl restart ollamaCopyCreating Folders for Open WebUI on your Raspberry Pi
10. With Ollama now reconfigured, we can install Open WebUI on our Raspberry Pi.
The first part of this process is to create a directory to store the Open WebUI Compose file and give it a place to store its data.
You can create this directory using the mkdir command, as shown below.
sudo mkdir -p /opt/stacks/openwebuiCopy11. With the new directory created, change to it by using the cd command.
cd /opt/stacks/openwebuiCopyWriting a Docker Compose File for Open WebUI on the Raspberry Pi
12. After changing to the Open WebUI directory, we can move on to writing the Compose file for the software.
This Compose file will tell Docker how to install and run Open WebUI on your Raspberry Pi.
sudo nano compose.yamlCopy13. Within this file, you will want to enter the following lines.
services:
  open-webui:
    image: ghcr.io/open-webui/open-webui:main
    container_name: open-webui
    volumes:
      - ./data:/app/backend/data
    ports:
      - 3000:8080
    extra_hosts:
      - host.docker.internal:host-gateway
    restart: unless-stoppedCopy
14. Once done, save and quit by pressing CTRL + X, Y, and then ENTER.
Starting Open WebUI
15. After you have finished writing the Compose file, you can start up Open WebUI container on your Raspberry Pi by running the command below.
This process can take a few minutes as Docker downloads the various layers and starts the service.
docker compose up -dCopyAccessing the Open WebUI Interface
16. Now that you have Open WebUI up and running on your Raspberry Pi, you will want to access its interface.
If you don’t know the IP address of your Raspberry Pi, you can use the hostname command.
hostname -ICopy17. In your favorite web browser, go to the following URL.
Ensure that you replace “<IPADDRESS>” with the IP of your Pi to continue.
http://<IPADDRESS>:3000Creating an account with Open WebUI
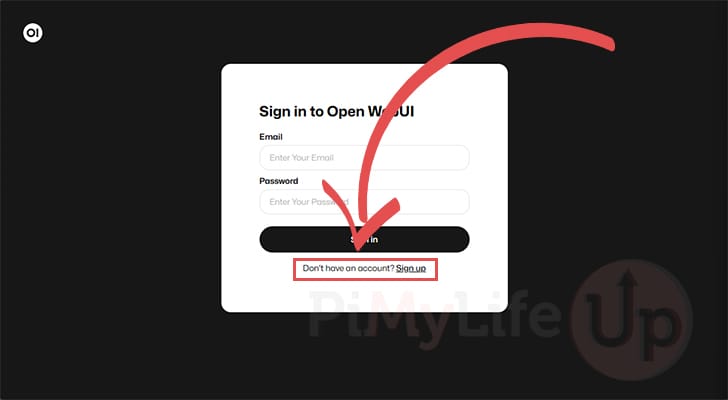
18. Before you can access the Open WebUI interface, you must to create an account. The first account that you create will become the admin for the web interface.
To begin creating a new account, click the “Sign up” link.
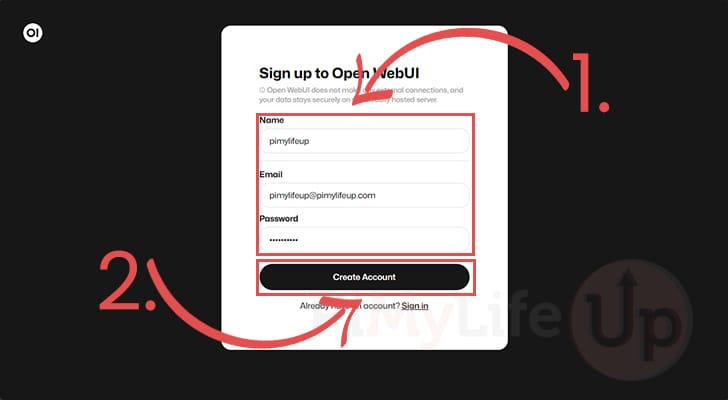
19. On this next screen, fill out the information you want to use for your Open WebUI admin account (1.).
After typing out the email and password you want to use, click the “Create Account” button (2.).
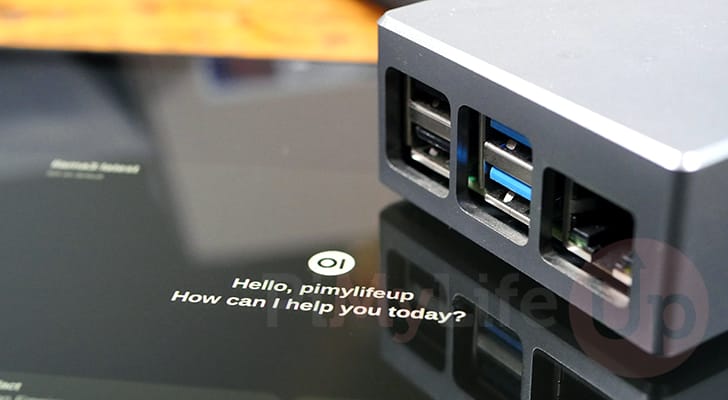
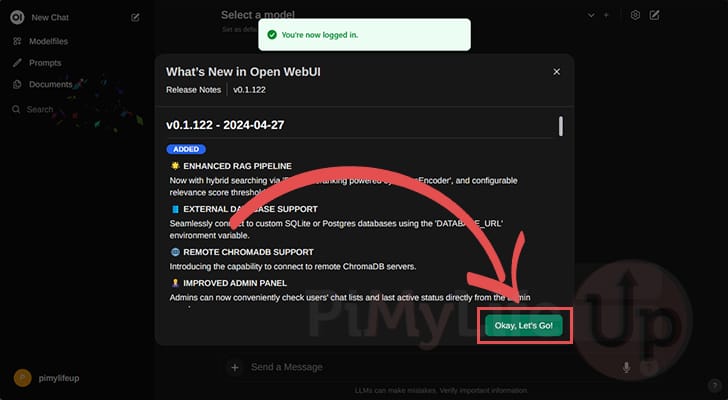
20. Upon creating your account, you will be automatically logged in to the web interface.
Since this is the first time opening Open WebUI, you will be greeted with a changelog. To see the interface, click the “Okay, Let's Go!” button.
Selecting a Model for Open WebUI to Run on your Raspberry Pi
21. Now that you have Open WebUI installed on your Raspberry Pi, you will probably want to know how to use it.
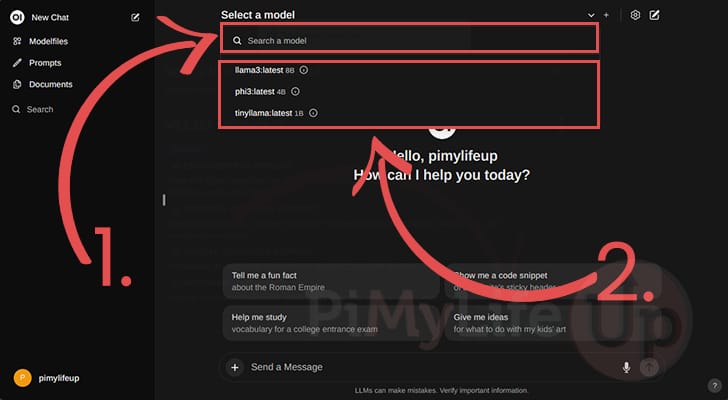
First, you must select a model for Open WebUI by clicking the select box (1.) at the top of the screen.
Following our Ollama guide, you should already have some LLMs referenced in this list. Select the AI model you want Open WebUI to use for the current session (2.).
Please note: If you are missing models here, Ollama is either not running or you haven’t yet installed any models. You can visit our Ollama tutorial to see how to pull a new LLM, or you can skip to the next section to see how to do this through the web interface.
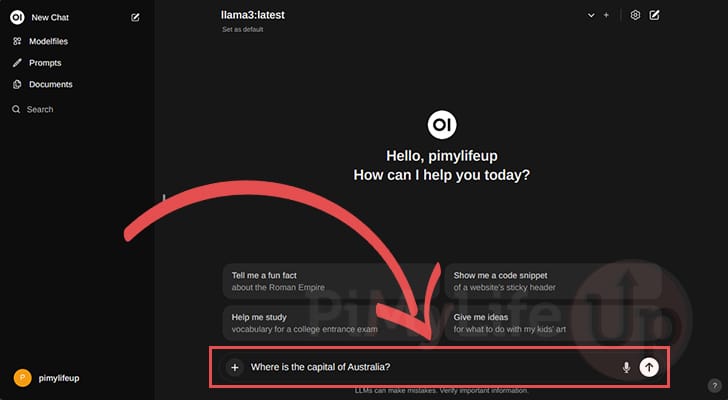
22. Once a language model is selected, you can type in a message in the textbox at the bottom of the screen and press ENTER.
OpenWeb UI will send this message to your runner, which in this case will be Ollama, and then return the result as it becomes available.
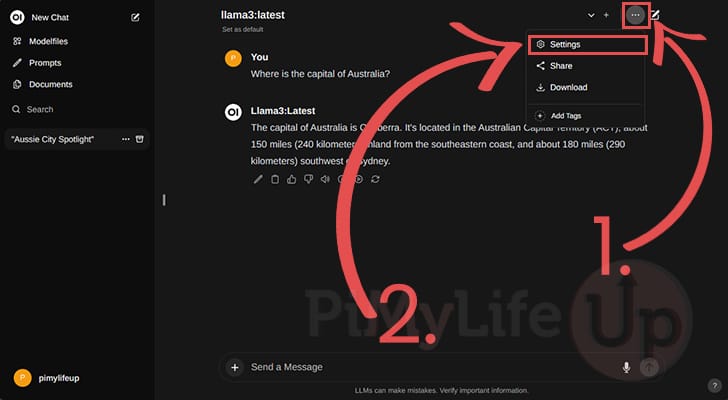
23. Below, you can see how we asked the model, “What is the capital of Australia?” and then the response generated by the AI.

Managing Models through Open WebUI
24. OpenWebUI allows you to easily manage the models downloaded by Ollama on your Raspberry Pi.
To begin managing models through the web interface, click the three dots (...) icon in the top-right corner (1.).
In the drop-down box, click the “Settings” option (2.).
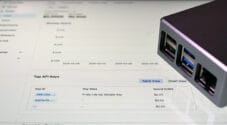
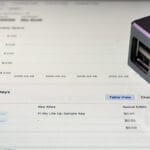
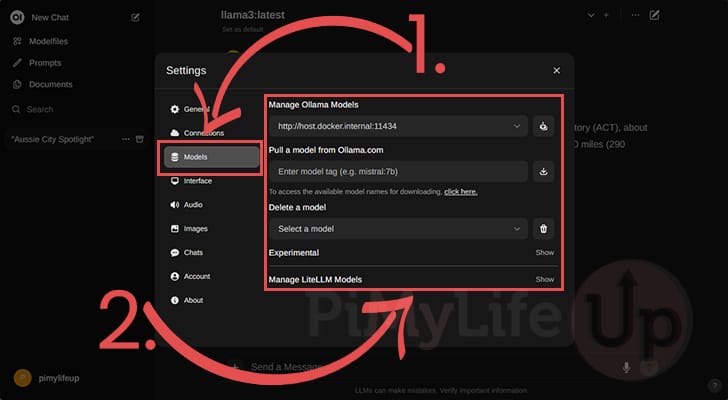
25. With the settings panel open, change to the “Models” tab (1.).
On this tab ,you can manage the models that Ollama will have available for you to use (2.). You can even use this tool to install new models.
Updating Open WebUI on the Raspberry Pi
This section will show you how you can easily update to the latest version of Open WebUI on your Raspberry Pi.
A key advantage of using Docker to run your software is that it makes updating a straightforward process.
1. Using the following command within the terminal you can change to the directory where we wrote the Open WebUI Compose file.
We need to be in this directory to tell Docker to pull the latest version of the software.
cd /opt/stacks/openwebuiCopy2. Once you are in the correct place, the command below will download the latest version of the Open WebUI image to your Pi.
Docker will not move your containers automatically to the new release.
docker compose pullCopy3. To get Docker to move our running container over to the new version of Open WebUI, all you need to do is use the command below.
Docker will detect the new version of Open WebUI, stop the current one, and move it over to it.
docker compose up -dCopyConclusion
At this point in the tutorial, you will now have Open WebUI running on your Raspberry Pi.
This web interface is very similar to ChatGPT and provides a great way to access and interact with large language models.
Additionally, this is packed with additional features, including the ability to use multiple models within one chat session.
Please drop a comment below if you run into any issues with getting this software to run on your Pi.
If you found this tutorial to be useful, please consider checking out our many other Raspberry Pi projects.