In this project, we will be showing you how to install and run Linkwarden on your Raspberry Pi.
Linkwarden is a self-hosted bookmark manager with some interesting and useful features.
This tool can be used to easily collect, organize, and archive web pages you have visited, ensuring the page still exists when you next want to check it out.
Linkwarden achieves this on your Raspberry Pi by taking screenshots of the page and generating a PDF. These screenshots and PDFs will ensure you still have access, even if the website or link breaks.
You will immediately love this software if you have ever returned to an old bookmark only to be met with a 404 page.
Another core feature of this software is that it has been designed with collaboration in mind. You can have multiple users with both private and public sets of links.
Best of all, this software is actually straightforward to get up and running. All you need to be running is a 64-bit operating system on your Raspberry Pi. It does not have support for 32-bit.
This means that you must be running a Raspberry Pi 3 or newer.
Equipment
Below is a list of equipment we used when setting up Linkwarden on our Raspberry Pi.
Recommended
Optional
This tutorial was last tested on a Raspberry Pi 400 running the latest version of Raspberry Pi OS Bullseye 64-bit.
Installing Linkwarden on the Raspberry Pi
In this section, we will be showing you how to install the Linkwarden software onto your Raspberry Pi.
This involves installing Docker, an additional package than modifying the configuration file slightly.
Preparing your Raspberry Pi to Run Linkwarden
1. Before we start setting up this bookmark manager on our Raspberry Pi, we should first update the operating system.
Updating the operating system and upgrading any out-of-date packages is as straightforward as running the following command.
sudo apt update
sudo apt upgrade -yCopy
2. Once the update completes, you must follow our guide on installing Docker to the Raspberry Pi.
This guide covers all the steps to get Docker running on your system correctly.
We use Docker because it makes getting Linkwarden running a quick and easy process. For example, you don’t have to worry about setting up PostgreSQL on your Raspberry Pi.
3. After installing Docker, we may continue preparing to install Linkwarden to our Raspberry Pi.
Our next step is to install Git. Git will allow us to clone the latest version of the bookmark manager.
sudo apt install gitCopy4. Before we continue any further, we need to generate a couple of secure strings for Linkwarden to use.
Run the following command twice: the first will be for the Linkwarden secret, and the Postgres database will use the second.
openssl rand -base64 12CopyInstalling Linkwarden to the Raspberry Pi
5. We can finally begin the process of installing Linkwarden on the Raspberry Pi.
Our first step is to clone the Linkwarden repository to our device by using the following command.
git clone https://github.com/linkwarden/linkwarden.gitCopy6. After cloning the Linkwarden repository, we must change into the directory using the cd command.
cd linkwardenCopy7. We now need to write an environment file that will set a couple of key things. Here is where you will need those two keys you generated earlier.
Begin writing this file by using the following command. We are using the nano text editor as it is one of the easier to use terminal editors.
nano .envCopy8. Within this file, you must add the following lines.
<YOURNEXTAUTHSECRET>: Replace this with one of the passwords you generated earlier. This secret is used to help encrypt tokens generated by the authentication system.<YOURPOSTRESPASSWORD>: The second password you generated is used for Linkwarden to talk with the Postgres database.<LOCALHOST>: If you are using a domain name, then you will want to replace this with it.
Alternatively, if you are only using this locally, or without a domain name, you can set this to “localhost“.
NEXTAUTH_SECRET=<YOURNEXTAUTHSECRET>
POSTGRES_PASSWORD=<YOURPOSTGRESPASSWORD>
NEXTAUTH_URL=http://<localhost>:3000Copy
9. After adding these lines to the file, you can save and quit by pressing CTRL + X, followed by Y, then ENTER.
10. After updating this file, you can finally start up the Linkwarden bookmark manager on your Raspberry Pi.
All we need to do now is use Docker Compose to start the container. By using the “-d” option, we are telling Docker to detach the container from the current terminal session.
docker compose up -dCopyPlease note that this process can take a few minutes to complete. It needs to download the Linkwarden and Postgres containers and start them up.
Quick Overview of the Linkwarden Web Interface
Now that you have Linkwarden on your Raspberry Pi, you will want to know how to access and use it.
This section will quickly go over adding your very first bookmark.
Accessing the Linkwarden Web Interface
1. To access Linkwarden, you will need to know the IP address of your Raspberry Pi.
Once you have it, you will want to go to the following URL in your web browser. Ensure you replace “<YOURIPADDRESS>” with the IP of your Raspberry Pi.
http://<YOURPIADDRESS>:3000Creating your Account
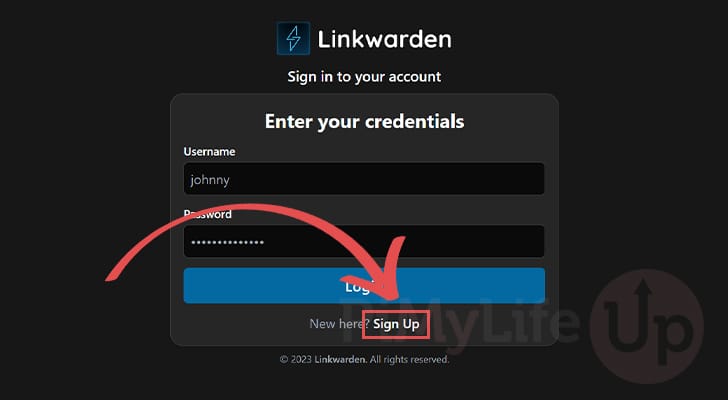
2. After opening up Linkwarden, you will be greeted with the following screen. At the moment, you don’t have an account, so you will need to create one.
To begin this process, click the “Sign Up” text.
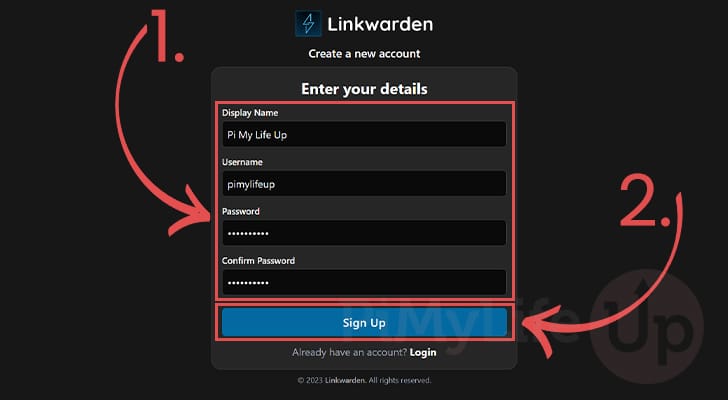
3. You will now need to fill out all of the information you want to use for your Linkwarden account (1.).
Once you have filled out your info, all you need to do is click the “Sign Up” button (2.).
Logging into the Raspberry Pi Linkwarden Interface
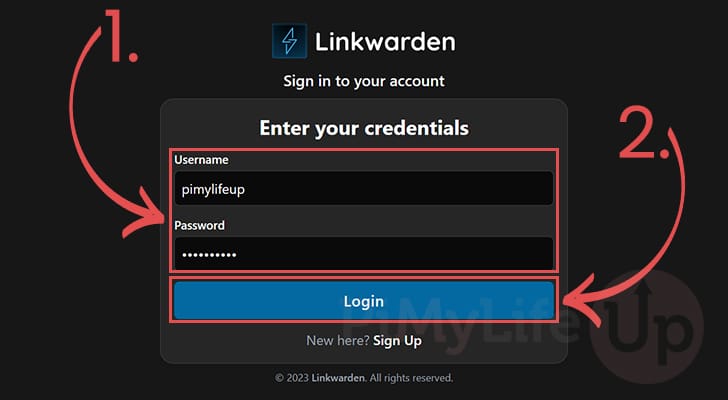
4. Now fill in the username and password that you just set (1.).
After filling out your information, click the “Login” button (2.).
Adding your First Bookmark
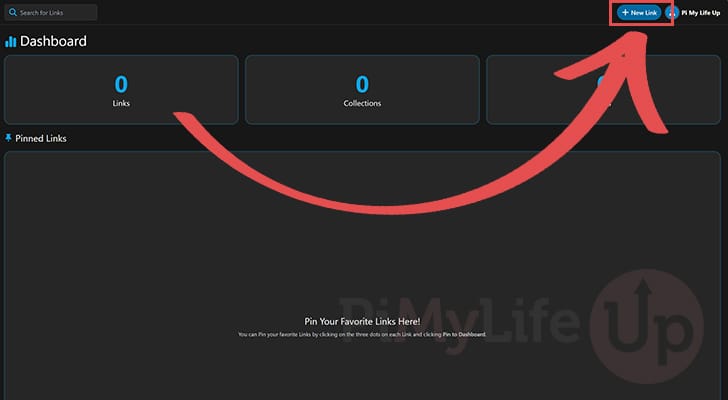
5. You will now be greeted by the Linkwarden dashboard. Since you haven’t added any links, it will look very blank.
To add a new link, click the “New Link” button in the top-right corner.
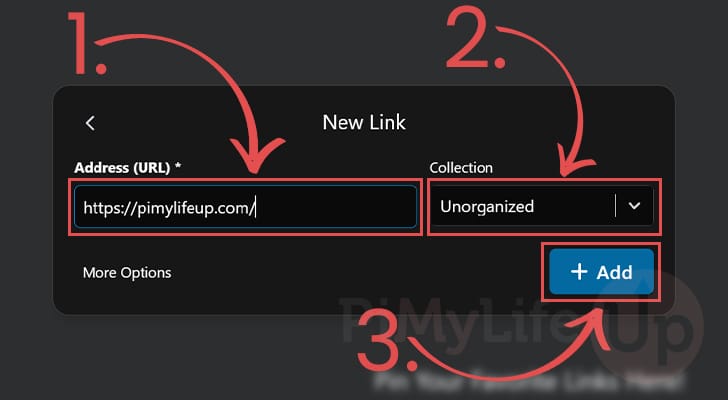
6. When adding a new link, you must start by typing in the URL (1.) you want to bookmark on your Raspberry Pi.
While adding your new link to Linkwarden, you can also select a category to put this link under (2.). You can change this later if you want.
Once you are happy, click the “+ Add” button (3.).
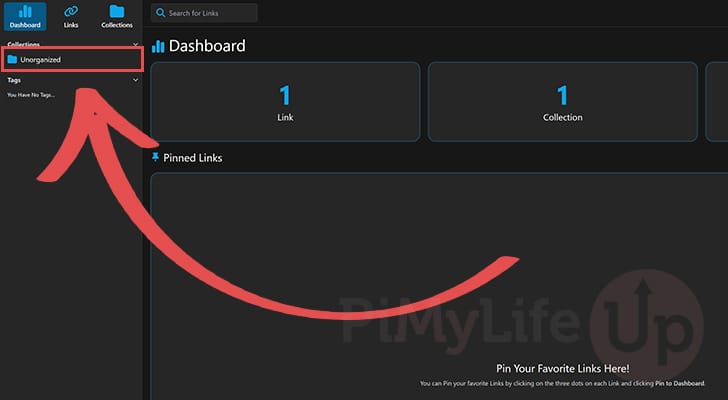
7. You have now successfully added your first link bookmark to your Raspberry Pi Linkwarden installation.
If you browse to your collection, you will be able to find this bookmark and the PDF and screenshot it generated.
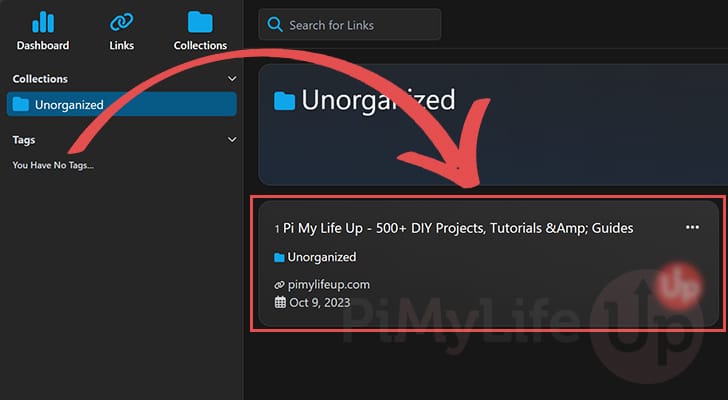
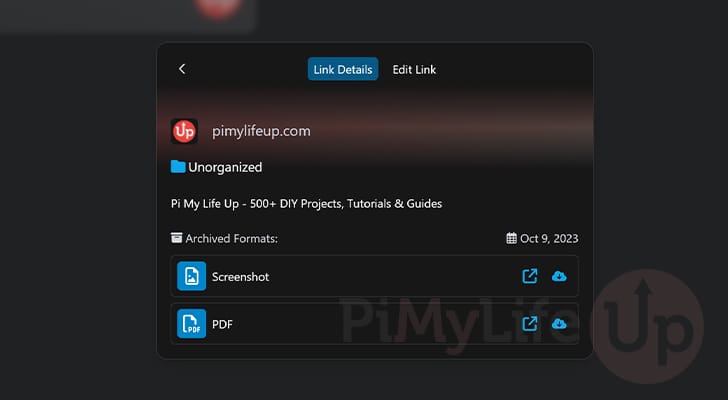
8. After browsing to our collection you can see that we added the Pi My Life Up homepage to our Raspberry Pi bookmark manager.
By clicking the link, we will be given even more information.
9. Here, you can find the link, screenshot, and PDF that Linkwarden generated for that website.
The screenshot and PDFs this software generates is possibly the most helpful feature of Linkwarden.
Conclusion
Hopefully, at this point in the guide, you will now understand how to install and use Linkwarden on the Raspberry Pi.
Linkwarden is a powerful bookmark manager for the Raspberry Pi that offers many useful features. The most useful of these features is its ability to generate archives of your links.
These archives help stop you bookmarks from being destroyed when a website shuts down or changes its link structure.
Please feel free to comment below if you have any issues with getting this bookmark manager up and running on your Raspberry Pi.
If you found this tutorial useful, we have plenty of other projects you can do on your Raspberry Pi.