In this guide, we will be showing you how to install the media center software, LibreELEC, to your Raspberry Pi.
LibreELEC is an open-source Linux distribution with just enough packages installed for Kodi to be able to work.
The project started as a fork of the now-abandoned OpenELEC project. LibreELEC is meant to provide an operating system that contains the bare necessities to run the Kodi media center software.
By running a super slim distribution, LibreELEC can maximize Kodi’s performance on your Raspberry Pi. The distribution also helps minimize the amount of space the operating system consumes.
LibreELEC is regarded as one of the best operating systems for running Kodi on the Rasberry Pi.
If you would like to run other software alongside Kodi, you will need to use a distribution that features a full operating system such as OSMC or XBian. You can also install Kodi on the Raspberry Pi OS yourself if you wanted.
Equipment List
Below we have included a list of the equipment that you will need to install LibreELEC on your Raspberry Pi.
Recommended
- Raspberry Pi Amazon
- Micro SD Card Amazon
- Power Supply Amazon
- Ethernet Cable Amazon or Wi-Fi Amazon
- HDMI Cable Amazon
- Monitor Amazon
Optional
This tutorial on installing the LibreELEC software was tested on a Raspberry Pi 4.
Downloading LibreELEC for the Raspberry Pi
In this section, we will be quickly walking you through the steps to download the appropriate LibreELEC image for the Raspberry Pi you are using.
Before proceeding with this section, make sure that you know which Raspberry Pi you want to use LibreELEC on.
LibreELEC has support for all currently released versions of the Raspberry Pi.
1. There are multiple versions of the LibreELEC distribution available for the Raspberry Pi.
Each version of the LibreELEC operating system targets a particular set of hardware, so ensure that you download the correct one for your version of the Raspberry Pi.
You can download the LibreELEC image for the Raspberry Pi by going to the download page.
2. In the next section, we will be showing you how to install the LibreELEC image to a SD card for use in the Raspberry Pi.
Installing LibreELEC to your Raspberry Pi
For this section, you will need to make sure you have an SD card ready for your Raspberry Pi. We will be writing the LibreELEC image to this SD card during this section.
3. To write the LibreELEC image to our SD card, we will be using a piece of software called Etcher.
Etcher is a useful piece of software that can write images to SD cards and USB drives. The software is available for Windows, macOS, and Linux.
Once you have downloaded and installed Etcher, you will be able to proceed with this section.
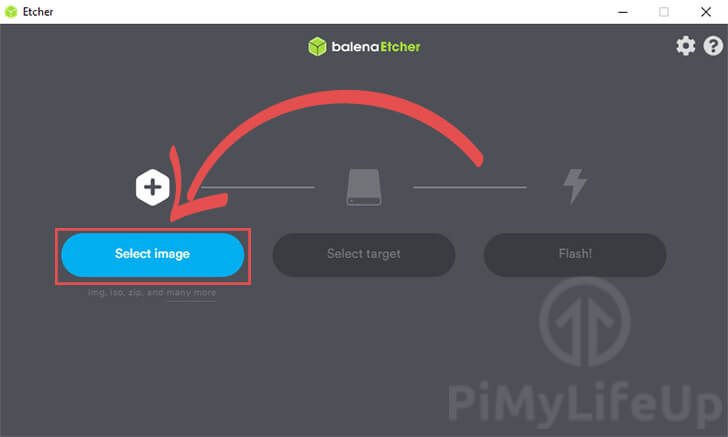
4. Within the Etcher software, you will need to start by clicking the “Select Image” button.
Using the file dialog, find and select the LibreELEC image you downloaded in the previous section.
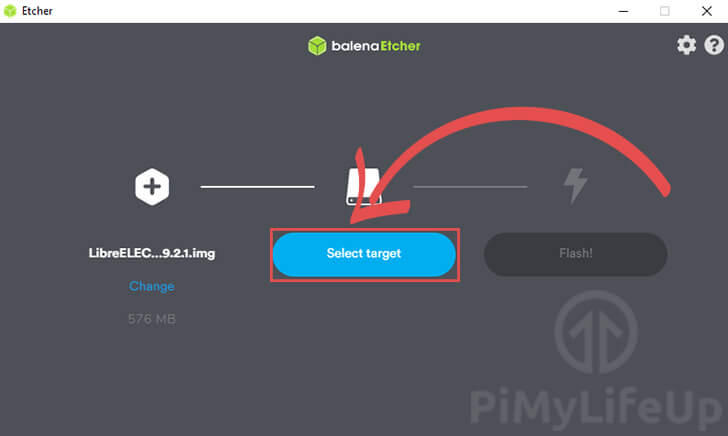
5. Our next step is to select the drive we want to write the LibreELEC image to. You can click the “Select target” button to bring up the list of available devices.
Make sure the drive you select is the same one you intend on using with your Raspberry Pi.
If you only have one compatible device connected, the Etcher software will automatically select it for you.
6. To start the flashing process, you will need to click the “Flash!” button.
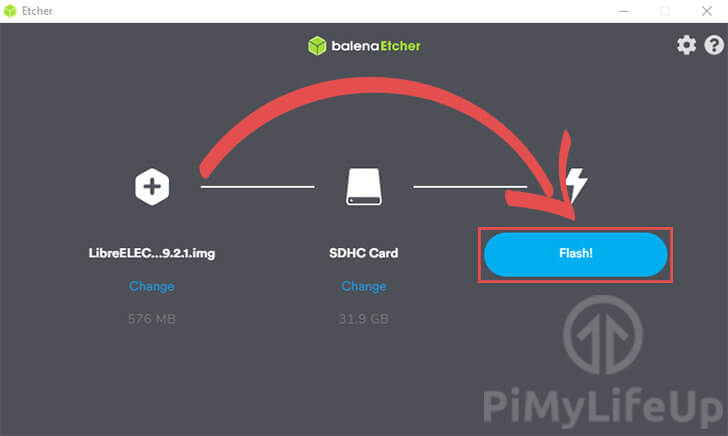
Please note this process can take some time as it writes the LibreElEC image to your SD card then verifies its contents.
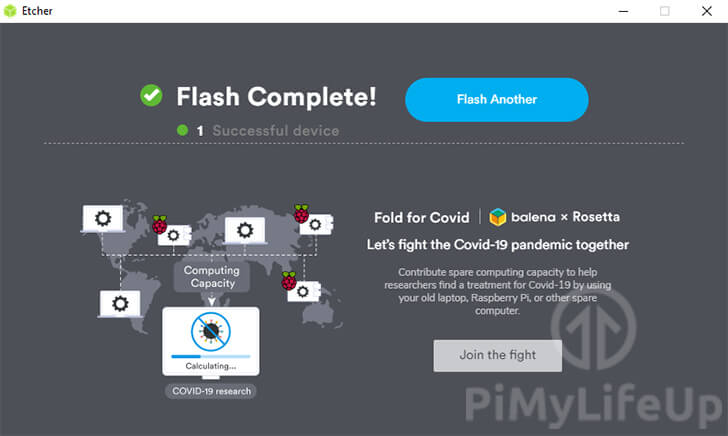
7. Once the flashing process has completed, you can proceed to make use of LibreELEC on your Raspberry Pi.
First Setup of LibreELEC on the Raspberry Pi
In this section, we will be walking you through your first run of LibreELEC on the Raspberry Pi. During your first run, you will be asked to configure various components of the LibreELEC operating system.
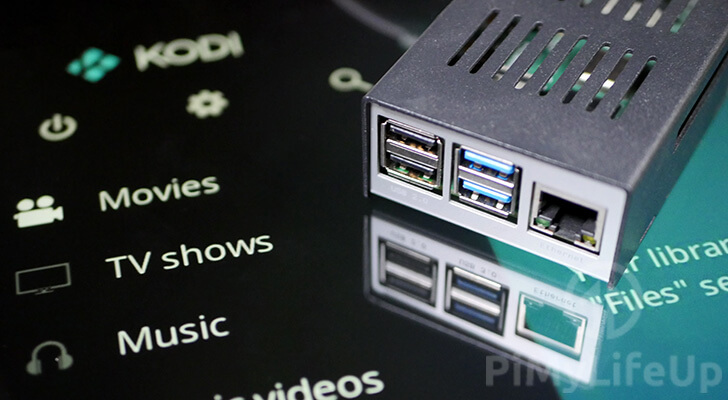
8. You will be greeted by the Kodi splash screen whenever you start up LibreELEC on your Raspberry Pi.
This splash screen will differ slightly depending on what version of Kodi that release of LibreELEC is using.

9. Once LibreELEC has started up, you will be asked to configure some settings to get Kodi set up.
The very first option you will be greeted with is the language setting. You can modify your language by clicking the currently specified language (1.).
Once you have selected your language, you can now click the “Next” button to proceed.
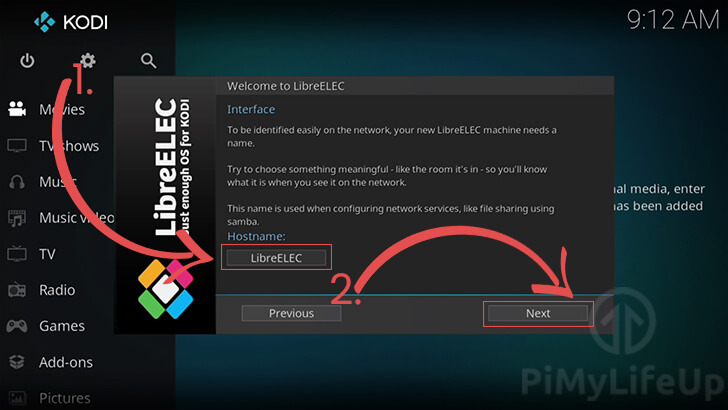
10. On the next setup screen, you will be asked what hostname you want your Raspberry Pi to use.
By default, the hostname used for your Pi will be set to “LibreELEC“.
You can modify the hostname by clicking “LibreELEC” (1.).
Once you are happy with the specified hostname, you can click the “Next” button.
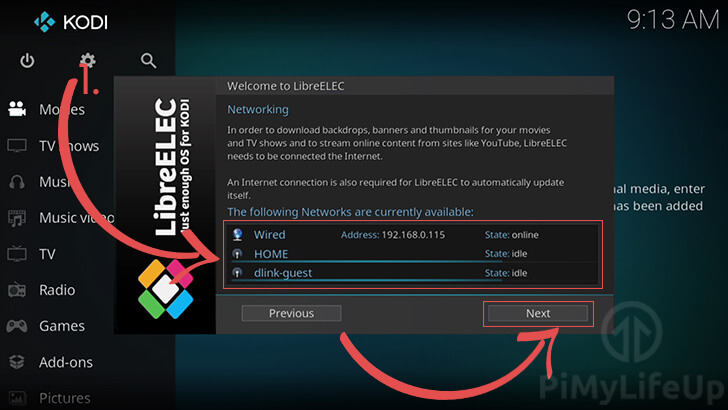
11. Within this screen, we can set up the network settings for our Raspberry Pi.
This interface allows you to see all the available networks and give you the ability to connect to them easily (1.).
Any wired connections will automatically be connected. For a wireless connection, all you need to do is click the connection and follow the prompts.
Once you have configured the network settings for your Raspberry Pi, click the “Next” button (2.).
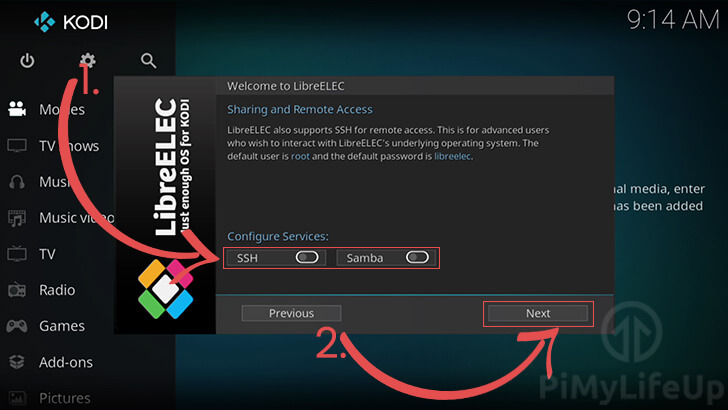
12. The last setting we need to configure is the additional services that LibreELEC offers.
The two services that the LibreELEC operating system offers are SSH and Samba (1.).
SSH allows outside access to your Raspberry Pi’s terminal. This service is only useful if you need to configure various aspects of the LibreELEC operating system.
For most people, it is safer to leave this option disabled unless you need it. If you do decide to use SSH, it is recommended to follow the prompts to change the password for the account.
Enabling the Samba service will help LibreELEC talk with Windows devices. If you have Windows devices on your network, we recommend that you enable this option.
Once you have enabled the services you want, click the “Next” button to finish setting up LibreELEC on the Raspberry Pi.
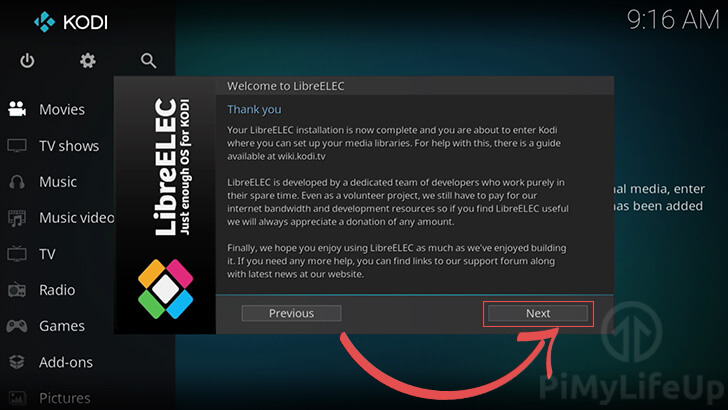
13. At this point, you will now see a message box thanking you for completing your set up of LibreELEC.
This screen also points you towards the Kodi Wikipedia for guides on setting up and configuring Kodi on your Raspberry Pi.
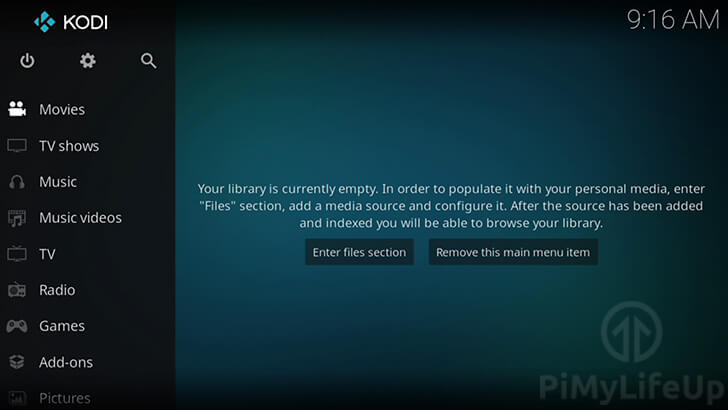
14. You can now proceed to configure LibreELEC on your Raspberry Pi.
The first step you should take is to add all your media libraries to Kodi.
Conclusion
At this point, you should now hopefully have LibreELEC up and running on your Raspberry Pi.
If you have any issues with the installation process for LibreELEC, feel free to drop a comment below.