In this tutorial, we will be showing you how to set up I2C on your Raspberry Pi.
I2C stands for inter-integrated circuit and is a method designed to allow one chip to talk to another synchronously.
The Raspberry Pi features in-built support for the I2C protocol allowing it to connect and talk with a variety of I2C capable circuits.
Two examples of I2C capable circuits that we have used in our Raspberry Pi projects before are the VEML6075 UV Sensor and the ADXL345 Accelerometer.
One of the coolest things about the I2C protocol on the Raspberry Pi is that it can support multiple devices. A unique address is used to identify each of the I2C devices that you have connected to your Raspberry Pi.
Equipment
Below is the equipment that we used for setting up our Pi for I2C.
Recommended
- Raspberry Pi Amazon
- Micro SD Card Amazon
- Ethernet Cable Amazon or Wi-Fi Amazon
- Power Supply Amazon
- I2C capable device such as a VEML6075 UV Sensor Amazon
Optional
Installing the I2C Tools to your Raspberry Pi
Before we enable the protocol on our Raspberry Pi, let us install the I2C tools.
1. However, before we install the I2C tools, we need first to update our device.
To update the package list then upgrade the packages, all we need to do is run the command below.
sudo apt update
sudo apt full-upgrade
2. Once your Raspberry Pi has finished updating, we can install the I2C tools and the Python SMBus package.
To install these two packages, run the following command.
sudo apt install -y i2c-tools python3-smbusThe i2c-tools package allows us to interact with the I2C protocol on our Raspberry Pi. Using this, we will be able to detect our I2C connections.
The python3-smbus package will allow us to interact with I2C devices from our Raspberry Pi by using Python.
Enabling the I2C Protocol on the Raspberry Pi
In this section, we will be showing you how to enable the I2C protocol on your Pi. By default, support for I2C isn’t enabled within the kernel.
1. To enable support for I2C within the kernel, we will need to use the raspi-config tool.
Launch the config tool by running the following command.
sudo raspi-configWhile you are within this tool, you can use the ARROW keys to navigate and the ENTER key to select.
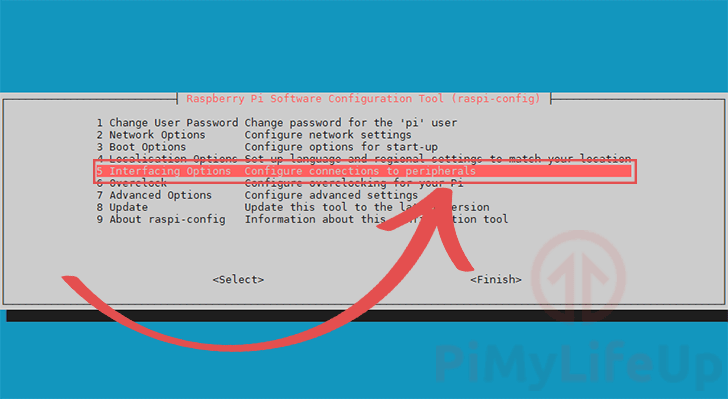
2. Within this tool, we need to go to 5 Interfacing Options.
This page contains all the options for the serial interfaces that the Raspberry Pi supports.
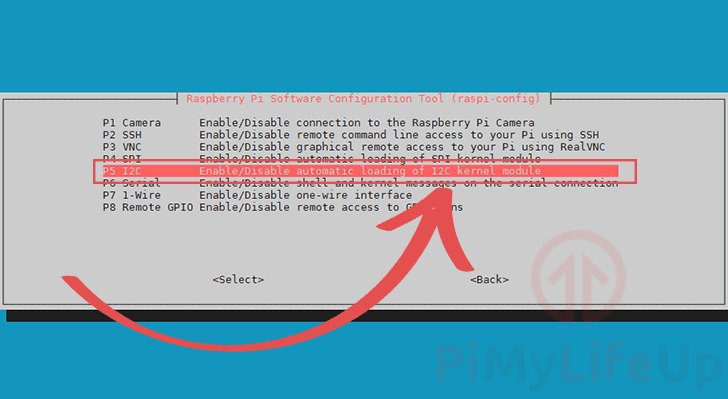
3. Next, you need to select P5 I2C.
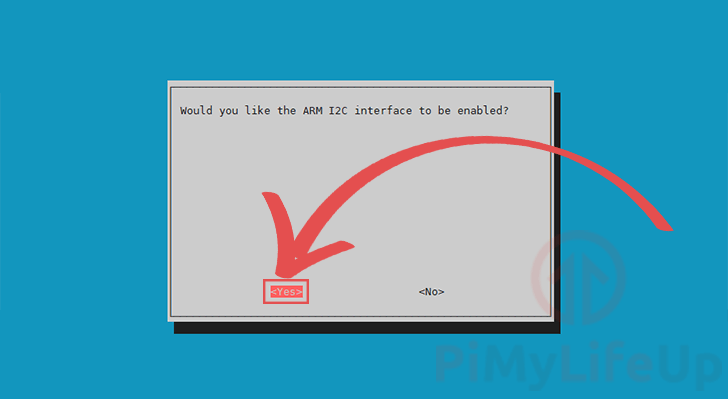
4. You will now be asked if you want to enable the ARM I2C interface.
To enable the interface, select the <Yes> option, then press the ENTER key.
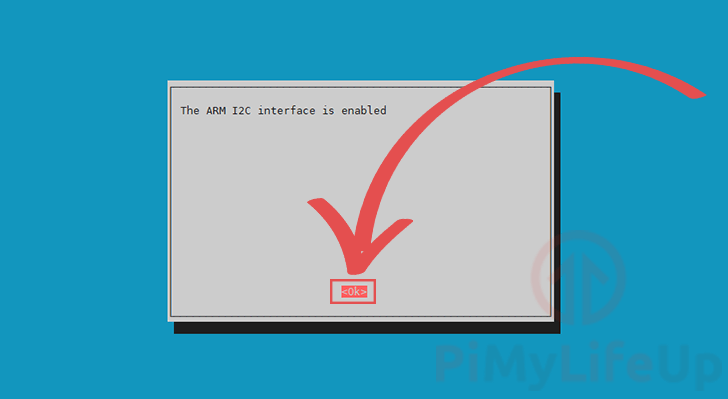
5. You will now be notified that you have enabled I2C on your device.
You can now quit out of the tool by making use of the ESC key.
6. For our changes to take effect, we need to restart our Raspberry Pi.
To restart the Raspberry Pi, all we need to do is use the command below.
sudo rebootThe changes to the kernels settings will be loaded when the Raspberry Pi finishes rebooting.
Testing your I2C Connection
Now that we have I2C enabled on our device, let us test that it is detecting connections.
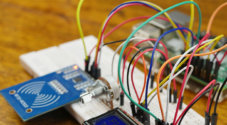
For this section, you will need to make sure that you have an I2C capable connected to your device using the correct GPIO pins.
If you are unsure what pins to use, be sure to check out our pinout guide. This guide will provide you some useful graphics for using the right pins.
1. Once you have an I2C device wired up, we can use the i2c-tools package we installed earlier to detect the device.
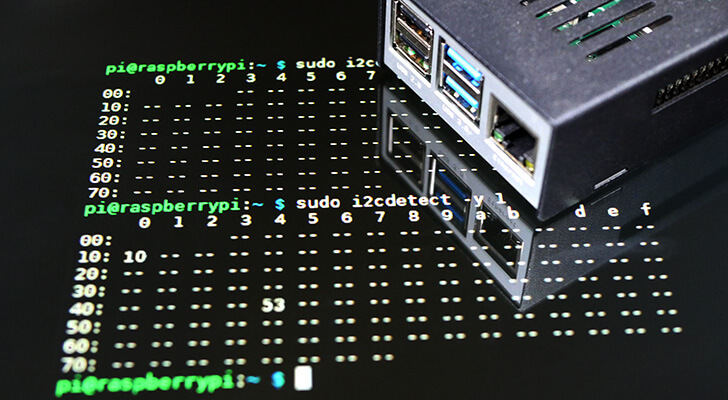
Detect all the current devices connected to your Raspberry Pi by running the following command.
sudo i2cdetect -y 1Please note that this command differs if you are using the very first Raspberry Pi.
While the modern Pi’s use port 1, the original used port 0. For the original Pi, use the command below.
sudo i2cdetect -y 02. From this command, you should see some hexadecimal numbers appear within the grid.
These numbers represent the address in which your I2C device can be accessed.
If you only see hyphens -- then you will need to check that you have wired your circuit correctly. If that fails to work, then you may have a faulty device.
Hopefully at this stage, you will have successfully got the I2C protocol working on your Raspberry Pi.
If you have run into any issues or have any feedback, then feel free to leave a comment below.


Thank you! This worked for me on my Raspberry Pi 4.