In this tutorial, you will learn how to enable the SPI interface on the Raspberry Pi.
SPI stands for serial peripheral interface and is a synchronous serial communication interface that is used for one device to send data to another.
The SPI protocol is somewhat similar to I2C in that both protocols are designed to allow devices to communicate together.
The advantage of a circuit using SPI is its communication and speed capabilities. The speed and communication improvements are primarily thanks to having two separate channels for data in and data out.
While being more complicated to wire together, SPI can send data significantly faster then what the I2C protocol is capable of.
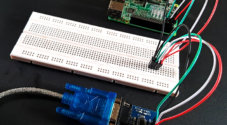
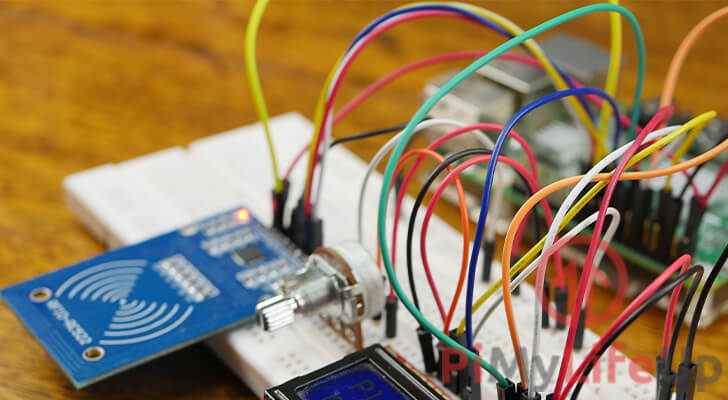
We use an SPI connection within our RFID tutorial to communicate with the RC522 chip from our Raspberry Pi.
Even though the Raspberry Pi is only equipped with one SPI bus, it has two available channels.
Equipment
Below is a list of the equipment that we used to enable and test SPI on the Raspberry Pi.
Recommended
- Raspberry Pi Amazon
- Micro SD Card Amazon
- Ethernet Cable Amazon or Wi-Fi Amazon
- Power Supply Amazon
- SPI capable device such as the RC522 RFID Reader Amazon
Optional
Enabling support for SPI on your Raspberry Pi
Support for the SPI bus interface is disabled by default within the Raspberry Pi’s kernel.
In this section, we will be showing you how to enable SPI using the raspi-config tool.
1. To start, we should first make sure that we are using the latest available version of raspi-config.
To update it and all other packages, we will need to run the following two commands.
sudo apt update
sudo apt full-upgrade
2. Once the Pi has been updated, we can now start up the config tool.
To load into it, we will need to run the following command.
sudo raspi-configWithin this tool, you need to use the ARROW keys to navigate and the ENTER key to select.
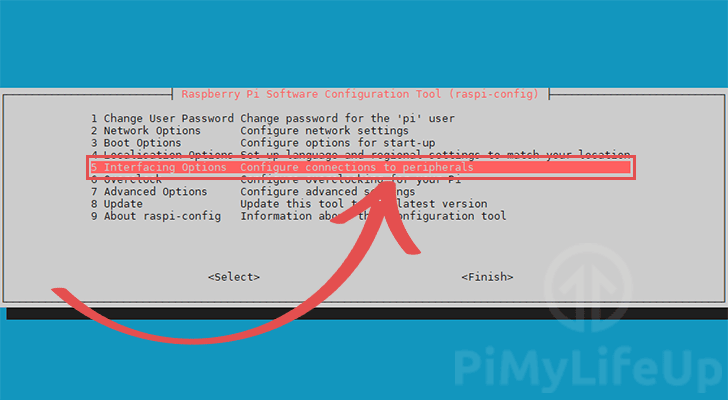
3. Within this tool you need to go to 5 Interfacing Options menu.
Within this menu, we will be able to configure interfaces such as SPI.
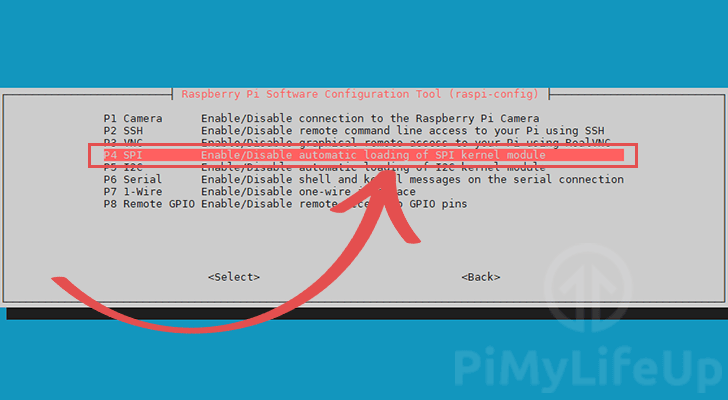
4. Next, you need to select P4 SPI.
This will take us to the screen that will allow us to enable or disable the SPI bus.
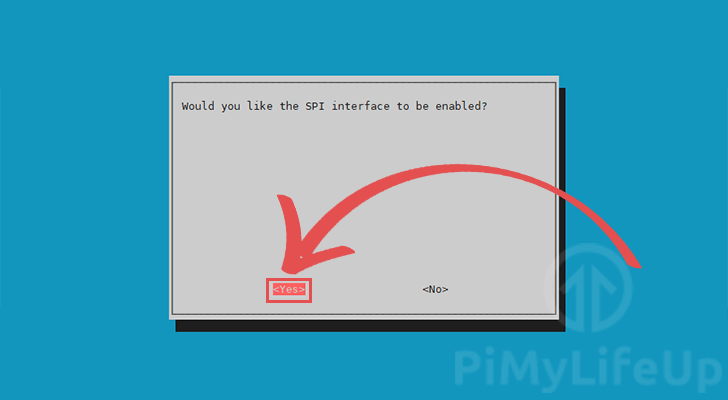
5. When asked if you want to enable the SPI interface, select <Yes> then press the ENTER key.
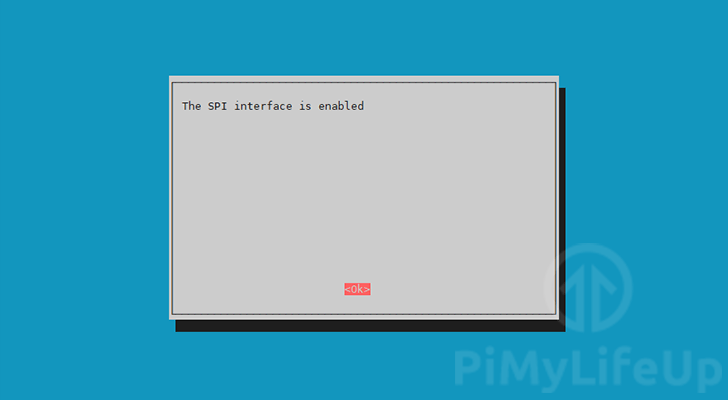
6. You have now successfully enabled the SPI interface.
You can now press the ESC key
7. For SPI to be useable, we will need to restart the Raspberry Pi.
These changes are only loaded during the Raspberry Pi’s reboot sequence.
To reboot your Pi, run the following command.
sudo rebootTesting that SPI is Enabled
Now that we have the SPI Interface enabled, we can check to make sure it is available.
1. To check if SPI is enabled, we will use the ls command to list the available interfaces.
Run the following command to list all of the current files within the /dev/spidev directory.
ls -l /dev/spidev*From this command, you should get back the following result.
pi@raspberrypi:~ $ ls -l /dev/spidev*
crw-rw---- 1 root spi 153, 0 Jul 23 12:43 /dev/spidev0.0
crw-rw---- 1 root spi 153, 1 Jul 23 12:43 /dev/spidev0.1
You can see the two available channels through our SPI connection, channel 0, and channel 1.
At this point in the guide, you should now have the SPI interface enabled on your Raspberry Pi.
If you have run into any issues with this, feel free to leave a comment below.