In this project, we will show you how to install and run the Emby Media Server on the Raspberry Pi.

Emby is a closed-source media player and server, and is the project from which Jellyfin is forked.
Like Plex and Jellyfin, Emby uses a server and client setup, meaning clients stream media from the Emby Media server.
In this guide, we will show you how to install and set up the Emby Media Server on your Raspberry Pi.
Using this, you can stream your TV shows, movies, and music from your Raspberry Pi to any Emby client.
As the Pi doesn’t offer the best hardware transcoding support, you must be careful about how much you stream from this media server.
Equipment
Below is a list of the equipment we used when setting up an Emby Media Server on our Raspberry Pi.
Recommended
Optional
This tutorial was last tested on a Raspberry Pi 400 using the latest version of Raspberry Pi OS Bullseye.
How to Install the Emby Media Server on the Raspberry Pi
Over the following few sections, we will show you how to install the Emby Media Server on your Raspberry Pi.
The server will “serve” your media files to any compatible Emby client. Installing this server is a simple process and can be done in just a few short steps.
Preparing your Raspberry Pi
1. Before we can install the Emby Media Server onto our Raspberry Pi, we need to ensure our operating system is up to date.
You can update the package list and upgrade any out-of-date packages using the two commands below.
sudo apt update
sudo apt upgrade -yCopy
2. Our next step is to ensure that the “wget” package is installed on your Raspberry Pi.
We will use wget to download the latest version of the Emby Media Server to the Pi.
sudo apt install wgetCopyInstalling the Emby Media Server on the Raspberry Pi
3. The next step will change slightly depending on whether you are running a 64-bit or 32-bit operating system. You can find the latest version of this server on the Emby Projects GitHub.
If you are using a 64-bit version of Raspberry Pi OS, use the command below to download the 64-bit release of the Emby Media Server.
wget https://github.com/MediaBrowser/Emby.Releases/releases/download/4.9.3.0/emby-server-deb_4.9.3.0_arm64.deb -O emby-server.debCopyAlternatively, if you are using a 32-bit operating system, use the following command.
wget https://github.com/MediaBrowser/Emby.Releases/releases/download/4.9.3.0/emby-server-deb_4.9.3.0_armhf.deb -O emby-server.debCopy4. Now that you have downloaded the Emby Media Server package on the Raspberry Pi, we can install it.
Install Emby by using the command below within the terminal.
sudo dpkg -i emby-server.debCopyOnce the server is installed, it will be automatically started on your Raspberry Pi.
Correcting Permissions for the Emby Media Server
5. For the Emby Media Server to stream your media files, it will at least need read and execute permissions on your media files.
Before following the next steps, you will need to know the path to your media files on your Raspberry Pi.
For our example, we have our files stored in the “/home/pi/media” directory.
6. The following command will use the “find” command to search through the specified directory for any directories.
We can now use the “find” command to execute the chmod command on every directory within the specified folder. Running this command will adjust every directory’s permission to “755” within the specified folder.
sudo find /home/pi/media -type d -exec chmod 755 {} \;Copy7. This next command will do a similar thing, but this time will search for files within the specified directory.
We also need to run a different version of the find command, but it will work on files this time instead.
For every file the find command finds, it runs the chmod command to set the permission to “644“.
sudo find /home/pi/media -type f -exec chmod 644 {} \;CopyConfiguring Emby Media Server on the Raspberry Pi
Now that you have installed the Emby Media Server on the Raspberry Pi, we can move on to configuring it.
Accessing the Emby Media Server Web Interface
1.To configure the Emby Media Server on your Raspberry Pi, you must know your Pi’s IP address.
You can get the IP address by using the hostname command within the terminal.
hostname -ICopy2. Once you know your Pi’s IP address, go to the following URL in your favourite web browser.
Ensure you replace “IPADDRESS” with the IP of your Pi. If you are connecting from the Pi itself, type in “127.0.0.1” or “localhost” instead.
http://IPADDRESS:8096The Initial Emby Media Server Setup
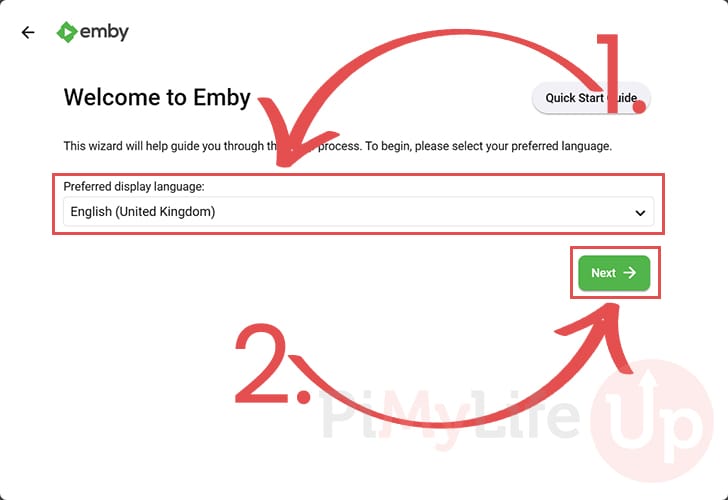
3. Once on the website, you will be prompted to select your preferred display language (1.).
Once a language is selected, click the “Next” button to proceed (2.).
Creating the Emby User
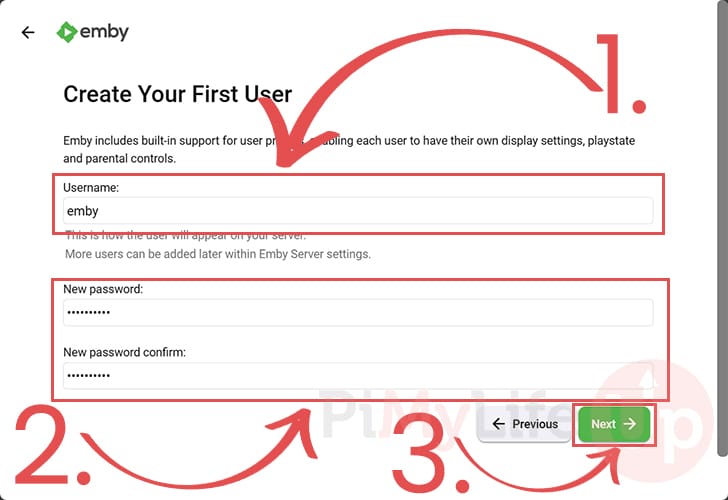
4. You will now have a chance to give your admin user a new name (1.). You can stick with the default of “emby” if you desire.
Next, you will need to specify the password for this new user (2.).
After typing a new password, click the “Next” button (3.) to continue the setup process.
Adding Media Libraries to the Emby Media Server
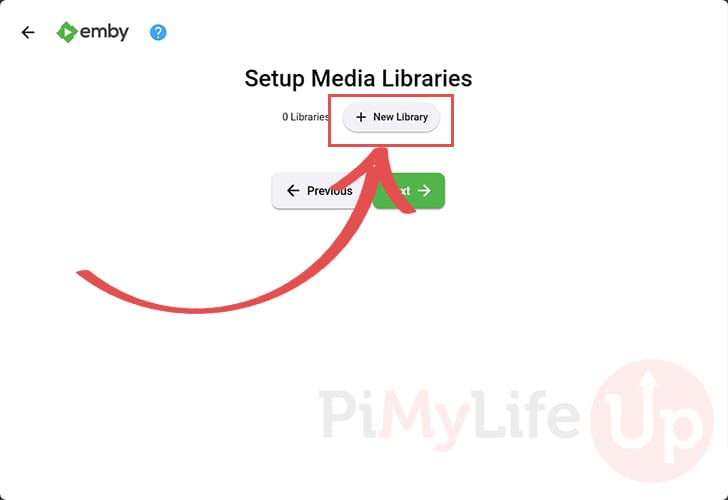
5. Now, You can add your first media library to your Raspberry Pi’s Emby Media Server.
To begin this process, click the “New Library” button.
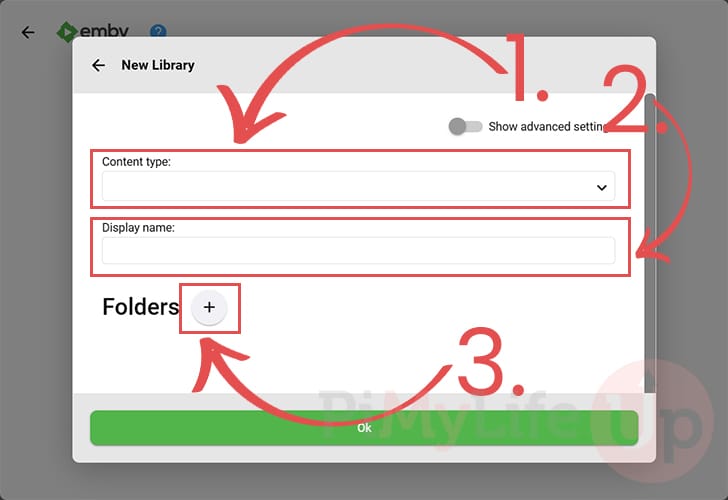
6. When adding a new library, you will want to specify the content type (1.) using the drop-down box.
After setting the content type, the display name (2.) will be automatically set to the same name. You can change this to whatever you desire.
Finally, to add folders to this content group, click the plus symbol (+) on it (3.).
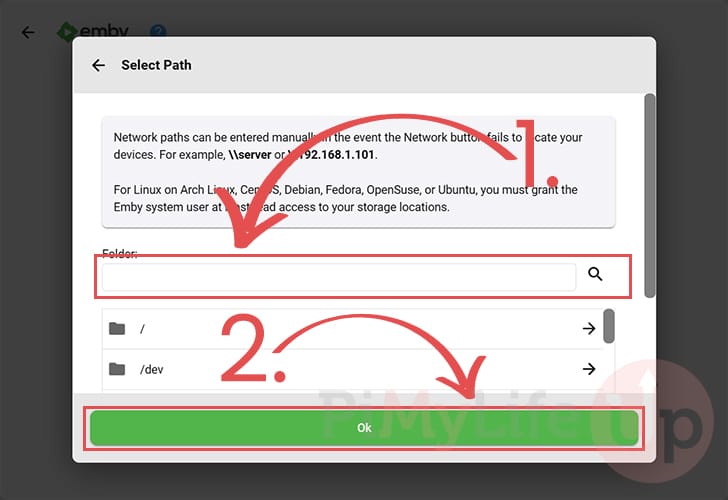
7. Using this dialog, you can select or search for the directory where your media files are stored (1.).
Once you have selected the correct folder, click the “Ok” button (2.).
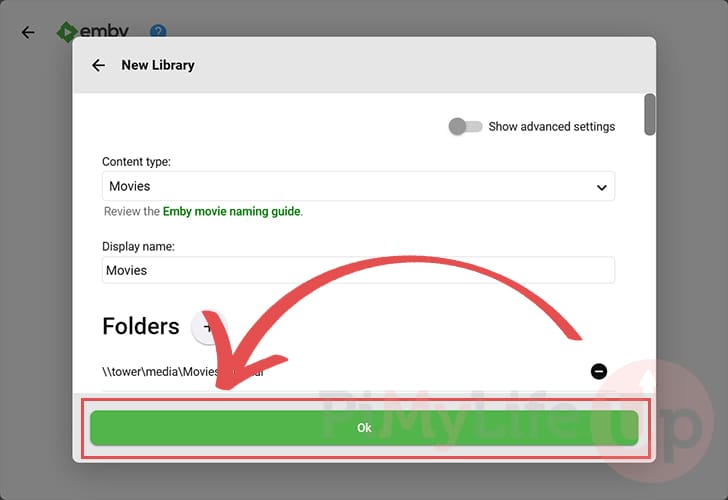
8. After filling out the details for your new Emby library on your Raspberry Pi, click the “Ok” button.
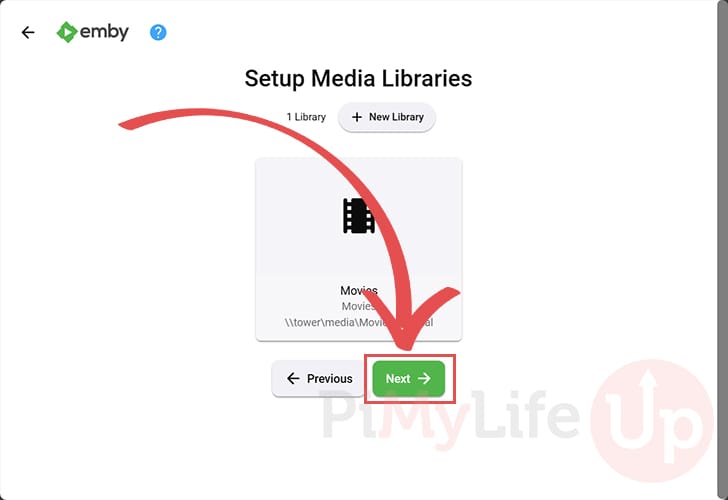
9. You can now add more libraries or continue with the configuration by clicking the “Next” button.
Finalizing the Setup of Emby
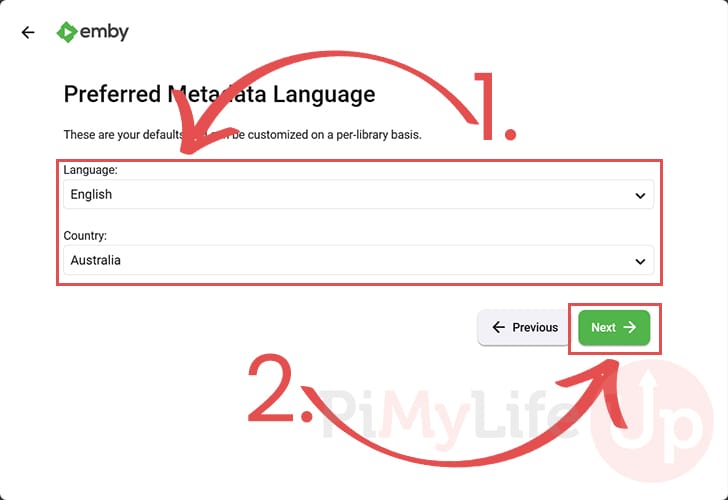
10. This next screen allows you to select your preferred language for metadata on your media items (1.). You can configure this for each library later.
With the language set, click the “Next” button (2.).
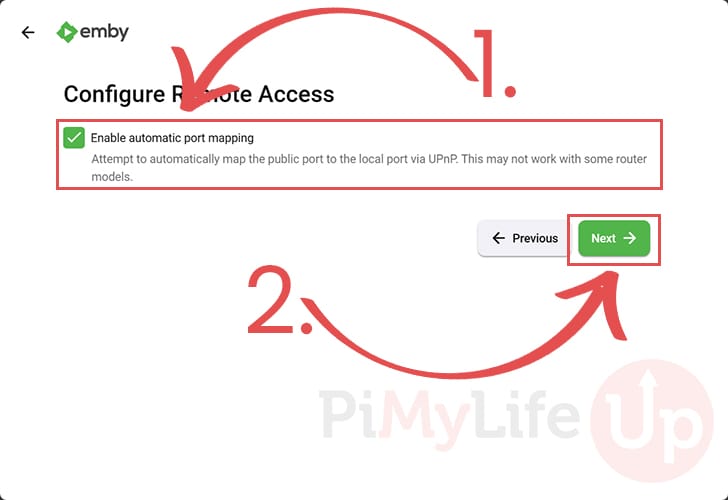
11. We are getting close to the end of the setup. You now need to decide whether you want Emby to attempt to map ports for remote access (1.) automatically.
Once you have the option configured, click the “Next” button (2.) to continue.
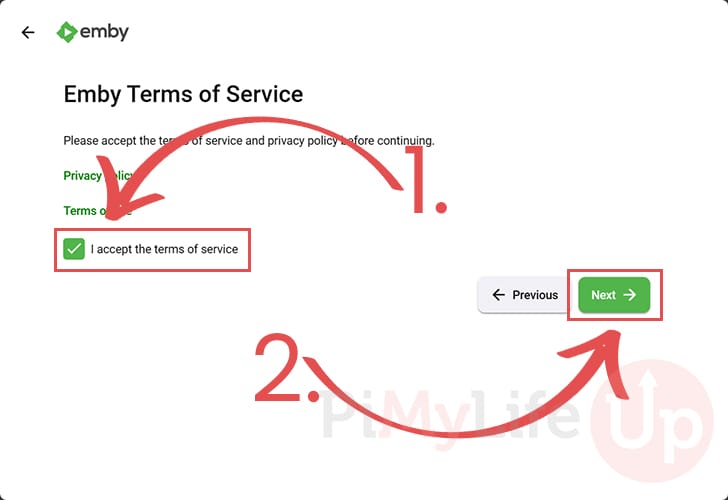
12. The Emby media server on your Raspberry Pi will now ask you to accept the terms of service (1.) before continuing.
After accepting the terms of service, you can click the “Next” button (2.).
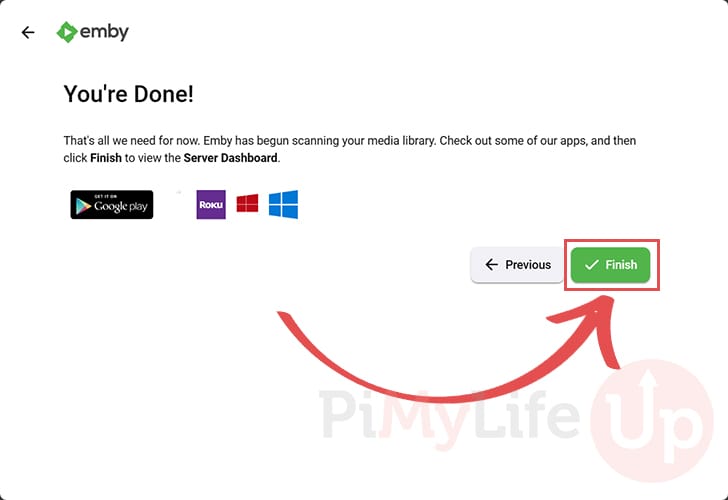
13. You have finally finished setting up the media server on your Raspberry Pi.
Click the “Finish” button to proceed to the server dashboard.
The Emby Media Server Dashboard
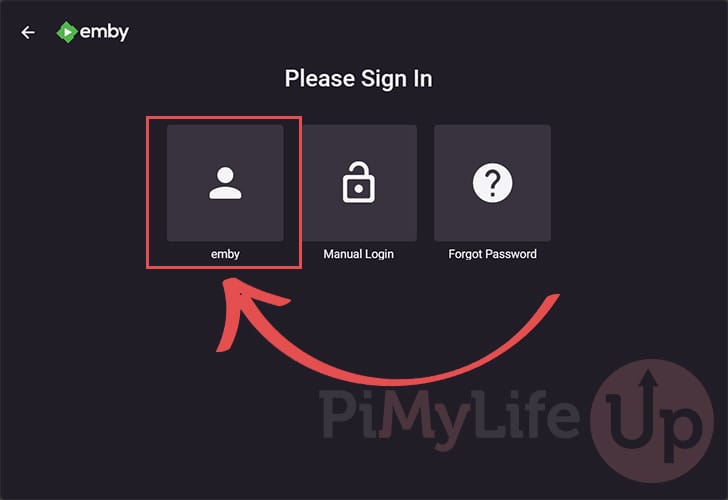
14. You will now be greeted with users that you can use to log in to your Raspberry Pi’s Emby Media Server dashboard.
Select the user you created earlier to continue.
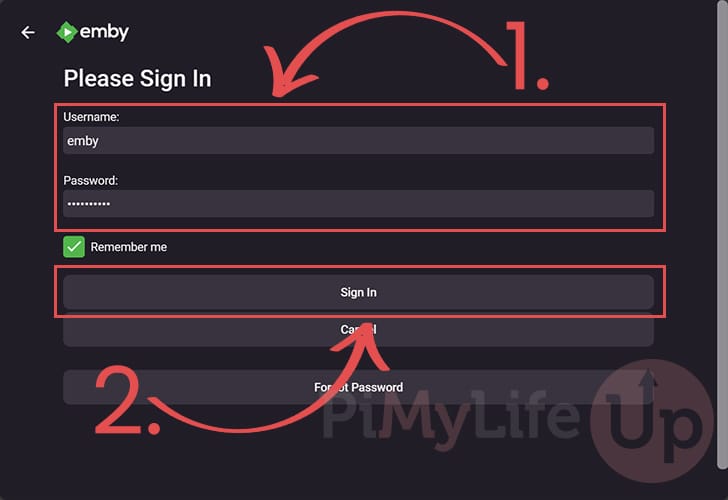
15. Now, type in the username and password you set during the initial setup process (1.).
With your details filled out, click the “Sign In” button (2.)
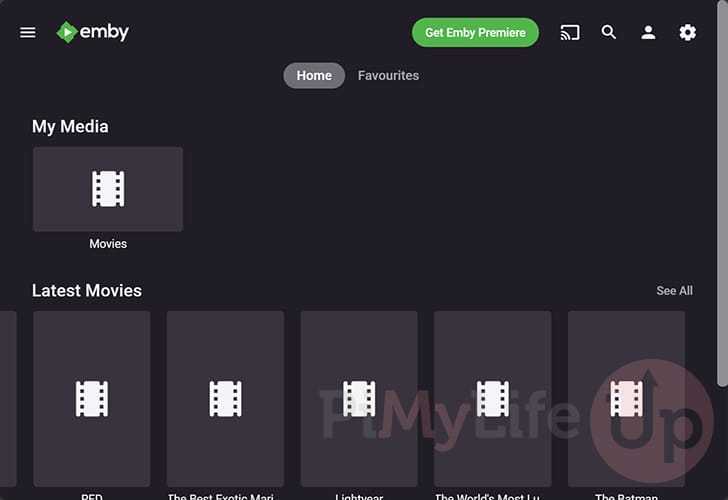
16. You should now have access to your Emby Media Server dashboard running on your Raspberry Pi.
Conclusion
Hopefully, at this point in the tutorial, you will now have the Emby media server running on your Raspberry Pi.
Emby is a solid choice for those who want to try something different from Jellyfin and Plex.
Please comment below if you have any issues setting up Emby.
We have numerous other Raspberry Pi projects that are well worth checking out.