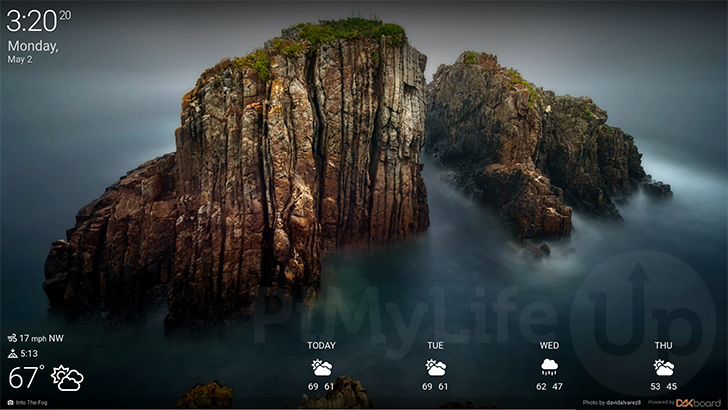
In this project, we will be showing you how you can set up DAKboard on the Raspberry Pi.
DAKboard is a neat piece of software that works as a customizable digital calendar for your Raspberry Pi.
This software allows you to easily set up a digital wall calendar, photo frame, or even a smart home dashboard. You can even edit your dashboard to suit your needs.
Once you have your Raspberry Pi setup with DAKboard, you won’t need to touch your device again. Instead, you can configure all the information displayed through this software remotely.
While DAKboard has several paid plans, it does offer a basic free plan that we will be using within this guide. The free plan lacks several features and locks you to predefined screen layouts.
Over the following few sections, we will show you how to sign up for DAKboard and display it from your Raspberry Pi.
Please note that you will need to use a desktop variant of Raspberry Pi OS for this guide to work.
Equipment
Below is the list of equipment we used when setting up DAKboard on our Raspberry Pi.
Recommended
- Raspberry Pi Amazon
- Micro SD Card Amazon
- Power Supply Amazon
- Ethernet Cable Amazon or Wi-Fi Amazon
- HDMI Cable Amazon
- Monitor Amazon
Optional
This tutorial was tested on a Raspberry Pi 400 running the latest version of Raspberry Pi OS Bullseye.
Preparing your DAKboard Account
Before we can proceed with running DAKboard on your Raspberry Pi, we will need to configure some settings. As this software works as a web application, everything runs through their website.
You will need your favorite web browser for this part of the tutorial.
Registering for your DAKboard Account
First, you will need to register for an account with DAKboard. If you already have an account, log in and skip to the next section.
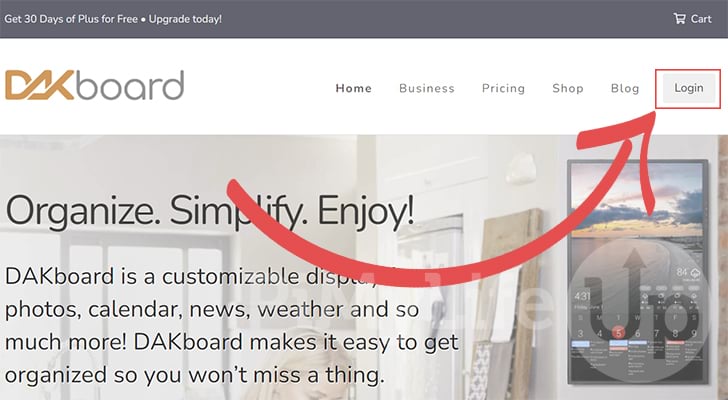
1. Start by heading to the DAKboard website within your web browser.
Once the web page has loaded, click the “Login” button in the top-right corner of the screen.
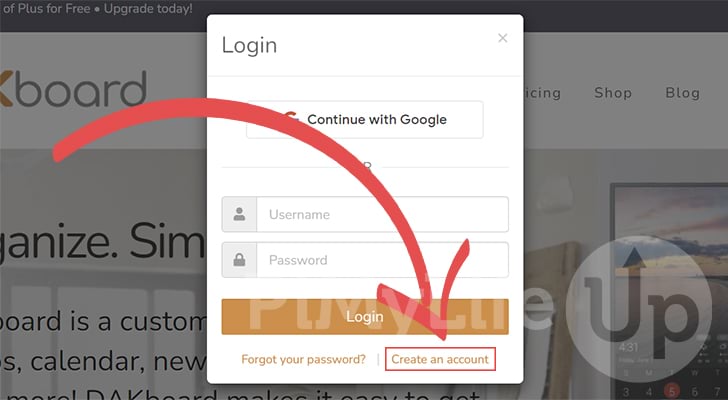
2. In the login screen that pops up, you will need to click the “Create an account” located at the bottom of the box.
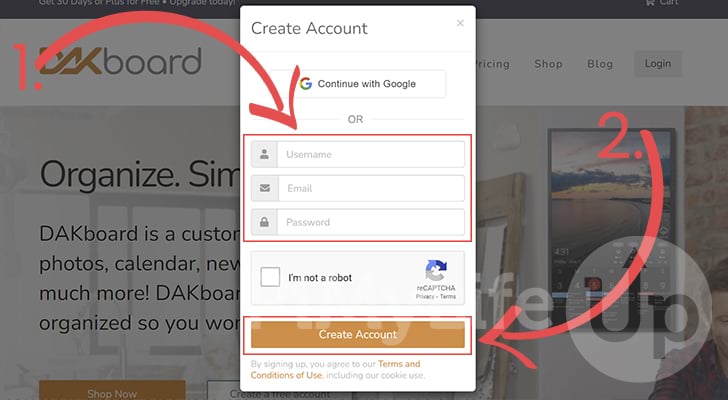
3. Now, fill out the details you want to use to create your DAKboard account.
Once you have your account details written out (1.), click the “Create Account” button (2.).
4. After signing up, the website will walk you through some initial steps. You can use this to set some information, such as your location.
The location and time helps DAKboard provide weather information for where you live.

5. You can now modify your new DAKboard and create a device. Within this tutorial, we won’t be going into configuring your dashboard.
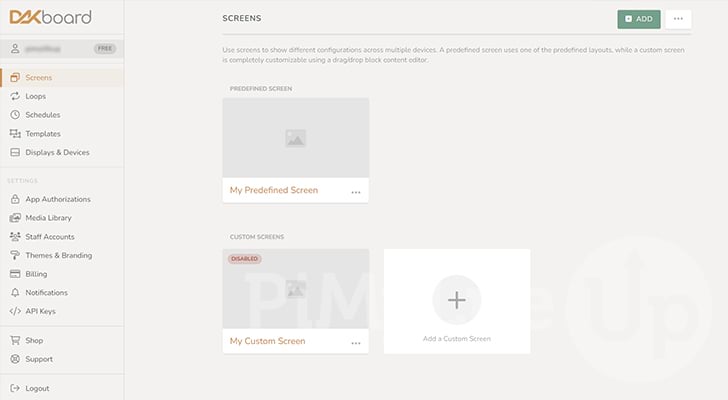
Creating a new DAKboard Display for the Raspberry Pi
Our next step is to create a new “display” within the DAKboard interface. A display within DAKboard is what will give us the URL that we can show on our Raspberry Pi.
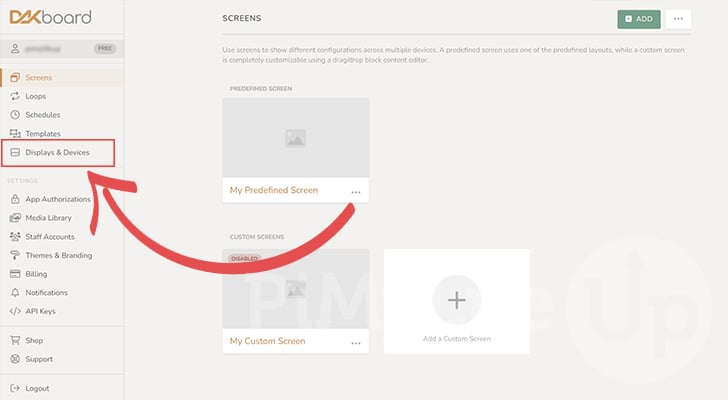
1. In the sidebar, you will need to look for the “Displays & Devices” option and click it.
This option will take us to a screen where we can create a new “display”.
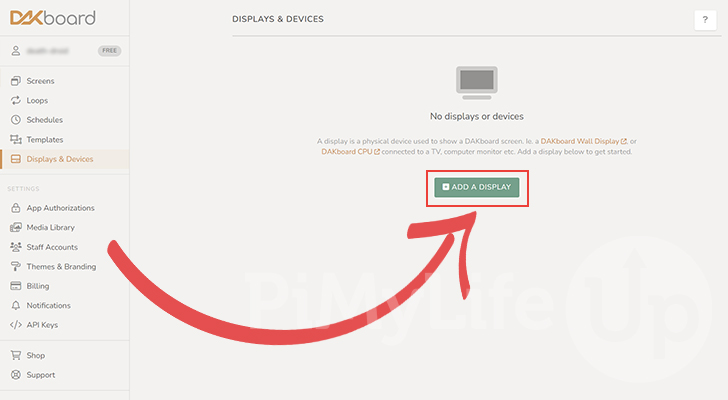
2. If you don’t have an existing display or device, there should be a big green button in the middle of the screen.
You need to click the “ADD A DISPLAY” button to proceed with the creation process.
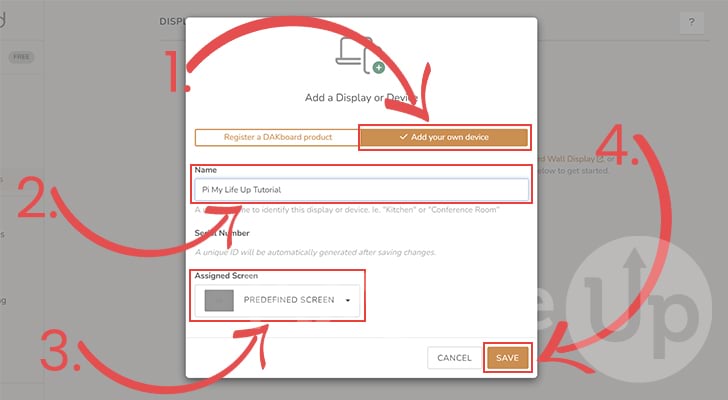
3. With the add a display or device popup on your screen, you need to start by changing to the “Add your own device” tab by clicking it (1.).
Give your Raspberry Pi DAKboard display a name (2.). Often people will use a location as the name.
Next, you can select the “Assigned Screen“, for our tutorial, we will stick with the default screen (3.).
Finally, click the “SAVE” button in the bottom-right of the screen (4.).
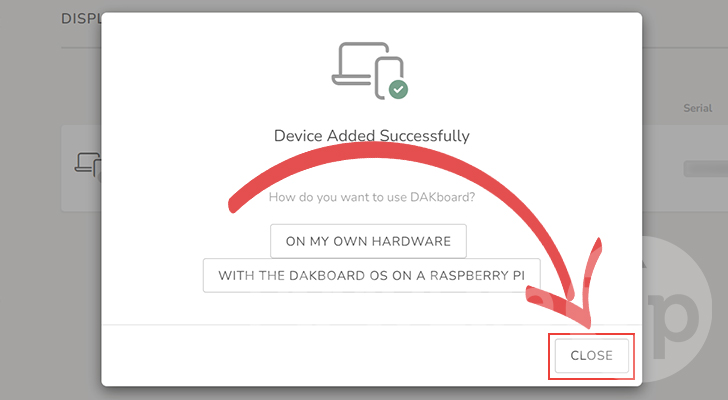
4. You will now get a message saying that DAKboard added your device successfully.
You can safely click the “CLOSE” button.
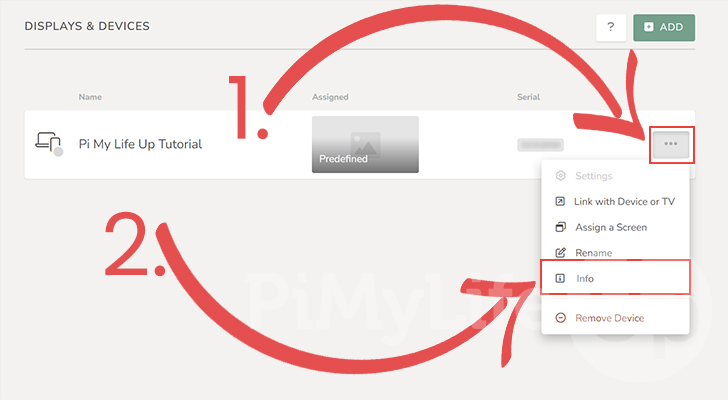
5. Next to your device, you will see three dots. You need to click these dots to create a context menu (1.).
Within the context menu, you will need to click the “Info” option (2.).
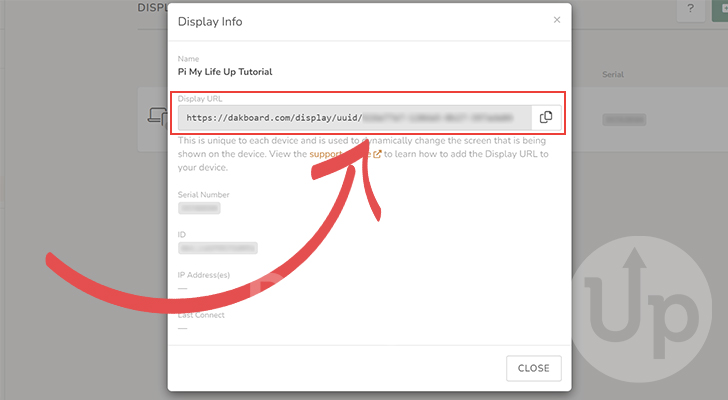
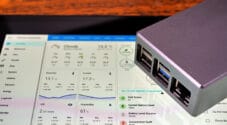
6. Within the display info screen, you will see some information. What we are interested in, however, is the “Display URL“.
Copy this URL down as this is what you will point your web browser at to show the DAKboard on your Raspberry Pi.
Preparing your Raspberry Pi for DAKboard
We can now start preparing the Raspberry Pi to run the DAKboard software. Raspberry Pi OS Desktop comes with most of the packages we need already.
DAKboard will be run through the Chromium web browser, but we will need additional software like “unclutter”.
1. Before going any further, start by updating the package list and upgrading the existing packages.
You can do this by running the following two commands on your device.
sudo apt update
sudo apt upgrade -yCopy
2. With the device up to date, let us install all the packages we require.
The Chromium web browser should be installed already, but we will ensure it is now anyway. The other package that we will install is called unclutter. This software will hide the mouse.
Run the command below to install the needed software.
sudo apt install chromium-browser unclutterCopy3. With that done you, will need to decide whether you want your display to be mounted vertically or horizontally.
If you want it mounted vertically, you can follow the next steps. Otherwise, you can skip to the next section.
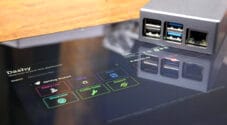
4. To change the screen’s orientation on Raspberry Pi OS, you must utilize the “Screen Configuration” tool.
You can find this tool in the start menu. Open the start menu by clicking the Raspberry icon in the top right of the screen (1.).
Next, hover over “Preferences” (2.), then click the “Screen Configuration” option (3.).

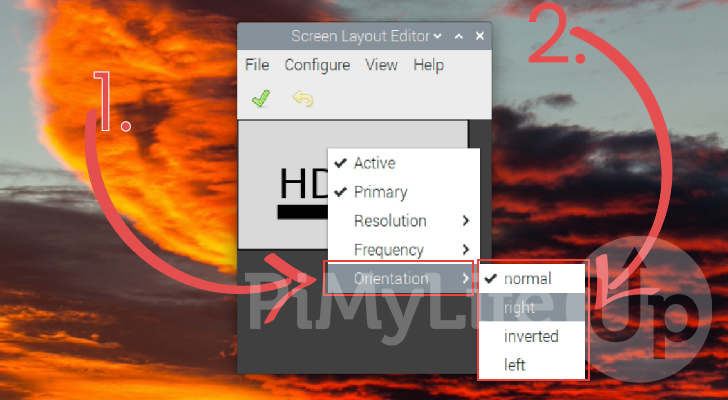
5. Once the screen configuration tool is open, right-click your screen.
You will now have a context menu on your screen. Hover over “Orientation” to see the various ways to rotate your display.
Connecting to DAKboard on your Raspberry Pi
Now that we have everything we need set up, we can launch DAKboard on our Raspberry Pi.
We will achieve this by setting up the Pi as we do within our Raspberry Pi Kiosk tutorial.
Simply put, we will write a script that will launch the Chromium web browser on boot, pointing it towards the DAKboard display URL you got earlier.
1. To get DAKboard to load when our Raspberry Pi boots, we will need to modify the “autostart” file.
To begin editing this file using the nano text editor, run the following command.
sudo nano /etc/xdg/lxsession/LXDE-pi/autostartCopy2. The first line that we will be adding to the bottom of the file will run the unclutter application.
By utilizing unclutter, we will hide the mouse after it has been idle for longer than half a second (0.5).
unclutter -idle 0.5 -root &3. Next, we need to add our call to the Chromium web browser. We will be using this browser to load DAKboard on our Raspberry Pi.
When you type in this line, ensure that you replace “<DAKboard URL>” with the display URL you got earlier in this guide. You can find this URL through the DAKboard interface.
/usr/bin/chromium-browser --noerrdialogs --disable-infobars --kiosk --app=<DAKboard URL> &4. Once you have made those changes, you can now save and quit out of the file.
If you are using nano, you can save and quit by pressing CTRL + X, then Y, followed by the ENTER key.
5. We can test that everything is working properly by restarting the Raspberry Pi.
You can restart the device by using the following command.
sudo rebootCopy6. Upon the the device finishes restarting, you should now have DAKboard displayed on your Raspberry Pi’s display.
Conclusion
You should now have DAKboard up and running on your Raspberry Pi by this point in the tutorial.
DAKboard is a great dashboard that works well on the Pi’s limited resources. Its free version is good enough for most simple use cases.
Thanks to the software running entirely on the web, we only needed the Chromium web browser to run it on the Raspberry Pi.
If you had any problems getting DAKboard to work, please comment below.
Please also check out our many other Raspberry Pi projects and guides.

thank you for this tutorial , works like a charm but then generally pimylifeup tutorials are very good
i keep getting an error message when i reboot
Hi Anthony,
Please let us know the error that you are running into. It would help work out why your DAKBoard installation might not be working after following this guide.
Cheers,
Emmet