In this tutorial, we will show you how to run the Jellyfin Media Server using a Docker container.
Jellyfin is a free and open-source media server that is a fork of Emby and is very similar to the popular Plex Media Server.
Using Jellyfin, you can have a central server that manages all your media, which can then be streamed to compatible clients. Much like Plex, Jellyfin has support for a considerable number of platforms, including Android, iOS, and even the Xbox.
While similar to Plex, Jellyfin has its advantages, one of those being that it supports the ePub format, allowing you to use this media server to store your eBooks as well.
To install Jellyfin in this tutorial, we will use the official Docker container. Using the official container should mean we will always get the latest version.
There are advantages to using Docker to run Jellyfin on your system. The first is that it makes running this media server a straightforward process. Secondly, you can update Jellyfin with just a couple of commands without worrying about other system packages potentially breaking your media server.
The Jellyfin team even provides Docker builds for ARM-based hardware, so you can follow this guide even when using hardware like the Raspberry Pi.
By the end of this guide, you should have the Jellyfin media server up and running on your system within a Docker container.
Running Jellyfin within its own Docker Container
Over the following steps, we will walk you through installing and running the Jellyfin Docker container. We will walk through installing Docker, writing a Compose File, and then the initial setup steps for Jellyfin.
For those who prefer, we have embedded a video below that will walk you through the whole installation process for the Jellyfin Docker container. If you prefer to go at your own pace, just skip the video and follow our step-by-step guide.
Installing Docker to run Jellyfin
1. Before using the Jellyfin Docker container, you must install Docker to your system.
We have a quick and easy guide you can follow that will have Docker installed on Linux in no time.
https://pimylifeup.com/linux-docker-install/Preparing your System to run the Jellyfin Media Server Using Docker
2. To try to reduce the chance of running into permission issues when using Jellyfin, we need to specify the user ID it utilizes.
You can get the ID of your current user by using the following command in the terminal.
id -uCopyBelow, you can see the ID that was returned for our current user. You will need this shortly, so write the value down.
10003. Your next step is to create a folder where we will store the Compose file for the Jellyfin Docker container.
It is also the directory where the cache and configuration files will be stored on your system. You can create this directory by using the following command.
sudo mkdir -p /opt/stacks/jellyfin/cacheCopy4. Due to how the Jellyfin container works, we must create an additional directory that stores the configuration files.
Typically, Docker automatically creates these when the container is started, but we need to change ownership of these folders.
sudo mkdir -p /opt/stacks/jellyfin/configCopy5. We can take ownership of the “cache” and “config” directories using the chown command in the terminal.
By using the command this way, your current user will take ownership of the folders.
sudo chown $USER: /opt/stacks/jellyfin/cache /opt/stacks/jellyfin/configCopy6. After creating the directory, we must change into it by utilizing the cd command.
You will be expected to be within this directory for the rest of this tutorial.
cd /opt/stacks/jellyfinCopyWriting a Docker Compose File for the Jellyfin Media Server
7. Once we are in the right place, we can begin to write the Docker Compose file for the Jellyfin media server.
A Compose file is like a set of instructions for Docker to follow. It will set up Jellyfin and pass in the volumes it needs to mount.
To begin writing this file, you must utilize the following command within the terminal.
sudo nano compose.yamlCopy8. After opening the Compose file, you must type in the following lines.
<USERID>– You must replace this value with the user ID you got earlier in this guide.
This value dictates the user Jellyfin will use when running within the Docker container.<PATH/TO/MEDIA>– Next, replace “<PATHTOMEDIA>” with the full path to where your media files are stored on your device.
For example, if your media files are stored in “/home/pi/media“, that is what you will type here.<IPADDRESSORDOMAIN>– Finally, replace this value with the static IP address of your device, or alternatively, you can use a domain name.
Whatever you specify here, your Jellyfin Media Server must be accessible through it.
services:
  jellyfin:
    image: jellyfin/jellyfin
    container_name: jellyfin
    user: <USERID>:<USERID>
    network_mode: 'host'
    volumes:
      - ./config:/config
      - ./cache:/cache
      - <PATH/TO/MEDIA>:/media
    restart: 'unless-stopped'
    environment:
      - JELLYFIN_PublishedServerUrl=http://<IPADDRESSORDOMAIN>
    extra_hosts:
      - "host.docker.internal:host-gateway"Copy
If you have multiple media directories to map to your Jellyfin Docker container, you need to add them under the volumes option. Copy the previous line and add a number to the end of the “/media” on the right-hand side.
For example, you can use the following format to add another path: “<PATH/TO/MEDIA>:/media2“.
9. Once you have finished typing out these lines, you can save and quit by pressing CTRL + X, followed by Y, and then ENTER.
Starting the Jellyfin Media Server Docker Container
10. With the Compose file now written, we can start the Jellyfin Media Server Docker container using the following command.
Docker will download the latest version of the Jellyfin image and then run it using the values specified in the config file.
docker compose up -dCopyAccessing the Jellyfin Web Interface
11. With the Jellyfin Media Server Docker Container now running, we can access its web interface. You can use this interface to configure the server and play your media files.
If you don’t know the IP address of your device, you can use the hostname command to retrieve it.
hostname -ICopy12. Once you know your IP address, go to the following address within your favorite web browser.
http://<IPADDRESS>:8096Initial Setup of your Jellyfin Docker Container
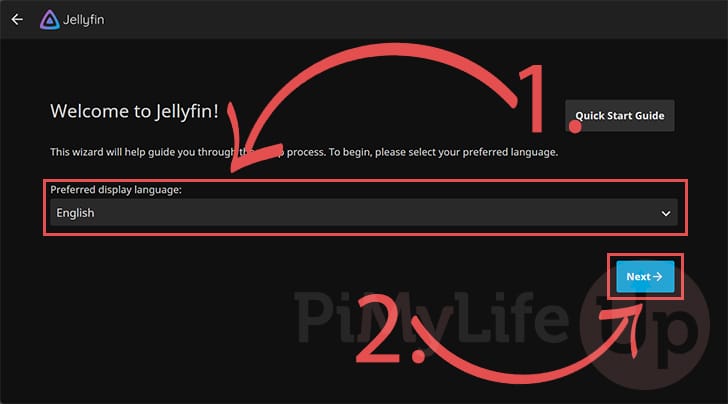
13. When you first access the web interface of your Jellyfin Docker Container, you will need to do some initial setup steps.
First, you will be asked to select the language you want to use for Jellyfin (1.).
After selecting your language, click the “Next” (2.) button.
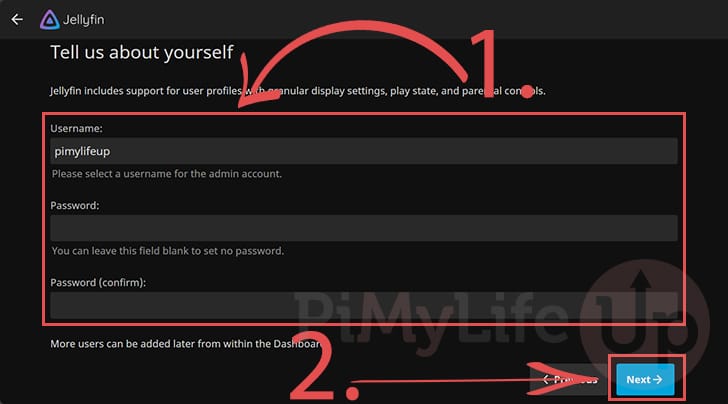
14. You can now create your admin account for Jellyfin. Fill out the details for your user (1.). You can leave out a password if you want, but we personally don’t recommend it.
Once you have filled out the details for your admin account, click the “Next” button (2.).
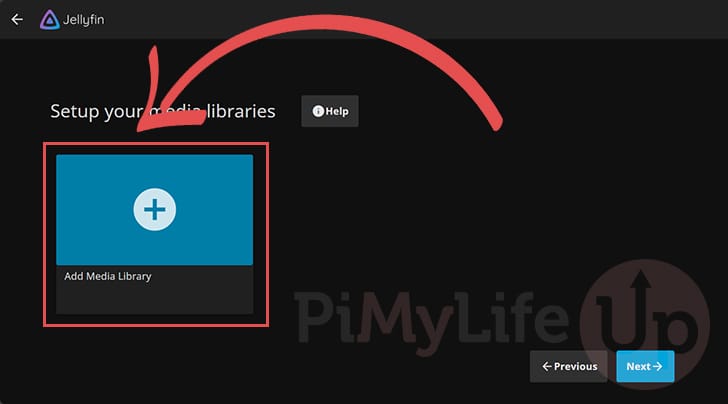
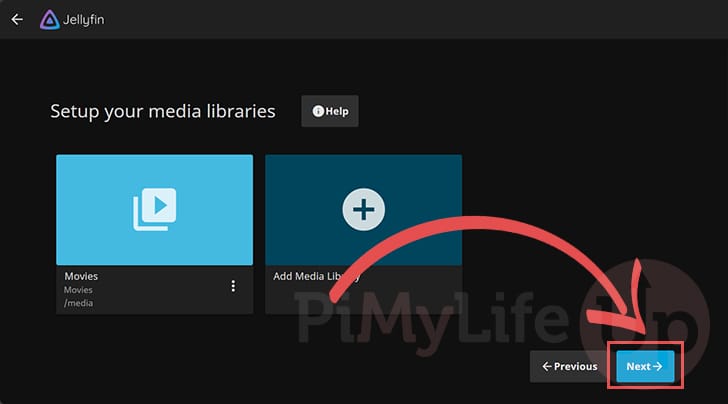
15. With the user created, our next step is adding your media to the Jellyfin media server.
You can do this later or click the “Add Media Library” option to add a library now.
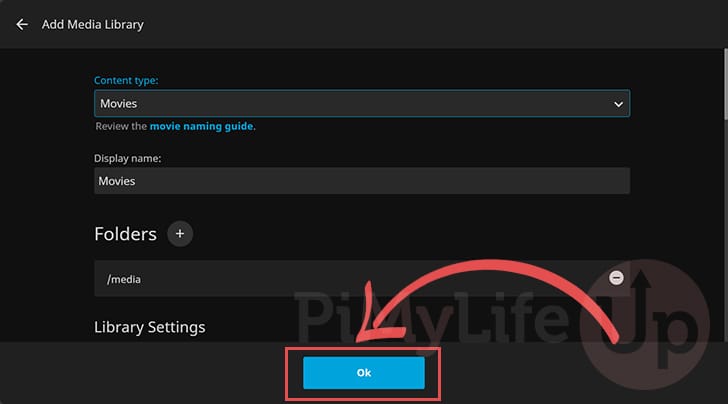
16. The first thing you will want to do while adding a new library is select the content type (1.). The type dictates how Jellyfin should handle the files within the folder you add.
After selecting the media type, click the plus symbol (+) to add a new folder to this library (2.).

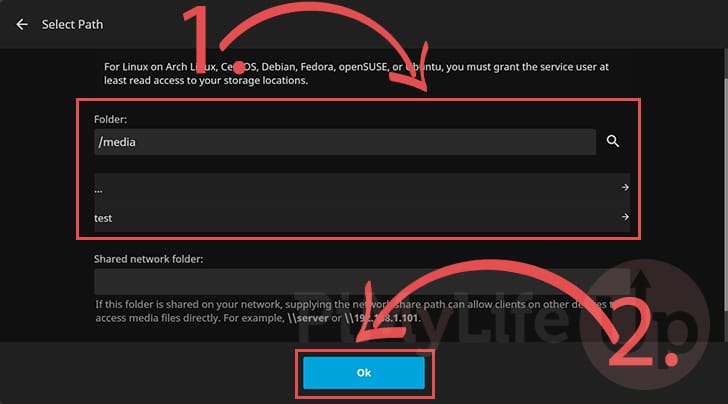
17. Using this new dialog, type in the full path to where your media is stored for this type. If you have followed this guide, your media files should be in the “/media” directory.
For example, if we added our movies, we would set the folder path to “/media/movies” (1.).
Once you have set a path, click the “Ok” button (2.).
18. To confirm the addition of your new media library, click the “Ok” button.
19. Once happy with adding libraries to your Jellyfin Docker container, click the “Next” button to proceed.
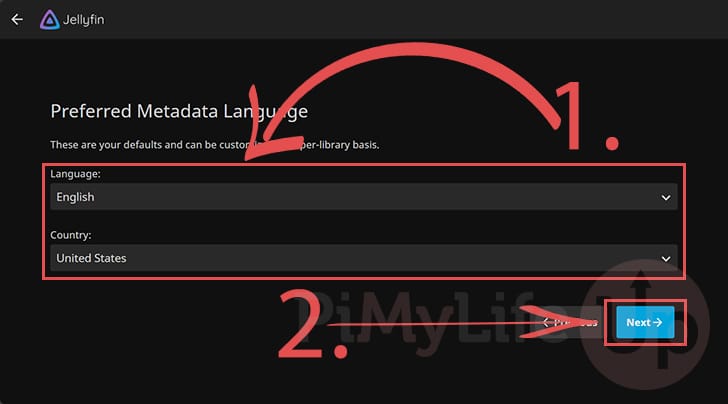
20. This next option allows you to select the language Jellyfin should use for downloading information about your media files (1.).
After setting the language and country, click the “Next” button (2.).
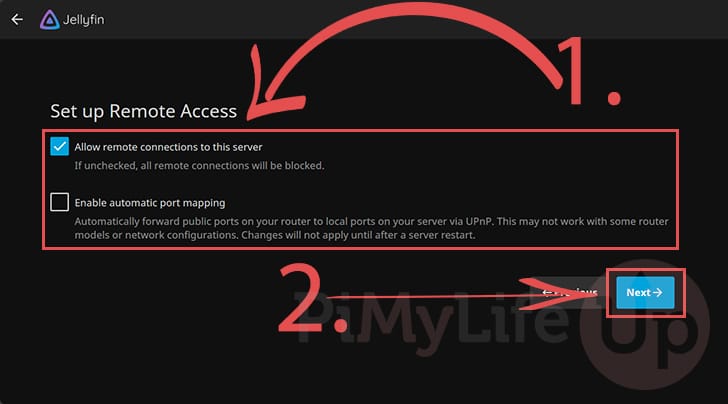
21. This final option allows you to control whether your Jellyfin media sever will allow remote access (1.).
Once you have configured these settings to your liking, click the “Next” button (2.) to continue.
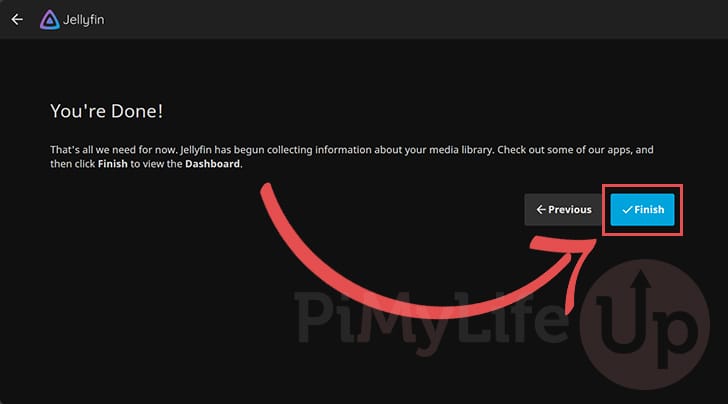
22. At this point, you have finally finished configuring your new Jellyfin Media Server Docker Container.
To proceed to the login screen, click the “Finish” button.
Logging in to the Jellyfin Web Interface
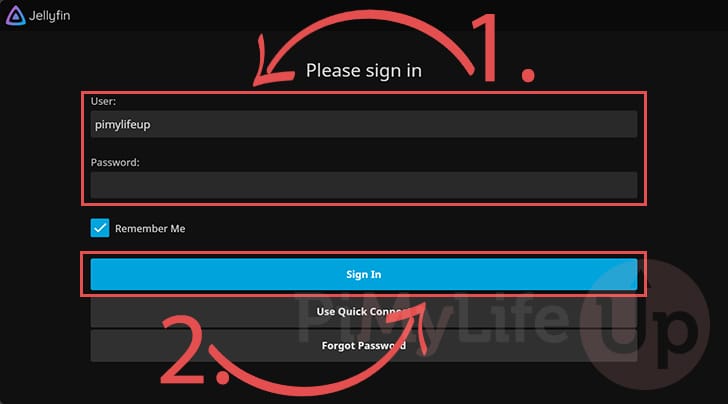
23. You will now be on the sign-in screen for the Jellyfin web interface. Use the form to log in using the details you set earlier (1.).
After filling out your details, click the “Sign In” button (2.).
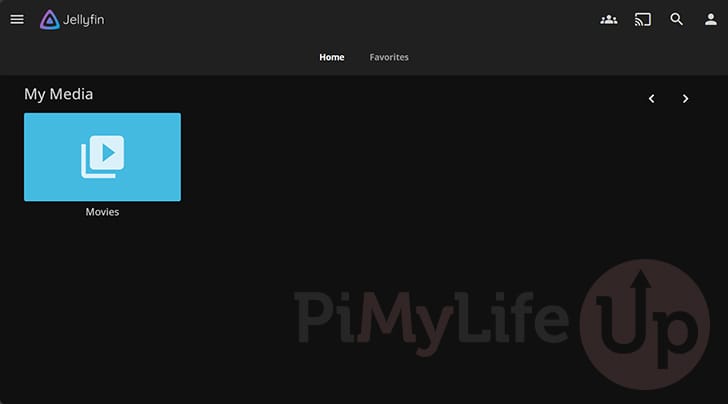
24. Below, you can see that we now have access to the Jellyfin web interface.
Updating the Jellyfin Docker Container
One of the most significant advantages of using Docker Compose to run Jellyfin on our system is that it is super easy to update.
You can update to the latest version of the media server by using the following simple commands.
1. To update the Jellyfin container, we must change to the directory where we wrote the Compose file earlier.
You can change to this folder by running the command below.
cd /opt/stacks/jellyfinCopy2. You can now get Docker to pull the latest version of the Jellyfin container by using the following command.
It will only need to pull parts of the container that have changed since you last updated.
docker compose pullCopy3. If a new version has been downloaded to your device, you can get Docker to restart using the new version of the image by using the command below.
Docker will detect the new Jellyfin image and move the container to utilize it.
docker compose up -dCopyConclusion
Hopefully, at this stage, you will now have the Jellyfin media server up and running using Docker.
Docker makes running this media server such an easy process without any real downside.
Please feel free to leave a comment below if you have any issues or questions about the Jellyfin media server.
If you found this guide to be helpful, we highly recommend checking out our many other tutorials.


Excellent tutorial. After running it for a while I decided I’d like to add another media folder. How would I accomplish this?
You can add additional media folders by editing your Jellyfin container’s volume mappings. Just add another
-:/media2 entry and restart the container.As usual a great tutorial!
I would like to use Jellyfin on my Raspberry Pi 5, but all my video libraries are stored in my NAS, so I need to mount shares in docker compose. I searched on Internet methods to do that, but honestly I prefer if you suggest me the correct configuration applied to Jellyfin.
Thank you
Hi Madaello,
What you will want to do here is mount those network shares to your Raspberry Pi first. The set the volume mount in the Jellyfin compose file to where you have moutned your shares.
For example, if we mounted our network share to
/mnt/networkshare1, that is the directory we would specify within the Compose file.Hopefully that has helped you.
Kind regards,
Emmet
Nice tutorial. Can you update it with support of hardware acceleration on RaspPi5 using Jellyfin docker?
Hey harnas,
Unfortunately, one of the things that was removed from the Raspberry Pi 5 was the hardware encoders. The only hardware acceleration the Pi 5 offers for video now is HEVC decoding.
Typically, it is best to avoid using a Raspberry Pi for Jellyfin when you need videos to be transcoded.
Kind regards,
Emmet