In this tutorial, we will show you how to run the Plex Media Server within a Docker container.
Plex is one of the top media servers that you can set up. It has achieved this by offering an easy-to-use feature set and compatibility with almost every device you can think of.
Setting up Plex within a container is a reasonably straightforward process. It can be a good way of managing this media server, especially if you are already a fan of using containers for your other tasks.
With Plex providing its own official Docker container, you don’t have to worry about missing out on any features by sticking with the container version. Some might find it easier to set up and manage than the standalone media server.
One significant advantage to using Plex within a container is that you can run it on any Linux-based operating system without issue. The one caveat is that this particular container does not play nicely with Windows due to the way Docker runs on that operating system.
By the end of this tutorial, you will hopefully have The Plex Media server running within a container on your Ubuntu device.
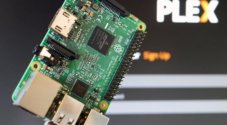
Please note that Plex only provides containers for AMD64 (x64) systems. If you are running an ARM system, such as the Raspberry Pi, you must install Plex directly and not through a container.
Running the Plex Media Server using a Docker Container
Over the following sections, we will walk you through every step to get the Plex Media Server running within a Docker container.
These steps will show you how to install Docker, grab the Plex client token, and write a Compose file to run the media server. We choose to use Docker Compose as it makes managing containers a far more straightforward process.
Installing everything will require you to be using the terminal. If you are using a desktop operating system, you can often bring up the terminal by pressing CTRL + ALT +T on your keyboard.
Installing Docker to your System
1. To run the Plex Docker container you will need to have Docker installed to your Linux system.
We have a quick guide that will get Docker installed to your Linux machine in a few short steps. It’s best to use the latest version of Docker as it often offers new features and improvements.
https://pimylifeup.com/linux-docker-install/Preparing to Run the Plex Media Server through Docker
2. To reduce the chance of running into permission issues with our media server, we should grab our current users’ ID.
We can tell the container to utilize this user when accessing files and folders on your system. What this means is this user should own your media files.
id -uCopyFor example, the ID for our user was returned as the following. Write this down as you will need it later on in this tutorial.
10003. Next, we will need to create a directory where we will store the Docker Compose file for Plex.
You can create this directory by using the mkdir command.
sudo mkdir -p /opt/stacks/plexCopyBy specifying the “-p” option, this command will create all missing folders in the path.
4. The following commands that we are running will expect us to be within the “/opt/stacks/plex” directory we created.
You can change to this directory by using the command below in the terminal.
cd /opt/stacks/plexCopyGetting the Plex Claim Token
5. After setting up Docker, you will want to grab the Plex Claim Token. This token associates your Plex Media Server with a particular account.
This makes accessing your media server a significantly simpler process. To get this token, go to the Plex claim website.
https://www.plex.tv/claimOnce you are on this page, follow the prompts to log in to your account, or if you don’t have one, sign up for one.
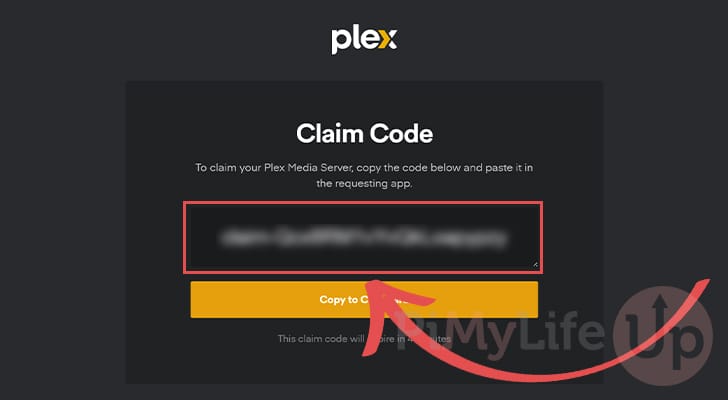
6. On this page, you will find a code. Since this token is timed, you may have to return to this screen right before you start up the Plex container for the first time.
The time left before the code expires will appear below the code.
Writing a Docker Compose file for the Plex Media Server
7. Our next step is to write a Docker Compose file to set up the Plex Media Server container.
You can begin writing this file by using the following command. We choose to use the nano text editor as its fairly simple to use for beginners.
sudo nano compose.ymlCopy8. In this file, write the following lines. These lines tell Docker to download and use the Plex Media Server container and also give you the ability to configure the server.
You will need to replace a few values while typing out this file that we will go over.
<USERID>: Replace this value with the user ID that you got in step two of this tutorial.
There are two occurrences where you need to replace this value.<TIMEZONE>: You need to replace this with a time zone identifier for where you live. This is usually written as continent, followed by a city name.
You can find a list of valid entries by visiting the TZ database Wikipedia page and looking at the “TZ Identifier” column.<CLAIMTOKEN>: This token will associate your Plex container with your Plex account.
Replace this with the token you got from the web interface earlier in the tutorial. You might have to refresh the page to ensure you have a recent token, as they expire after 5 minutes.
If you don’t want to associate this server with an account, remove this line entirely.<PATH/TO/MEDIA>: The final value you must replace is the one that will point to where your media is stored.
Replace this with the full path to where your media files are stored. For example, if we had our media files in a folder called “media” in our user’s home directory, we would use “/home/pi/media“.
services:
  plex:
    container_name: plex
    image: plexinc/pms-docker
    restart: unless-stopped
    environment:
      - PLEX_UID=<strong><USERID></strong>
      - PLEX_GID=<strong><USERID></strong>
      - TZ=<strong><TIMEZONE></strong>
      - PLEX_CLAIM=<strong><CLAIMTOKEN></strong>
    network_mode: host
    volumes:
      - ./config:/config
      - ./transcode:/transcode
      - <strong><PATH/TO/MEDIA></strong>:/data
    devices:
      - /dev/dri:/dev/driCopy
9. After adding the lines above, save and quit by pressing CTRL + X, Y, and finally, the ENTER key.
Starting Plex using Docker Compose
10. Starting the Plex Docker container is a straightforward process. All you need to do is use the following command within the terminal.
Docker will boot up, download the Plex image, and then start it using the environment variables and volumes we set earlier.
This process can take a few minutes to complete depending on your system.
docker compose up -dCopyBy using the “-d” option, Docker will detach from the terminal session once it finishes starting up. This allows the Plex Media Server to run even after closing the terminal.
Accessing the Plex Web Interface
11. With your Plex Media Server running within the Docker container, you will want to know how to access its web interface.
Since we are running this container in host mode, it will have bound itself to port 32400 on your device. To access this web interface, you will need to know the IP address of your device.
You can easily get the IP on most Linux systems by using the hostname command.
hostname -ICopy12. Once you know the IP address of your device, you can now access the Plex Media Server’s web interface by going to the following address.
You will need to replace “<IPADDRESS>” with the IP of your device when accessing this interface.
http://<IPADDRESS>:32400/webFirst Setup Experience of your Docker Plex Media Server
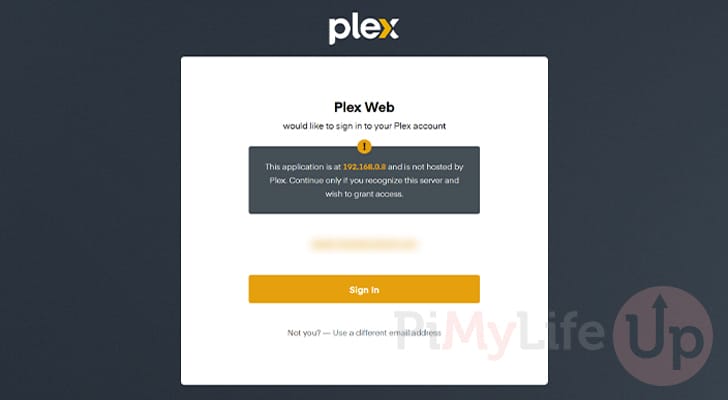
13. When you first access the web interface for your Docker-based Plex Media Server, you will be asked to sign in.
Follow the prompts on the screen to sign in to your Plex account.
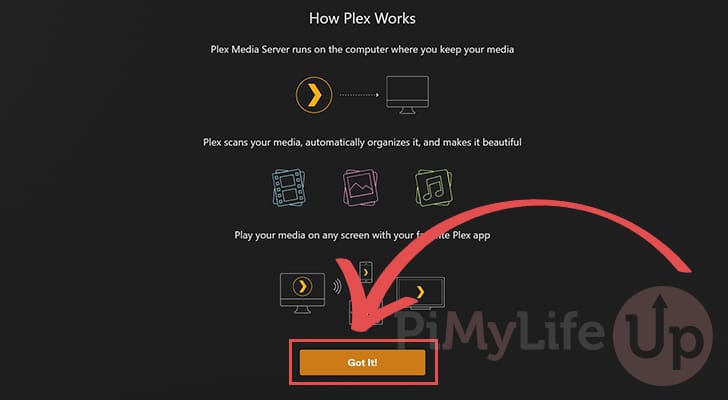
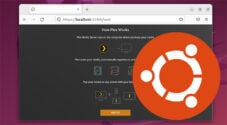
14. The next screen will give you a quick rundown of how Plex works. If you have never used Plex before, you can quickly read over this to get a quick idea.
To continue, click the “Got it!” button.
Initial Plex Docker Server Configuration
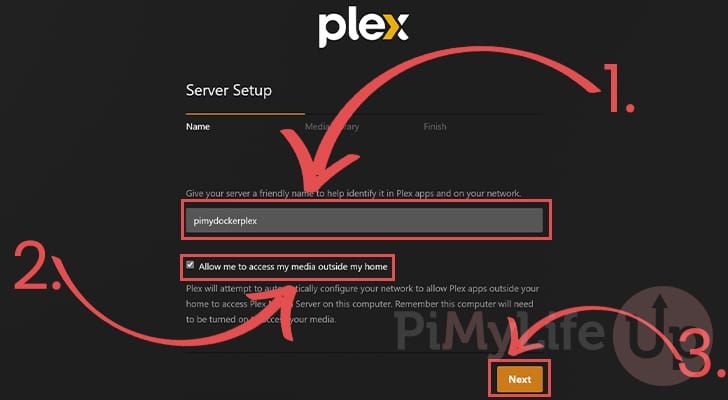
15. You can now give a name for your new server. Start by giving it a friendly name that you can use to identify the server (1.).
Next, you must decide if you want to access this server outside your home network (2.).
After setting the previous two values, click the “Next” button (3.) to proceed.
Adding your First Media Library
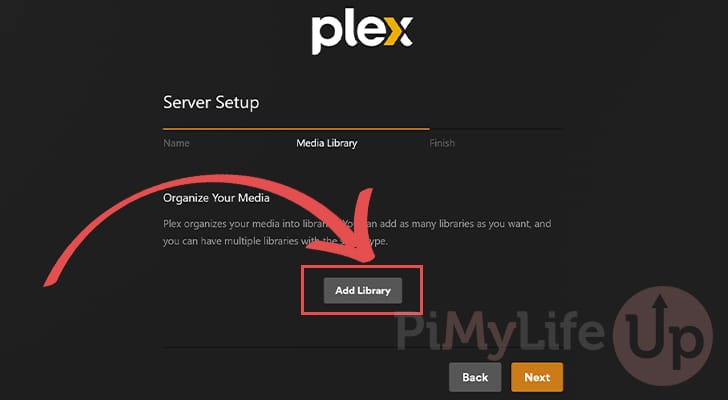
16. Since this is your first time setting up your Plex Media Server, you will want to add a media library.
To begin this process, click the “Add Library” button.
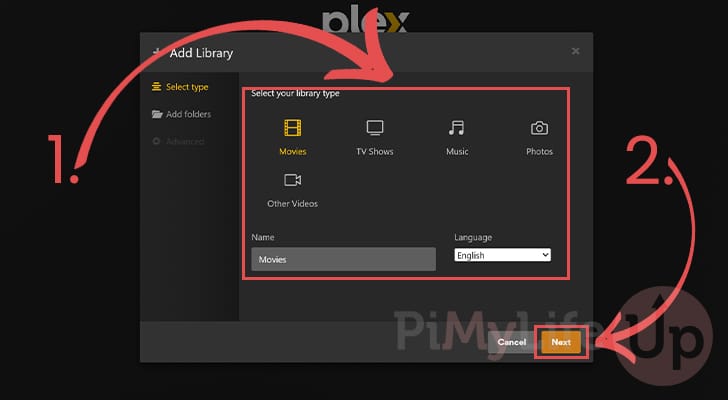
17. On this next screen, select the type of media you are adding to your library and give it a name (1.).
After you have selected your media type and given it a name, click the “Next” button (2.).
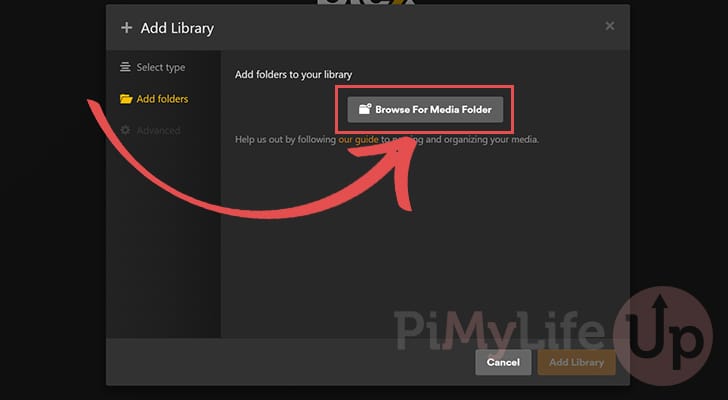
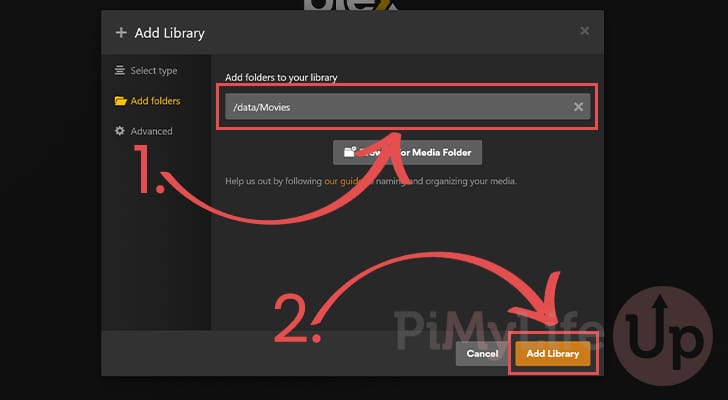
18. You will now be prompted to add folders to this library.
You can add media folders by clicking the “Browse For Media Folder” button.
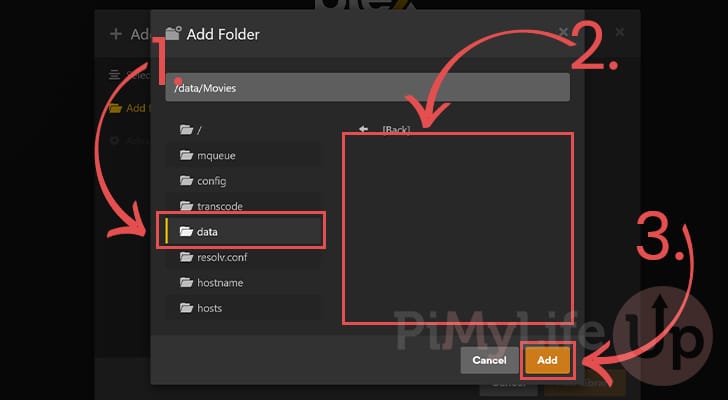
19. With the add folder dialog open, you will want to start with the “data” directory (1.). This is the directory we mounted to our Plex Docker container and is where your media files should be located if you typed in the correct directory earlier.
After selecting the data folder, use the right side to navigate to where your media is stored (2.). In our example, we have chosen the “/data/Movies” folder.
Once you have selected the folder, click the “Add” button (3.).
20. You should now see your folder has been added to this specific media library (1.).
To add this library to Plex, click the “Add Library” button (2.).
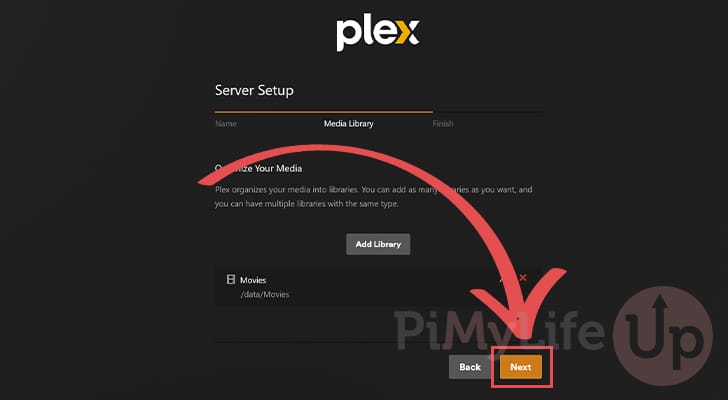
21. At this point, you can either add additional media libraries to your Plex Docker server or click the “Next” button to continue.
Finishing the Setup Experience
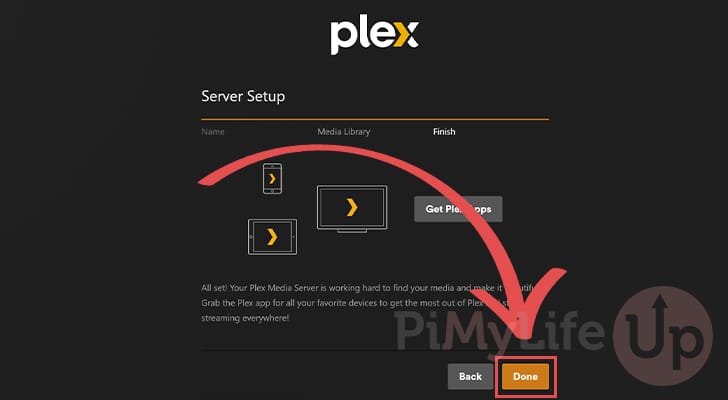
22. This final screen informs you that you have finished setting up the Plex media server.
Click the “Done” button to proceed to the Plex interface.
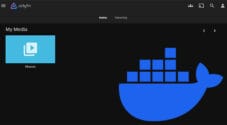
23. Below, you can see that we now have our Plex server up and running. We can start viewing our media from any supported client.

Updating the Plex Media Server with Docker
Docker makes updating your Plex Media Server a super simple process. In this section, we will show you the few short steps you need to take to update your server.
1. First, we must change into the directory where we wrote the “Compose.yaml” file earlier on in this guide.
cd /opt/stacks/plexCopy2. Once we are in the right place, we can tell Docker Compose to re-pull the Plex image.
This command won’t update the server immediately but will pull the latest version of the image.
docker compose pullCopy3. When Docker finishes pulling the image, we must tell Docker to restart the container.
Docker will automatically detect the newer image and start Plex using that image.
docker compose up -dCopyConclusion
Hopefully, at this stage, you will have gotten the Plex Media Server running on your device using a Docker container.
Please feel free to leave a comment below if you have any questions about running Plex through a container.
If you enjoyed this tutorial, be sure to check out our many other tutorials and guides.

Thank you for this guide to install Plex within a Docker container on my PI 4.
Worked a treat.
It works also in raspberry ARM64 bits 😉
Just wanted to drop in and say your guides have helped me with multiple installs from AdGuard to Plex to Docker, etc. They’re super easy to follow and straight to the point. Thanks!!
on docker compose up -d I get this error:
! plex The requested image’s platform (linux/amd64) does not match the detected host platform (linux/arm64/v8) and no specific platform was requested 0.0s
Hi CyberPIHero,
Unfortunately the Plex team do not provide a Docker image for ARM systems.
You will need to follow our Raspberry Pi specific tutorial which involves installing Plex directly to the operating system.
Kind regards,
Emmet