In this tutorial, we will show you how to install Jellyfin to a Synology NAS.
If you use your Synology NAS to store your media files, you will probably want a great way to access them. One of the best solutions is the open-source media server Jellyfin.
Jellyfin creates a library of your media that you can stream from your NAS to any device that supports the Jellyfin client. If you have ever used Plex before, you will be very familiar with how this media server works.
One key reason you might want to use Jellyfin over Plex is that it is open-source, completely free, and doesn’t require an account to function.
Before you set up this media server, you will want to have your media files sorted and set up within a shared folder on your NAS. It’s best to have these set up prior to setting up Jellyfin, as you will need to point the media server to them during setup.
How to Install and Use Jellyfin on a Synology NAS
Over these following sections, we will walk you through the entire process of getting Jellyfin running on your Synology NAS.
Getting this media server running is a relatively straightforward process, but it requires a few steps.
Preparing to run Jellyfin on your NAS
1. Before proceeding with this guide, you will need to set up Docker on your Synology NAS. This means installing the “Container Manager” application.
If you haven’t installed it already, follow our guide on installing and setting up Docker on your Synology.
2. The next thing you should do before setting up Jellyfin on your Synology is ensure that your media files are all sorted into a shared folder.
You will mount this shared folder during the setup process. While you can add folders later, having everything ready from the beginning is easier.
Creating a Folder to Store your Jellyfin Files on your Synology NAS
3. Before we install Jellyfin, we will need to create a folder to store its Compose file and give it a place to store its data.
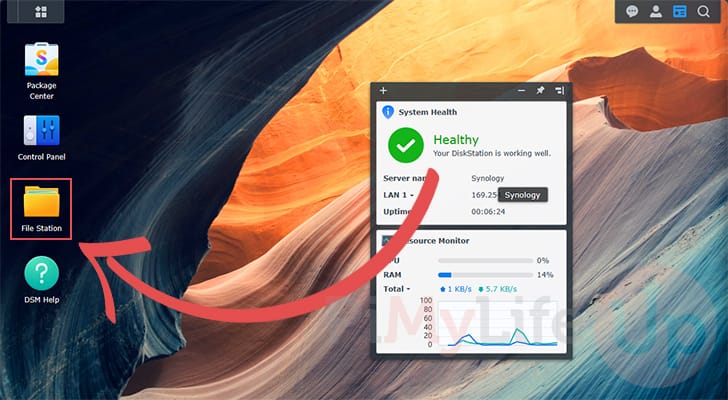
To begin this process, open the “File Station” application.
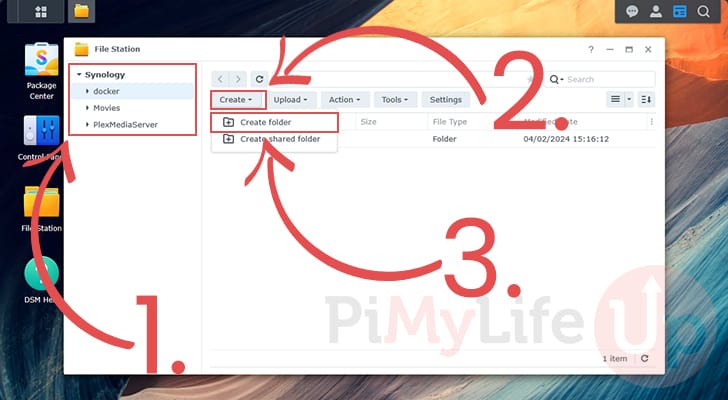
4. Once you have File Station open, you will want to change to the shared folder where you intend on storing Jellyfin on your Synology NAS (1.). In our case, we are storing our data within the “docker” directory created when we installed Container Manager.
Once in the correct folder, we can create our required directories. Click the “Create” button to begin this process (2.).
Out of the two options that appear, you will want to click the one labeled “Create Folder” (3.).
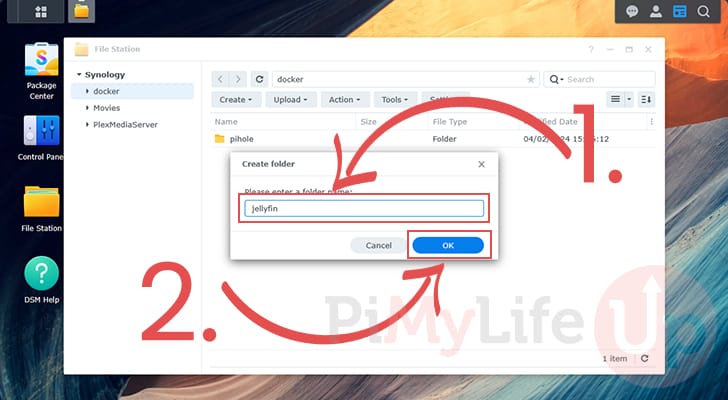
5. With the “Create Folder” dialog open, type in the name “jellyfin” (1.).
After typing out the folder name, click the “OK” button (2.) to create it.
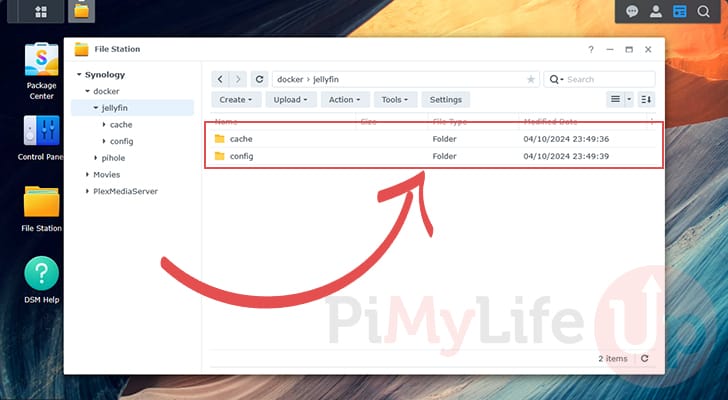
6. After creating the “jellyfin” directory, change into it and follow the previous two steps again to create an additional two folders.
Name the first of these folders “cache“, and the second “config“.
Opening the Container Manager
7. With the required directories now created, we can move on to installing Jellyfin on your Synology NAS. Since we are using Docker to achieve this, we will rely heavily on the Container Manager application.
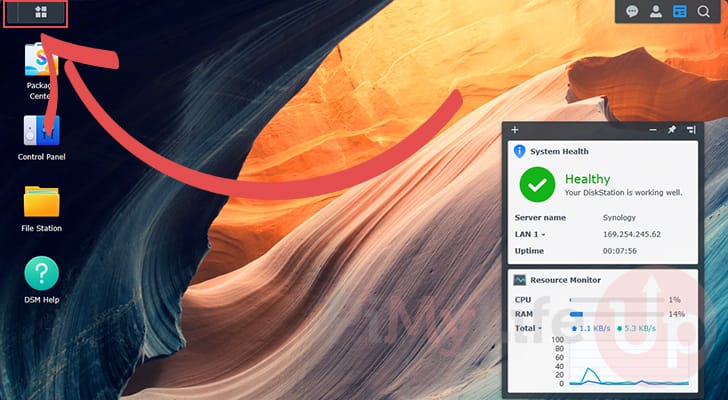
To start this process, open the applications menu by clicking the icon in the top-left corner.
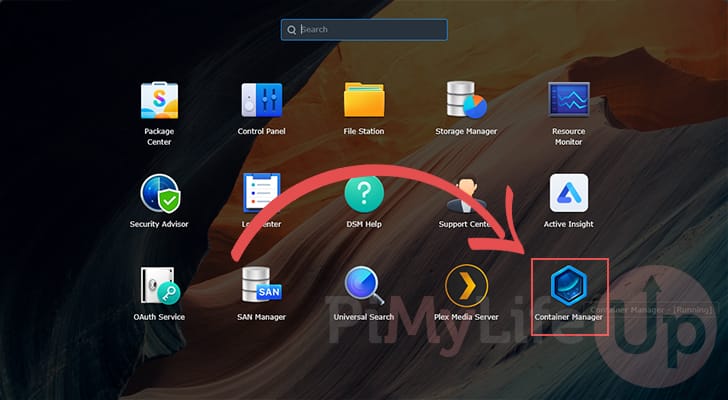
8. In the list of apps, look for one named “Container Manager” and click it to open it.
If you can’t see this app, try using the search box at the top of the screen.
Installing Jellyfin on your Synology NAS
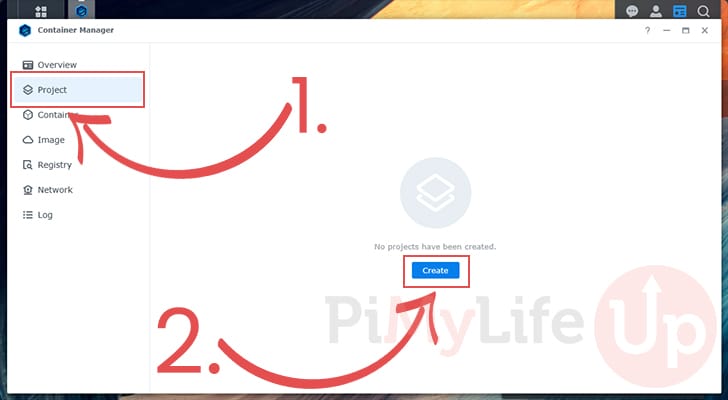
9. With the Container Manager open, change to the “Project” tab (1.).
Once on the project tab, click the “Create” button (2.) to start writing a Compose file to run Jellyfin on your Synology NAS.
Naming your Project
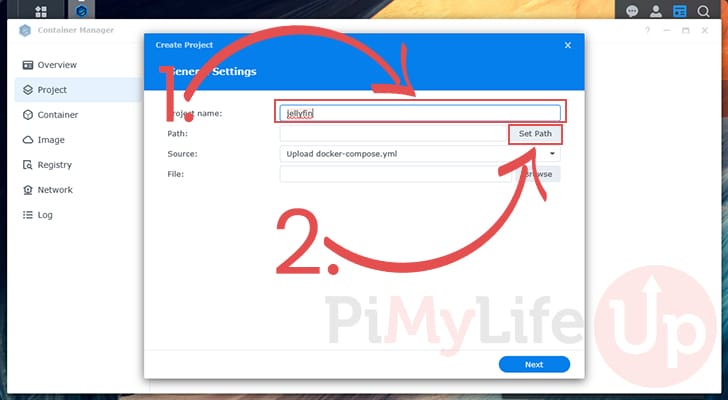
10. Your first step is to name this project (1.). For our tutorial, we will name this project “jellyfin“, but you can name it whatever you would like.
Our next step, is to select the directory where Jellyfin should be stored on your Synology NAS. To select this directory, click the “Set Path” button (2.).
Select the Location to Store Jellyfin on your Synology NAS
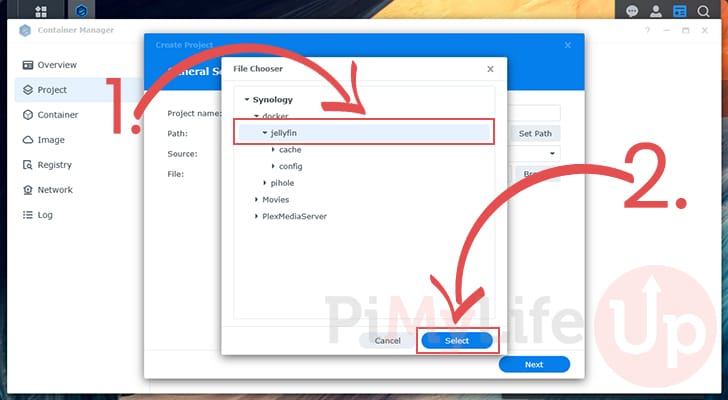
11. You should now have the file chooser open within the Synology interface. Find the folder you created earlier (1.) and select it.
Once you have the directory selected, click the “Select” button (2.) in the bottom-left corner of the window.
Writing the Compose File for Jellyfin
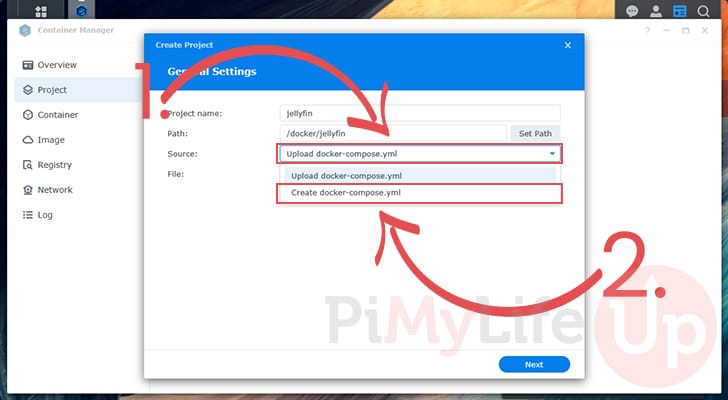
12. Next, you will want to change the “Source” by clicking the select box (1.).
Out of the two available options, you must select the one labeled “Create docker-compose.yml” (2.).
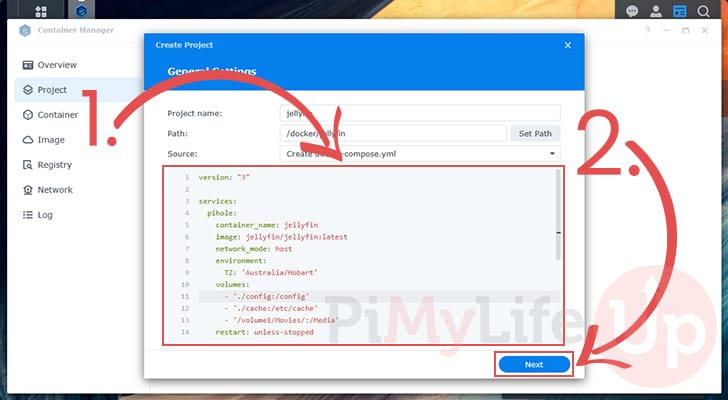
13. You should now have a large text box on your screen (1.). Within this box, you will want to enter the following lines.
While typing out these lines, you will find two placeholders that you must replace.
<TIMEZONE>: To ensure that Jellyfin runs in your time zone, replace this with a valid TZ identifier. One of the best places to find these is Wikipedia.
For example, if you lived in Hobart, Australia, you would use: “Australia/Hobart“.<PATHTOVOLUME>: This is the most important of the two placeholders, as it must be replaced with the path to where your media files are stored.
An example of a path where your shared folder is called “Media” would look like the following: “/volume1/Media“
version: "3"

services:
  jellyfin:
    container_name: jellyfin
    image: jellyfin/jellyfin:latest
    network_mode: host
    environment:
      TZ: '<TIMEZONE>'
    volumes:
      - './config:/config'
      - './cache:/etc/cache'
      - '<PATHTOVOLUME>:/Media'
    restart: unless-stoppedCopy
If you are running Jellyfin on a Synology NAS that supports Intel Quicksync, it is possible to add hardware acceleration. This acceleration helps boost the performance of Jellyfin as it can use special functionality contained on these chips.
Certain versions of the Synology NAS use a different chip that does not include this functionality. Before adding the following two lines, you will need to look up your model to see if it supports this functionality.
    devices:
      - /dev/dri/renderD128:/dev/dri/renderD128
      - /dev/dri/card0:/dev/dri/card0Copy
After filling out the lines, you can click the “Next” button (2.) to continue.
Finishing up Installing Jellyfin on Synology
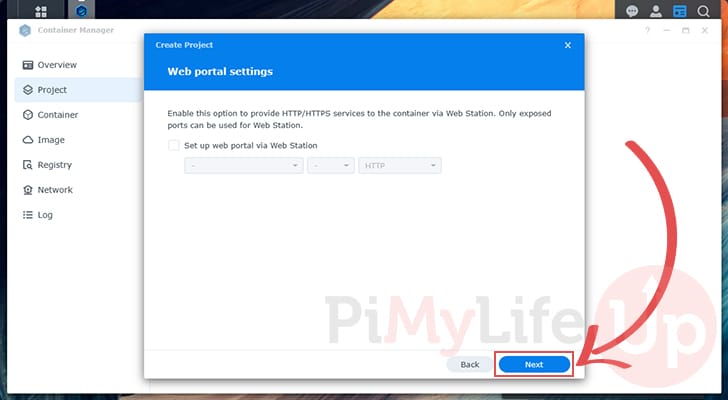
14. The next screen will ask if you want to set up a web portal for your service. Since we don’t intend to use it, click the “Next” button to proceed.
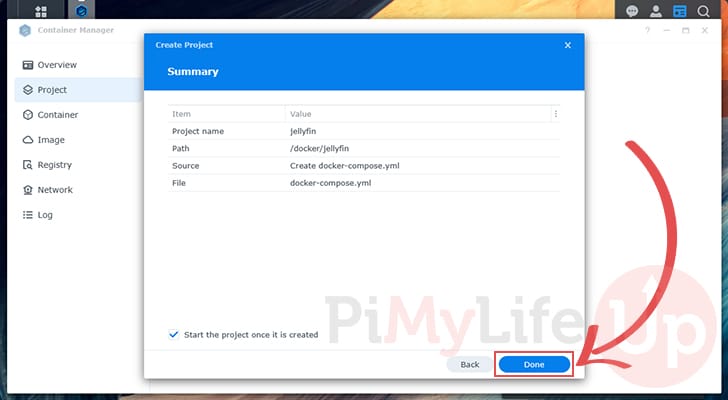
15. All you need to do now to start Jellyfin on your Synology NAS is click the “Done” button.
Your Synology will immediately download and start up the Jellyfin container.
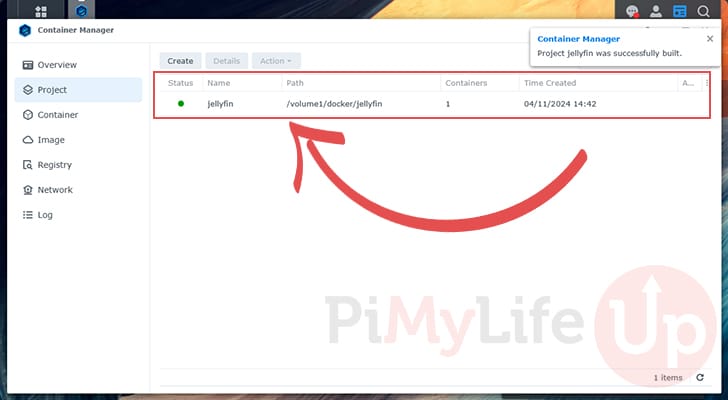
16. Once Jellyfin has been installed, you should see a green circle underneath the “Status” column, as shown below.
Accessing the Jellyfin Web Interface
17. With Jellyfin now up and running on your Synology NAS, you must access its web interface to finish setting up the media server.
To access the web interface, go to the following address in your favorite web browser. Ensure that you replace “<IPADDRESS>” with the IP of your NAS.
http://<IPADDRESS>:8096Finish Setting up Jellyfin in its Web Interface
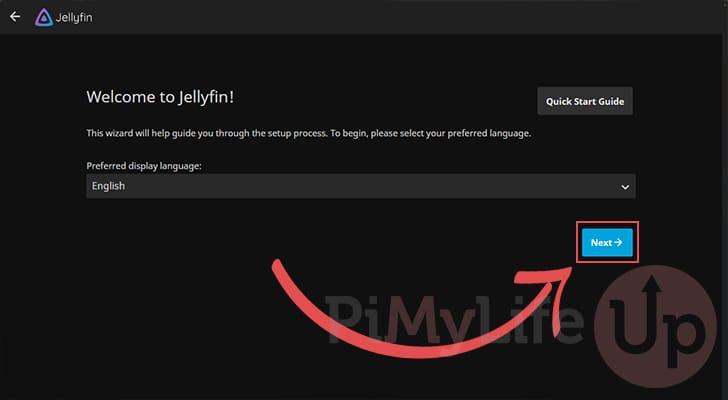
18. The first screen you will be greeted with allows you to select your preferred language.
After setting your language for Jellyfin, click the “Next” button to continue.
Creating an Account
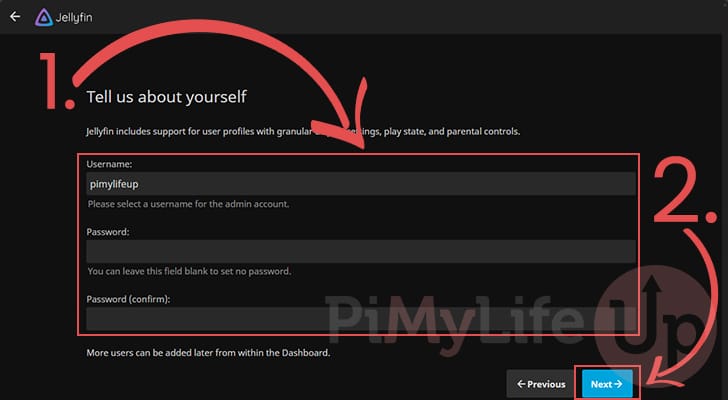
19. Next, you will have the chance to create a user (1.) that you will use to log in to Jellyfin on your Synology NAS.
Jellyfin allows you to create users without a password, but we highly recommend setting one for your admin user.
After filling out your login details, click the “Next” button to proceed (2.).
Adding a Media Library
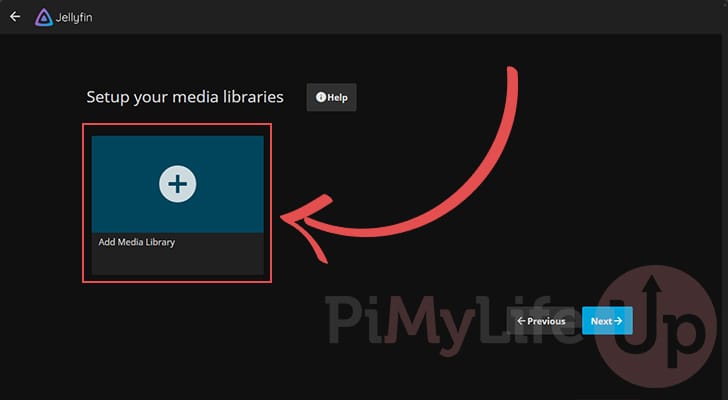
20. During the initial setup process, we highly recommend adding your media libraries now.
To begin this process, click the “Add Media Library” button.
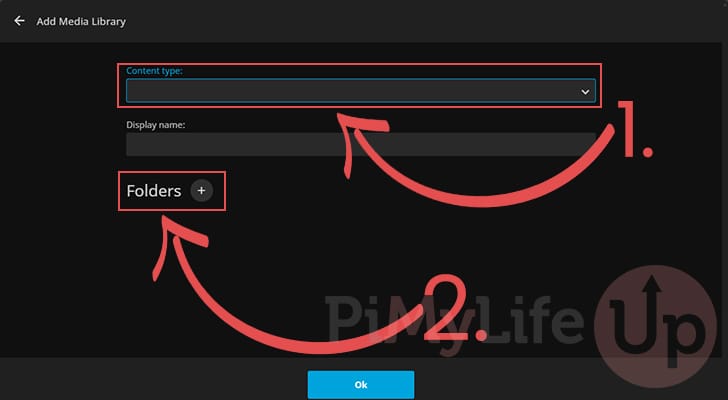
21. The first thing you will want to do on this screen is select the type of content this library will contain (1.).
After selecting the content type, click the “Folders +” button (2.) to begin adding a folder to this library.
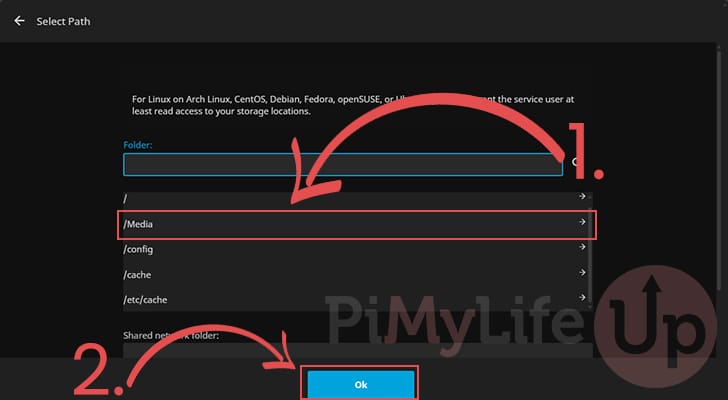
22. On this next screen you will want to select the “/Media/” directory and then the folder where your media type is stored (1.). For example, you might select “/Media/Movies/” if that’s where you keep your movies.
The “/Media/” directory is where we mounted your Synology NAS shared directory to the Jellyfin container earlier in this guide.
After selecting the correct storage location, click the “OK” button (2.).
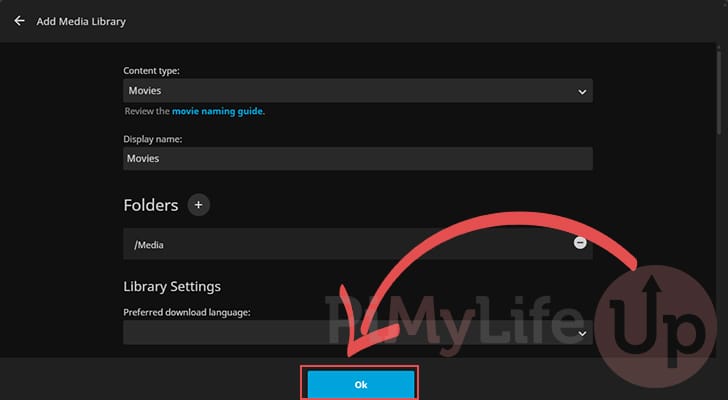
23. Once you are happy with all your settings, click the “Ok” button.
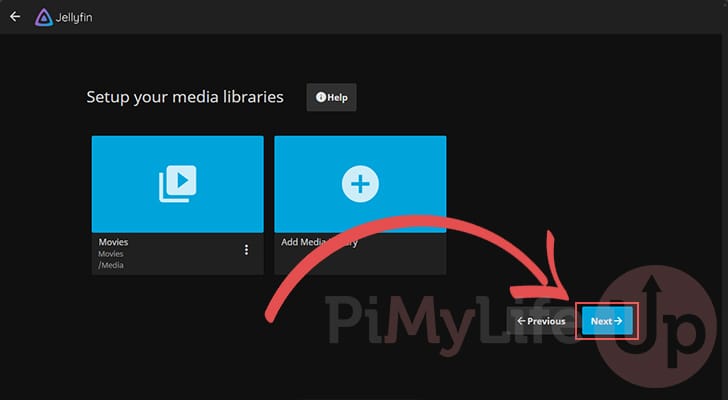
24. You can continue to add as many media libraries as you would like to the Jellyfin library.
Once you are done adding libraries, click the “Next” button to proceed.
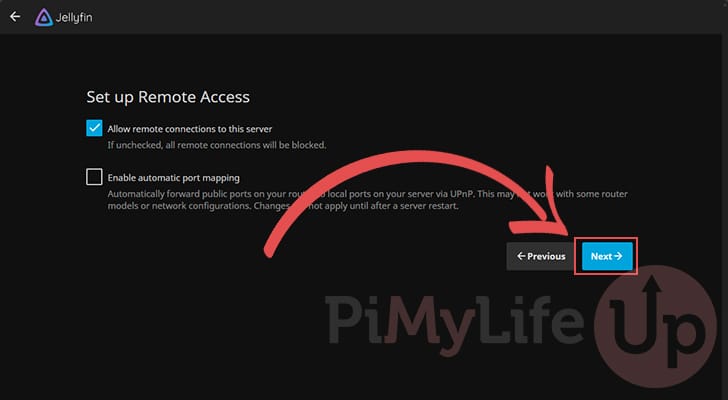
Setting up Remote Access
25. This next screen will allow you to set up remote access to Jellyfin running off your Synology NAS. If you want to access your server outside your home network, you are better off setting up a service such as Tailscale.
You can keep the default settings and click the “Next” button to proceed.
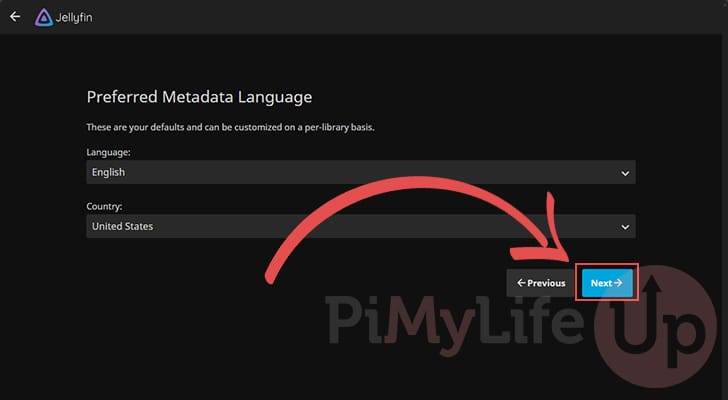
Setting your Metadata Language
26. The next screen allows you to control the language Jellyfin uses to fetch metadata for your media.
Set this to your country and language, and click the “Next” button to proceed.
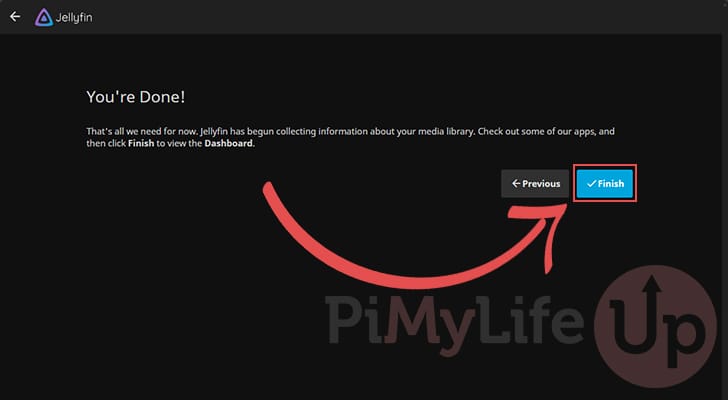
Finishing Setting up Jellyfin on the Synology NAS
27. At this point, you have successfully set up Jellyfin on your Synology NAS.
You can finalize the setup by clicking the “Finish” button.
Logging in to Jellyfin
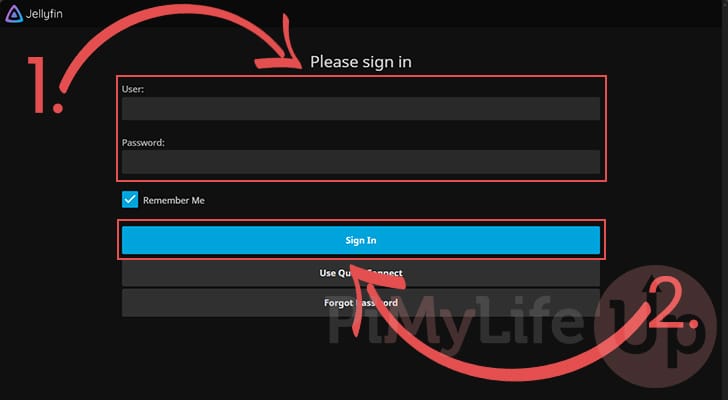
28. Now that you have finished setting up Jellyfin on your NAS, you will probably want to access its actual interface.
To proceed you will need to log in to your account using the details you provided during setup (1.). If you haven’t set a password, just type in your username.
After completing your details, click the “Sign In” button to proceed (2.).
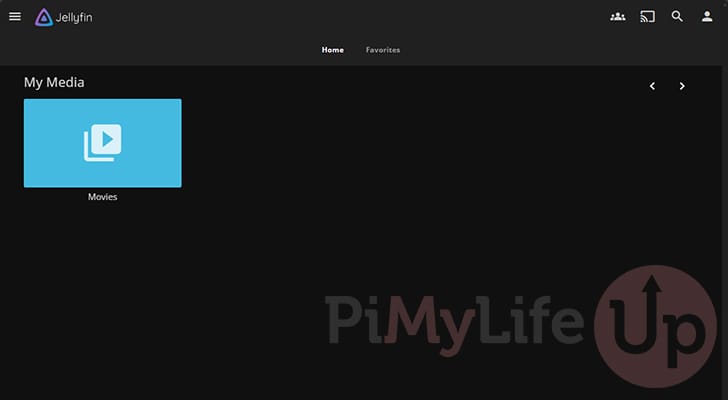
29. Below, you can see that we finally have Jellyfin up and running and can use it to start browsing and watching our media.
Conclusion
At this stage in the tutorial, you should now have Jellyfin up and running on your Synology NAS.
Your NAS is a great place to run a media server as it is where you would typically store all of your media files. While the Synology range might not be the best at transcoding, it is more than capable of streaming the files without it.
Please feel free to leave a comment below if you have any issues getting Jellyfin to work on your Synology.
If you found this tutorial helpful, we highly recommend checking out our other guides for the Synology NAS.