In this tutorial, we will show you how to install and run the official TeamViewer client on Ubuntu.
TeamViewer is a popular and powerful remote desktop solution you can install on your Ubuntu system.
This tool lets you remotely connect to your Ubuntu computer or another device running TeamViewer, such as a Raspberry Pi.
It is a versatile tool that allows you to interact with a desktop as if you were physically there. Of course, due to it being optimized for network, there is some quality drop and slight latency, but it allows you to do everything as if you were using the desktop itself.
The following sections will show you the simple steps to installing TeamViewer on Ubuntu. These steps for installing this remote desktop client will work with all versions of Ubuntu, including Ubuntu 22.04, 20.04, and earlier.
Please note that your user will need sudo privileges (Admin) to install this package to your system.
Installing TeamViewer on Ubuntu
Due to TeamViewer being proprietary software, we can’t just install it from the Ubuntu package repository. The Ubuntu team intentionally excludes proprietary software from the official repository.
Luckily for us installing the software is still reasonably straightforward as we can download the package directly from the official source.
The following steps will need to be followed within the terminal. You can open the terminal on Ubuntu quickly by pressing CTRL + ALT + T on your keyboard.
1. Before we proceed, let us update the package list cache and upgrade any out-of-date packages.
We can update the package list and packages on Ubuntu using the following two commands.
sudo apt update
sudo apt upgradeCopy
2. Once the update completes, we need to install the “wget” package on Ubuntu using the command below.
In the next step, we will use the “wget” package to download the official TeamViewer package.
sudo apt install wgetCopy3. With everything in place, we can now use the “wget” command to download the official TeamViewer package to our Ubuntu system.
To download the 64-bit version of TeamViewer, you will want to use the command below.
wget -O teamviewer.deb https://download.teamviewer.com/download/linux/teamviewer_amd64.debCopyIn the unlikely event that you are running a 32-bit system, you will want to run the following command instead.
wget -O teamviewer.deb https://download.teamviewer.com/download/linux/teamviewer_i386.debCopy4. With the package downloaded, we can now use the “apt” package manager to install it.
Run the following command to install the newly downloaded TeamViewer package to your Ubuntu system.
sudo apt install ./teamviewer.deb -yCopy5. You have now successfully installed TeamViewer on your Ubuntu device.
During installation, TeamViewer will also set up a repository so we can update it the same way normal packages are.
Running TeamViewer on Ubuntu
Now that we have TeamViewer installed on Ubuntu, you can load it up and put it to use.
Over the following section, we will show you how to find and run the software within the Ubuntu interface.
1. To open TeamViewer, you must open the activities screen.
You can access this screen by clicking the top or bottom left of the screen.
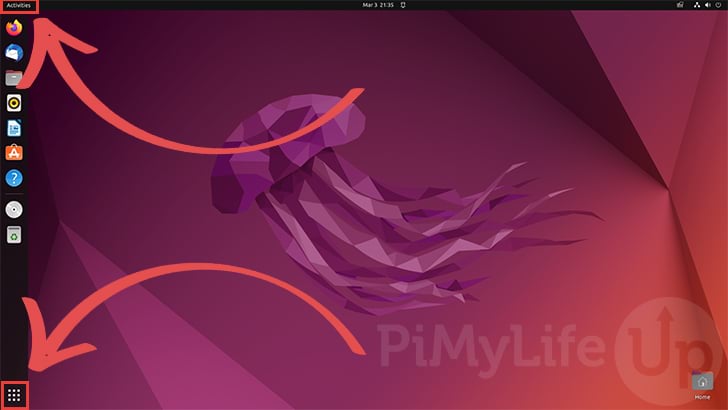
2. On the activities screen, use the search box at the top of the page to look for “teamviewer” (1.).
Once the TeamViewer icon appears on the screen, you can click it to open the application (2.).

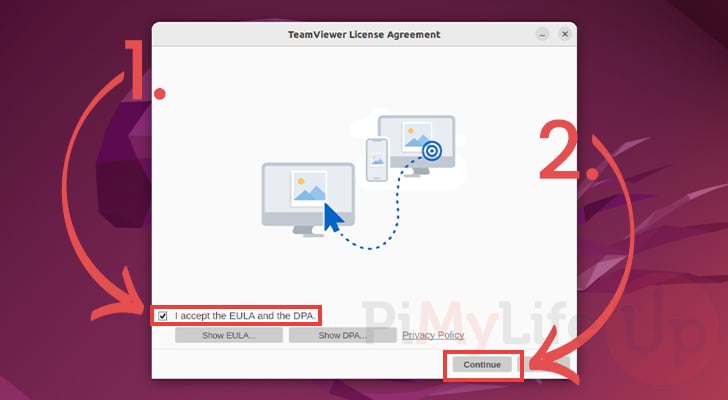
3. When you first open TeamViewer on Ubuntu, you must agree to both the EULA and DPA.
To accept the terms and conditions, you will want first to check the “I accept the EULA and the DPA” (1.) checkbox.
Once accepted, click the “Continue” button (2.) to proceed with using TeamViewer.
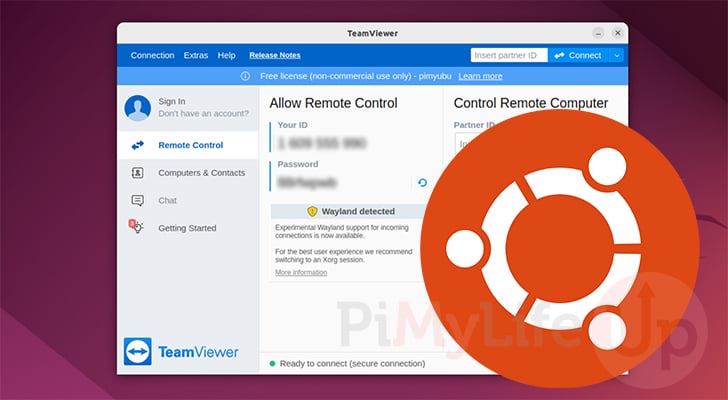
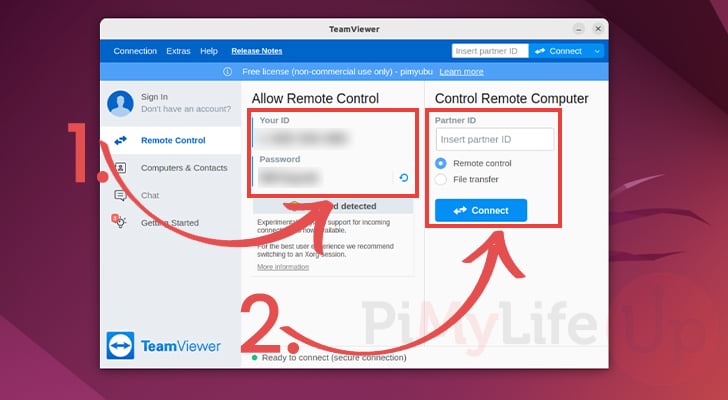
4. If you want to access your device from another TeamViewer client, you will want the ID and password under the “Allow Remote Control” header (1.).
Alternatively, to connect to another TeamViewer client from your Ubuntu device, you will need to enter the “Partner ID” under the “Control Remote Computer” header and then click the “Connect” button (2.).
Conclusion
By this point in the tutorial, you should now have TeamViewer up and running on your Ubuntu device.
TeamViewer is one of the most popular remote desktop clients that can be installed on your system.
Please comment below if you run into any issues with getting the popular remote desktop client running on your device.
You should check out our many other Ubuntu projects if you found this tutorial useful.