In this tutorial, we will be showing you how to install and use AnyDesk on the Ubuntu operating system.
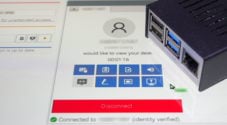
AnyDesk is one of the best remote desktop solutions thanks to its superb operating system and device support. It works on a wide variety of devices, including the Raspberry Pi.
By using AnyDesk on Ubuntu, you can remotely access your device securely from anywhere that has an internet connection.
The AnyDesk team maintains support for the vast majority of Ubuntu releases, including Ubuntu 22.04, 18.04, and 18.04.
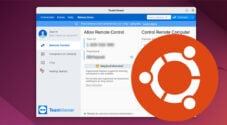
It is the perfect alternative for those wanting to try something different from TeamViewer. For personal usage, AnyDesk offers a great solution, and for those requiring it for work it offers affordable plans.
Please note that you will complete the installation steps within the terminal. On your desktop, you can open the terminal quickly by pressing CTRL + ALT + T.
Installing AnyDesk on Ubuntu
This section will walk you through installing AnyDesk to your Ubuntu device directly from the official repository.
Using the official AnyDesk repository ensures you will run the latest available version of the software and get continued updates when they are made available.
Preparing your Ubuntu Operating System for AnyDesk
1. Before getting anywhere, we need to start by updating the package list cache.
You can update the package list cache on Ubuntu using the following command.
sudo apt updateCopyThe package cache lists the system, all available packages to install, their version, and where we can download them.
2. Once the update completes, we can move on to installing any software we might require when installing AnyDesk on Ubuntu.
The only additional piece of software we need is “curl“, which we will use to obtain the AnyDesk repository GPG key. While curl is typically pre-installed on Ubuntu, it doesn’t hurt to verify it is installed.
Use apt to install curl to your device by using the command below in the terminal.
sudo apt install curlCopyAdding the AnyDesk Repository to Ubuntu
3. Once curl has finished installing, we can set up the AnyDesk repository. This repository is where we will download the AnyDesk package from to our Ubuntu device.
Run command below in the terminal to add the AnyDesk GPG key to your system using curl.
curl https://keys.anydesk.com/repos/DEB-GPG-KEY | sudo gpg --dearmor | sudo tee /usr/share/keyrings/anydesk-archive-keyring.gpg >/dev/null
Copy
The GPG key helps verify that the packages we are downloading came from the repository. In addition, they help stop a bad actor from sending a fake un-signed package in its place.
4. With the GPG key now downloaded, we can add AnyDesk to our sources list. Ubuntu’s package manager will read this list when we next perform a package list update.
Add AnyDesk to its own sources list file by using the following command within the terminal.
echo 'deb [signed-by=/usr/share/keyrings/anydesk-archive-keyring.gpg] http://deb.anydesk.com/ all main' | sudo tee /etc/apt/sources.list.d/anydesk.list > /dev/nullCopy5. Even though we added the AnyDesk repository to our Ubuntu devices repository list, at the moment, it will be unaware of any packages available from it.
To get the apt package manager to discover these new packages, we must update the package list again by using the command below.
sudo apt updateCopyInstalling AnyDesk from the Package Repository
6. Everything is finally in place, and we can now install AnyDesk to Ubuntu from the official package repository.
All we need to do now is use the following command within the terminal to install AnyDesk.
sudo apt install anydeskCopyWhen asked whether you want to continue, type “Y” and press the ENTER key.
7. At this point, you have successfully installed AnyDesk to Ubuntu and can move on to using the remote desktop software. It is now safe to close out of the terminal.
Our next section will cover how you can find and use AnyDesk now that you have it installed.
Using AnyDesk on Ubuntu
Now that you have AnyDesk installed on your Ubuntu system, you will want to know how to use it. This section will show you how to open the software and give you a quick overview of its basic features.
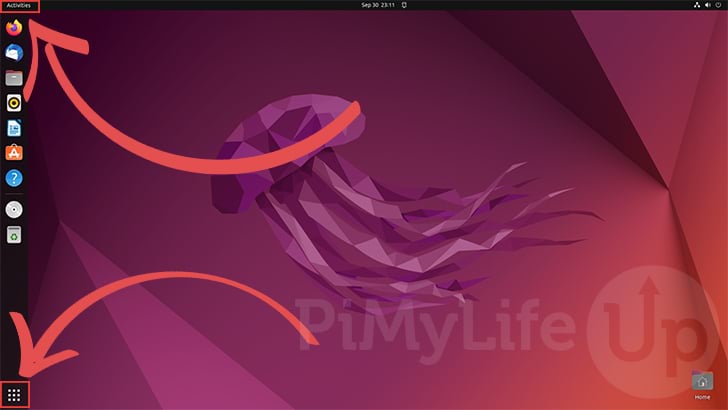
1. To open AnyDesk from Ubuntu’s desktop interface, you must first open the activities screen.
You can open the activities screen by clicking the top or bottom left of the screen.
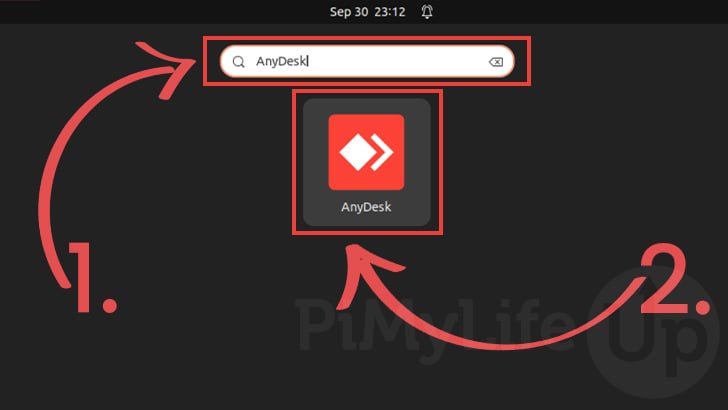
2. With the activities screen open, use the search bar in the top middle of the screen (1.) to search for “AnyDesk“.
As you start typing, you should eventually see “AnyDesk” as an option. Once you see it, click its icon (2.) to open the application.
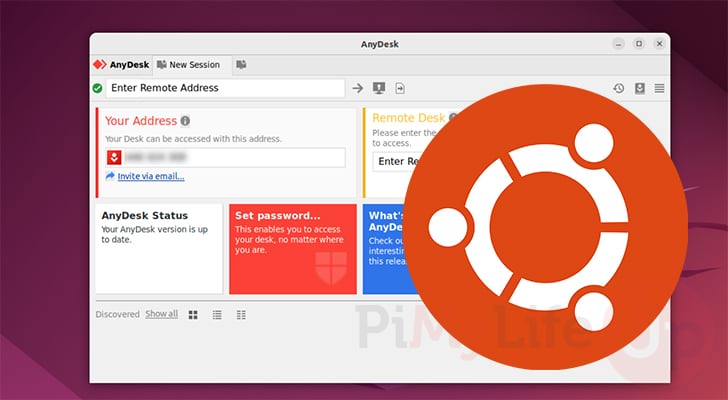
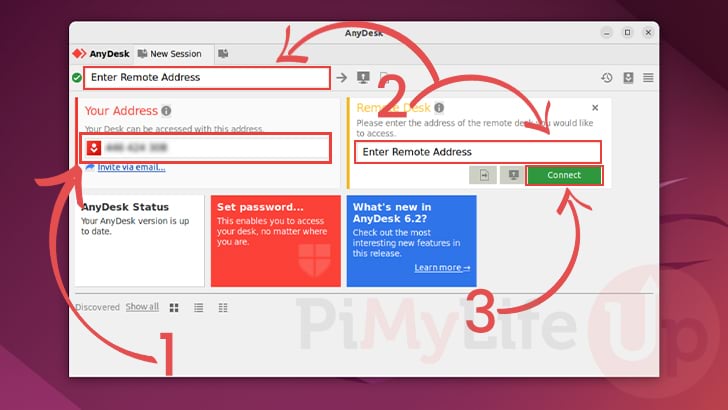
3. You should now have AnyDesk opened on your Ubuntu device. With it open, let us run through some crucial elements you should check out.
- The first of these elements is the address of your AnyDesk client (1.). You can use this address from another device to remote desktop into your Ubuntu device.
Make sure you keep this address safe and only accept connections you completely trust. The connecting user will have control of your system. - To connect to another system using AnyDesk, you can use one of two textboxes (2.). One is located within the toolbar. The other is located on the main dashboard.
All you need to do is type in the address belonging to the other AnyDesk client and press the ENTER key.
Alternatively, you can click the Arrow icon next to the top textbox or the “Connect” button (3.) next to the one on the dashboard.
Conclusion
By this point in the tutorial, you should hopefully have AnyDesk installed on your Ubuntu device and know how to open its interface.
AnyDesk is an easy-to-use remote desktop software that works perfectly on the Ubuntu operating system.
Please comment below if you have trouble installing this remote desktop software to Ubuntu.
Be sure to check out our many other Ubuntu guides to learn more about the system. We also have numerous tutorials that cover the many Linux commands.