This guide will show you how you can install the Zoom Client on an Ubuntu operating system.
Zoom is a communication and conferencing platform that has become popular amongst enterprises, schools, and consumers.
Using the Zoom client on your Ubuntu device will allow you to connect to others and host your own conference calls.
The Zoom software comes with both free and paid plans. The free plan allows you to connect up to 100 other people for a maximum of 40 minutes.
The paid plans scales up to 1,000 participants with a 30-hour time restriction.
Installing the Zoom client on to your Ubuntu is a straightforward process as it is available as a snap package.
It is also easily installable using the desktop interface thanks to its presence on the Ubuntu Software Center.
Installing Zoom on Ubuntu using Snap
Snap has been a part of the Ubuntu operating system since the release of 16.04. It allows you to install containerized software packages with a single command.
If you are unsure what version you are utilizing, be sure to check out our guide on checking your Ubuntu version.
This section will show you how easy it is to install the Zoom client on Ubuntu by utilizing snap.
1. Let us start by updating both the package list and any installed packages by using the apt package manager.
Run the following two commands to update both of these. This will ensure that we have the latest version of snap installed.
sudo apt update
sudo apt upgrade
2. With our Ubuntu system up to date, we can now install the Zoom client.
Installing the Zoom client is as simple as running the following command.
sudo snap install zoom-clientThe snap package manager will download the Zoom client’s “snap” and install it to your Ubuntu system.
3. Once snap finishes installing Zoom to your Ubuntu machine, you can run it using the command line.
To launch the software, you can type in and run the following command.
zoom-clientIt is possible to also launch Zoom after installing it via this method by searching for “zoom” within the “Activities” menu.
You will still need window management software installed for the Zoom client to run.
If you are running a version of Ubuntu without the desktop interface, you may have to install additional software.
Using the Ubuntu Desktop to Install Zoom
Using the Ubuntu desktop interface, it is possible to download and install Zoom with a couple of clicks.
We will be walking you through installing Zoom on Ubunutu 18.04 and Ubuntu 20.04. However, these steps should be somewhat similar for most versions of the Ubuntu operating system.
Using the inbuilt “Ubuntu Software Center”, we can easily search for and install the conference software.
Installing the Conference Software on Ubuntu 18.04
The process of installing the Zoom client on Ubuntu Desktop 18.04 is relatively straightforward and can be completed with a few simple steps.
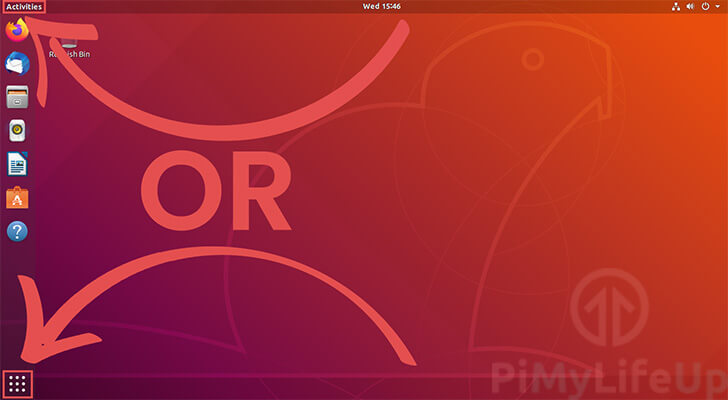
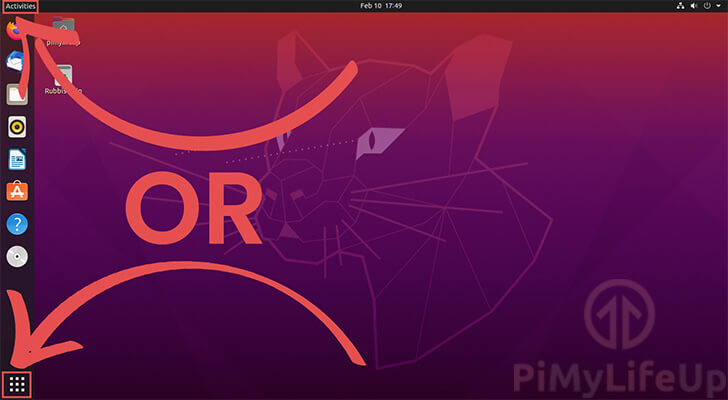
1. On the desktop interface of Ubuntu, you need to open the activities screen.
You can open the activities screen on your device by clicking the icon in the bottom left or top left of the screen.
Alternatively, you can open it by pressing the WINDOWS key (Sometimes referred to as the SUPER, or COMMAND key) on your device.
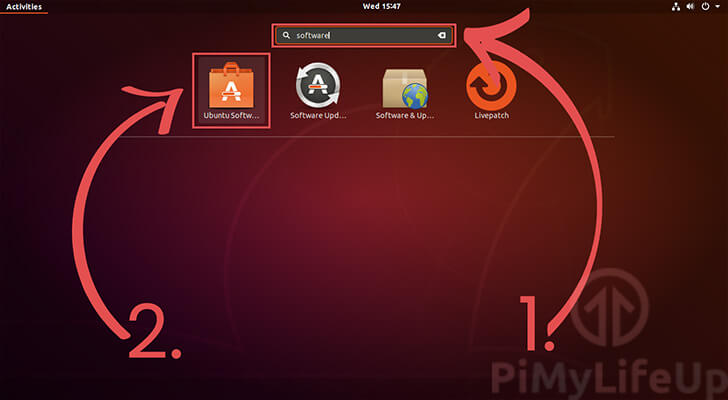
2. Within the activities screen, you need to use the search bar (1.) to look up “software“.
Upon searching, you should see the “Ubuntu Software” application appear (2.), click it to open the application.
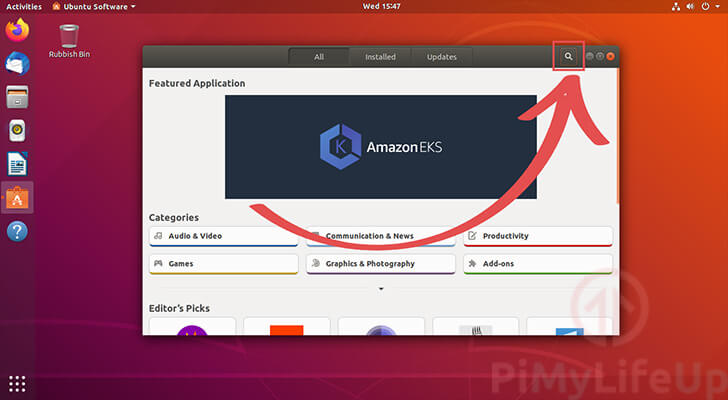
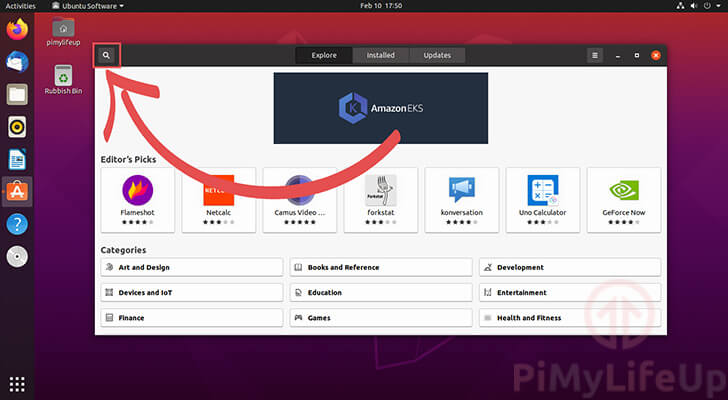
3. With the “Ubuntu Software” application now open, we need to get to the search screen.
To get to the search screen, click the magnifying icon on the top right of the window.
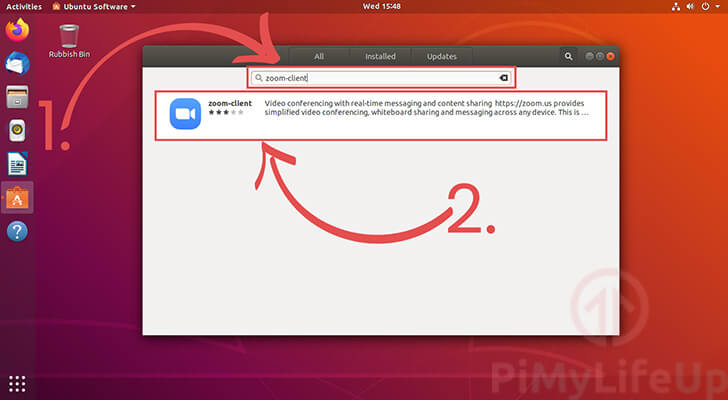
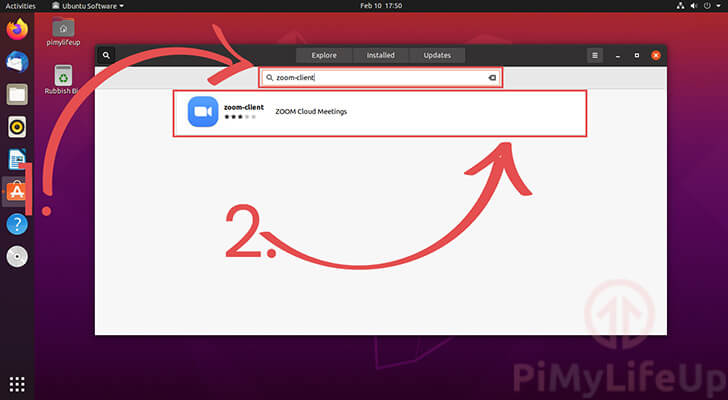
4. Now, we need to use the search bar to look up “zoom-client” (1.).
When the Zoom client appears, click the entry to go into its application page.
5. All you need to do now is click the “Install” button on this page.
You may be prompted to enter your account’s password to start installing Zoom to your Ubuntu machine.

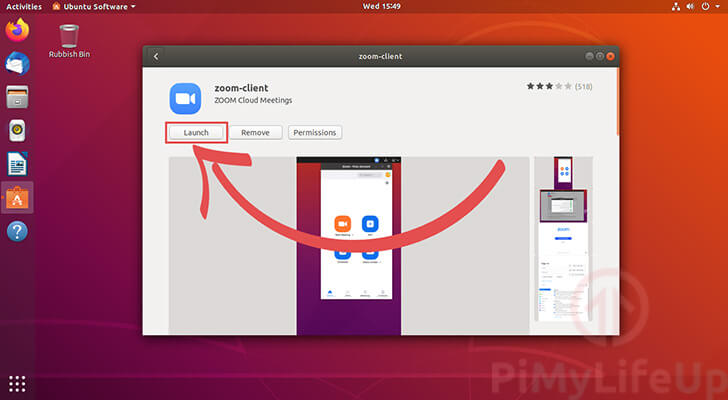
6. With the Zoom client now installed, we can easily open the software.
Opening the software is as easy as clicking the “Launch” button.
You can also find the software through the “Activities” screen and search for “zoom“.
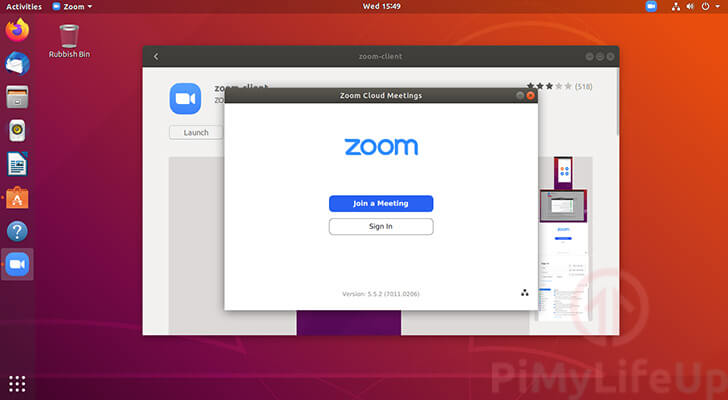
7. You can now start making use of the Zoom software.
Using this application, you can now join meetings or sign in to your Zoom account.
Installing the Zoom Client on Ubuntu 20.04
Thanks to the Ubuntu Software Center, we can install the Zoom Client in a straightforward process on Ubuntu 20.04.
These steps are similar to that of 18.04. However, there are slight differences that we will show you.
1. Our first task is to open the “Activities” screen.
We will be able to use this screen to search and access the software center.
You can open the screen by clicking the “Activities” text at the top right or by clicking the bottom left icon.
2. On the Activities screen, you should see a search bar (1.). Use this search bar to look up the keyword “software“.
You should see the application “Ubuntu Software” appear below the search bar. Once you see the program, click the icon to load the program (2.).

3. With the Ubuntu Software application, click the search icon in the top left.
By using the search function, we will be able to look for the Zoom client.
4. Using the search bar on this page, look for the text “zoom-client (1.).
Once the software finds the Zoom software, click the entry that appears to go to its application page (2.).
5. On this application page, click the “Install” button.
After clicking this button, the Ubuntu Software Center will install the Zoom client to your device.

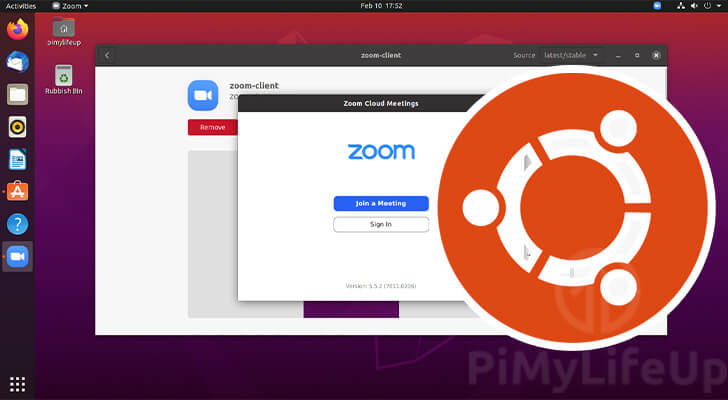
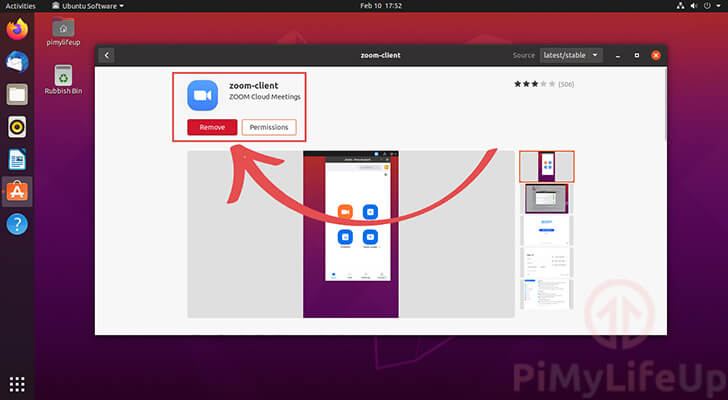
6. You can see that Zoom is now installed on your Ubuntu machine.
Using these two options, you can uninstall the conference software or adjust its permissions.
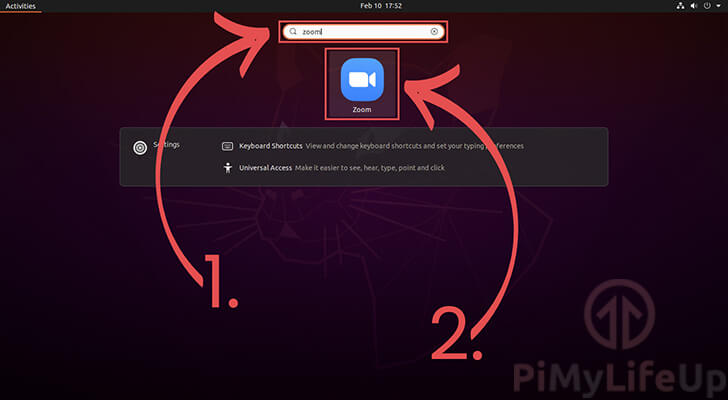
7. To open the Zoom client on your Ubuntu 20.04 device, you can utilize the “Activities” screen.
Use the search bar to look for the “Zoom" application (1.).
The search function should find the Zoom client. All you need to do to open the software is to click the icon (2.).
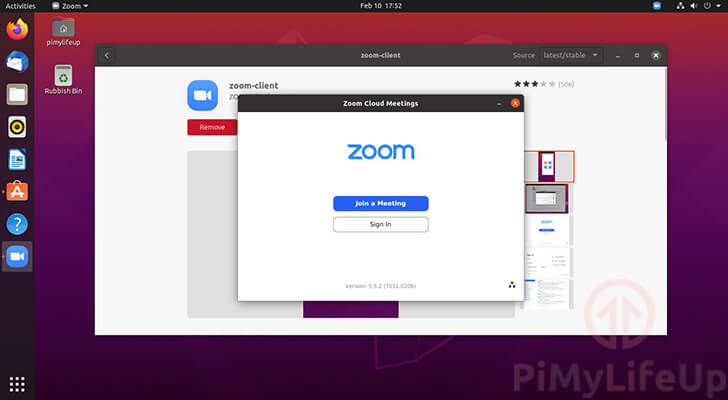
8. You should now have the Zoom client opened on your Ubuntu 20.04 software.
You can now start using it to connect to conferences or even sign in and create your own.
Conclusion
At this stage, you should now have the Zoom client up and running on your Ubuntu device.
The Zoom client will allow you to connect to other conferences and even host your own relatively easily.
The conference software should also function with most microphones and webcams connected to your Ubuntu machine.
If you have had any issues with getting the Zoom client to install, please leave a comment below.
If this tutorial has helped you, be sure to check out our numerous other guides for both Linux and Ubuntu.