This tutorial will show you how to install and use phpMyAdmin on the Ubuntu operating system.
phpMyAdmin is one of the go-to tools for managing your databases on Ubuntu. It provides a simple yet powerful way of interacting with a SQL database.
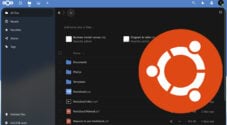
As a web-based tool, you don’t have to install specialised tools such as DataGrip to interact with your database. Instead, all you need is any modern web browser, and you can easily interact with your databases.
Installing phpMyAdmin to your Ubuntu is best for those who don’t need a fully-fledged database management tool but still want an easy way of interacting with MySQL, MariaDB and more.
By the end of the following sections, we will get phpMyAdmin running on your Ubuntu device.
These steps should work on any recent version of Ubuntu. These versions include Ubuntu 22.04 and 20.04.
Preparing Ubuntu for phpMyAdmin
In this section, we will walk you through the process of preparing your Ubuntu system to install phpMyAdmin.
These steps involve installing a web server, database server and PHP.
Installing the Required Software
1. Before proceeding further, we must ensure the package list cache is up-to-date. This cache contains a list of available packages, their version, and where to download them.
To update this list, you will want to use the following command.
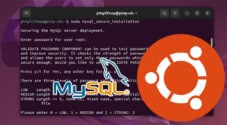
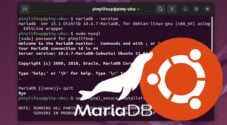
sudo apt updateCopy2. To use phpMyAdmin, you will need at least three essential pieces of software. The first is the database server. This can be MySQL or MariaDB.
If you haven’t already installed a SQL server, please follow our MySQL or MariaDB installation guides.
3. The second crucial element is a web server, phpMyAdmin works with any of the major web servers, but we will focus on Apache and NGINX.
If you don’t have a web server installed, please complete our installing NGINX or Apache on Ubuntu guides.
4. The third piece of software we need is PHP. This is the software that drives the phpMyAdmin software on your Ubuntu device.
We have a guide that shows you how to install PHP on Ubuntu.
Installing Missing PHP Packages for phpMyAdmin
5. For our next step, we must install some additional PHP packages for phpMyAdmin on Ubuntu.
Before we install these, we should work out what version of PHP you already have installed. You can skip to step 6.
You can get PHP to print out its version by using the following command.
php -vCopyBelow is the output we got after running this command on our device.
The part you want to know is at the beginning of the output. For example, based on the text below, we are running PHP 7.4.33. However, we don’t need the last part of the number, so we can say we are running PHP 7.4.
PHP 7.4.33 (cli) (built: Feb 22 2023 20:07:47) ( NTS )
Copyright (c) The PHP Group
Zend Engine v3.4.0, Copyright (c) Zend Technologies
    with Zend OPcache v7.4.33, Copyright (c), by Zend Technologies
6. Now that you know your PHP version, we can install the additional modules required to run phpMyAdmin on your system.
Ensure that when you type in these commands, you replace “7.4” with the actual version of PHP you are using. For example, with PHP 8, you might use “8” or “8.0” instead.
sudo apt install php7.4-mbstring php7.4-zip php7.4-gd php7.4-json php7.4-jsonCopy7. The final step for this PHP section is to ensure that the mbstring module has been enabled by using the following command.
sudo phpenmod mbstringCopySetting up an SQL User for phpMyAdmin
8. With the recent version of MariaDB and MySQL, the root SQL user is created to use a plugin called “auth_socket” for authentication. This means it uses socket connections for authentication rather than a password.
While you could change this behaviour, we can instead create a new user for the pure purpose of using phpMyAdmin on Ubuntu.
If you already have a user that you want to use, you can skip this section entirely. Otherwise, open the SQL command line interface by using the following command.
sudo mysqlCopy9. With the SQL command line interface open, we can now create a user to log in to phpMyAdmin.
To create this user, run the following command. Ensure you replace “password” with a strong password, as whoever gets this can access all your databases.
Secondly, you may also consider changing the username away from “pimylifeup“.
CREATE USER 'pimylifeup'@'localhost' IDENTIFIED BY 'password';Copy10. With the user created, we need to give it access to all databases on the SQL server and grant it the privilege to do anything to those databases.
To achieve this, you will want to use the following command within the SQL command line. If you changed the name of the user in the previous step, you would want to change “pimylifeup” in this line as well.
GRANT ALL PRIVILEGES ON *.* TO 'pimylifeup'@'localhost' WITH GRANT OPTION;Copy11. As we have made adjustments to privileges, we will need to “flush” the privilege table for these to take effect.
To flush the privilege table, use the following command within the SQL command line interface.
FLUSH PRIVILEGES;Copy12. Our final step is to quit out of the SQL CLI by using the command below.
exit;CopyInstalling phpMyAdmin on Ubuntu
Now that we have prepared our Ubuntu system, we can install phpMyAdmin. Installing this software is relatively straightforward as it’s available through the default Ubuntu package repository.
1. You can now begin the installation of phpMyAdmin to Ubuntu by using the following command in the terminal.
This will begin the process of installing the latest version of phpMyAdmin to your device.
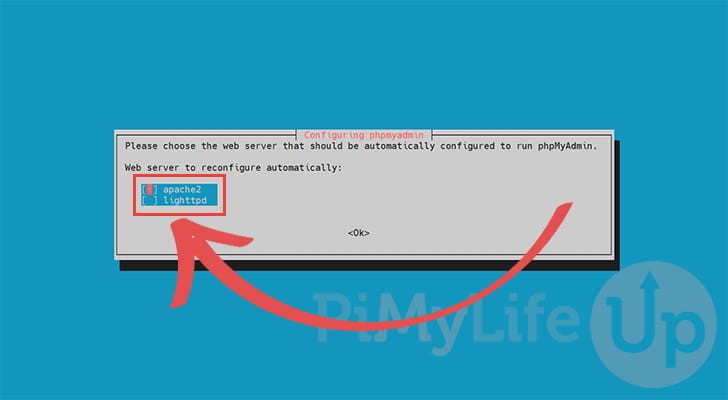
sudo apt install phpmyadminCopy2. Upon installing the database management tool, you will receive the following prompt to select a web server.
If you are using NGINX, you will want to press the ENTER key without selecting any options.
Otherwise, use the TAB key to highlight your desired web server, press SPACE to select it and finally ENTER to proceed.
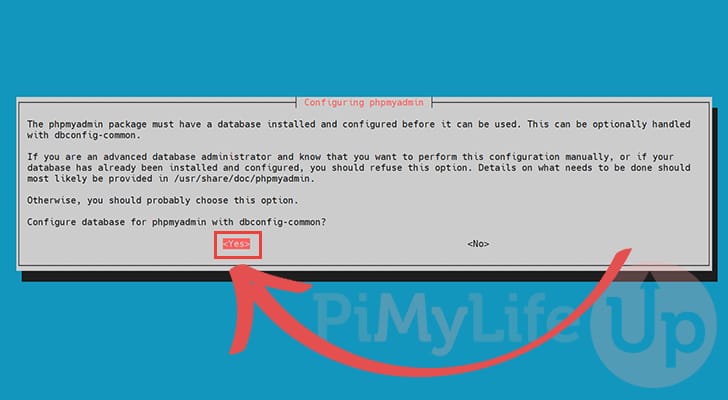
3. You will next be asked if you want phpMyAdmin on Ubuntu to configure its required databases on your SQL server automatically.
To proceed, ensure that the “<Yes>” option is highlighted, then press the ENTER key.
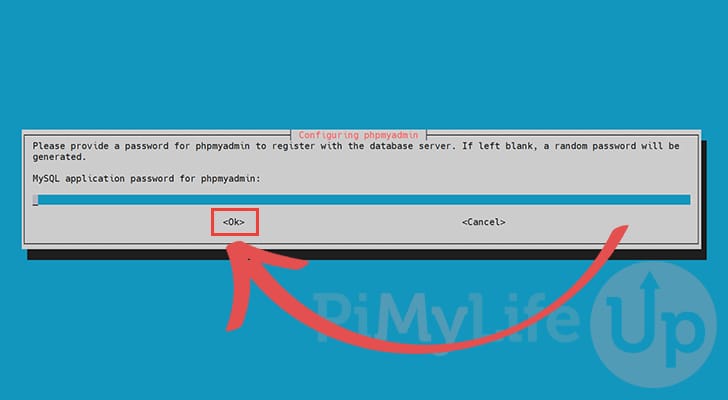
4. You now have the chance to provide a password for the user phpMyAdmin will use to manage its database and tables.
You can safely leave this field blank and press the ENTER key to continue.
Improving the Security of phpMyAdmin
5. Now that we have phpMyAdmin installed on Ubuntu, we can do some configuration tweaks to improve the security of your installation.
To apply these changes, let us write a configuration file that overrides default settings.
sudo nano /etc/phpmyadmin/conf.d/pma_secure.phpCopy6. You will want to enter the following lines within this file.
As you enter these lines, ensure you replace the text “32RANDOMCHARACTERS” with a random string of 32 characters. This is used to secure the cookies generated by phpMyAdmin.
The next few lines change the authentication type to “cookie“, restrict access for accounts with no password and finally disable the root user from being able to log in.
<?php

$cfg['blowfish_secret'] = '32RANDOMCHARACTERS';

$i=0;
$i++;

$cfg['Servers'][$i]['auth_type'] = 'cookie';
$cfg['Servers'][$i]['AllowNoPassword'] = false;
$cfg['Servers'][$i]['AllowRoot'] = false;
?>
Copy
7. After making these changes, save and quit by pressing CTRL + X, followed by Y, then the ENTER key.
8. There are several other ways to improve the security of phpMyAdmin on Ubuntu.
One is to move it behind something like a Cloudflare Zero Trust tunnel. This will restrict access to that tunnel and allows you to force users to log in through a particular service before they can access your phpMyAdmin installation.
Extra Steps for using phpMyAdmin on Ubuntu with NGINX
The following steps are purely for those using the NGINX web server on their Ubuntu system. phpMyAdmin doesn’t automatically set itself up to work with NGINX, but it is still relatively easy to run.
a. The easiest way to get phpMyAdmin to work with NGINX on Ubuntu is to create a symlink between the “/usr/share/phpmyadmin” directory and “/var/www/html“.
This is assuming that you already have a virtual host configured and is serving from the “/var/ww/html” directory.
Additionally, you will also need your NGINX configuration setup to serve PHP files. Our PHP on Ubuntu guide covers this.
sudo ln -s /usr/share/phpmyadmin /var/www/html
Copy
Accessing your phpMyAdmin Installation
Now, you can access and use your Ubuntu’s phpMyAdmin installation. If you are accessing it remotely, you must know your Ubuntu device’s IP address.
1. Once you have your IP address, all you need to do is go to that address followed by “/phpmyadmin“.
Below we have shown an example of accessing our phpMyAdmin installation that is running on a local machine.
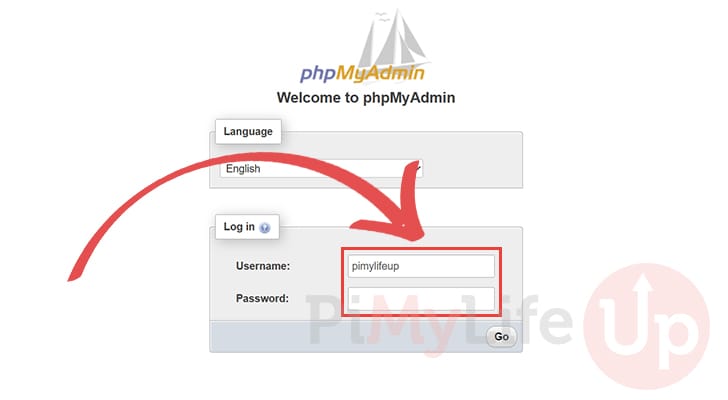
http://192.168.0.134/phpmyadmin2. Upon loading phpMyAdmin, you will be greeted with the following login screen.
On this screen, you must enter the username and password of the SQL user you created earlier in this guide.
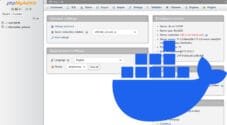
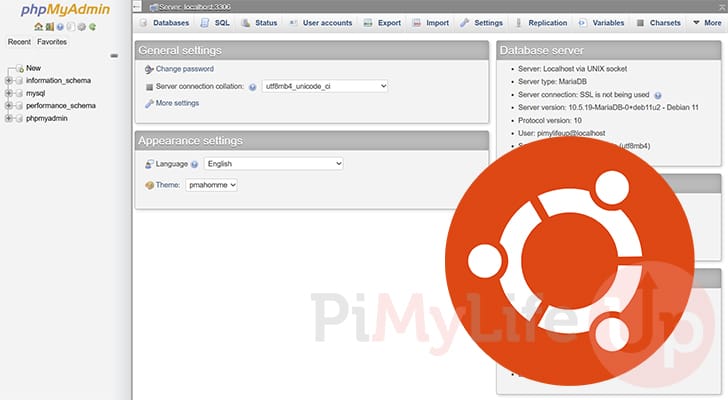
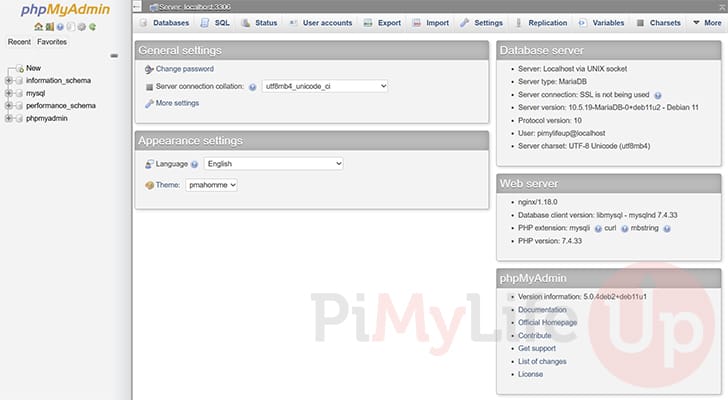
3. You now have full access to the web-based database management tool.
If everything is working correctly, you can now interact with any currently installed databases and modify their data. Additionally, you can even create new databases from within this interface.
Conclusion
At this point in the tutorial, you should now have phpMyAdmin installed on your Ubuntu device.
This tool is a valuable and easy-to-use way of managing your databases from a web browser. While not as powerful as fully-fledged database tools such as DataGrip, it is more than enough for most light users.
Please comment below if you run into any issues with getting phpMyAdmin installed.
If you found this tutorial helpful, be sure to check out our many other Ubuntu guides.