This guide will show you how to install the network-wide adblocker called AdGuard Home on your Ubuntu device.
AdGuard Home is a software that allows you to block ads across your home network easily.
Like Pi-Hole, AdGuard Home achieves this by acting as a DNS sinkhole. Instead of a request going to an ad provider’s server, it is sent to nothing, meaning the ad should never be displayed.
There are advantages and disadvantages to using a DNS-based adblocker on your network. The main advantage is the ease of use. As long as your device allows you to configure the DNS settings, you can easily use this type of ad blocker.
The drawback of this, however, is that it can’t block all styles of ads. Some ad providers and software have developed techniques that work around a DNS blocker.
AdGuard Home is a super feature-packed solution for blocking ads on your home network. It has many features built in that require additional set-up in alternatives such as Pi-Hole. For example, AdGuard comes with built-in DNS-over-HTTPS support; however, Pi-Hole requires you to install additional software.
There are several ways to install and run Adguard Home. This guide will show you how to install it directly on the Ubuntu operating system. However, if you prefer, we also have a guide that covers how to set up AdGuard Home using Docker.


Installing and Configuring AdGuard Home on Ubuntu
The following section will walk you through installing AdGuard Home onto the Ubuntu operating system.
One key thing you will want to do before setting up this network-wide adblocker is configure a static IP address for your Ubuntu machine.
Preparing Ubuntu for the Network Wide Adblocker
1. Your first task is to update the Ubuntu operating system by running the following two commands.
The first command will update the package list cache, and the second upgrades any out-of-date packages on your system.
sudo apt update
sudo apt upgradeCopy
2. After the update completes, we need to ensure that the wget package is installed on your system.
We will be using wget to download the AdGuard Home software.
sudo apt install wgetCopy3. On certain versions of Ubuntu, the Systemd-resolved service will cause issues with installing AdGuard Home.
We can stop this service from running by running the following command within the terminal.
sudo systemctl stop systemd-resolvedCopy4. Since we don’t want this service to start again and break AdGuard down the track, let us disable it.
By disabling the service, Systemd won’t attempt to restart it.
sudo systemctl disable systemd-resolvedCopyDownloading AdGuard Home
5. Our next step is to download the AdGuard Home software to Ubuntu by running the relevant command below.
The first command is for those running a 64-bit system on x64 hardware. The second command is for those running an ARM device such as the Raspberry Pi.
AMD64
wget https://static.adtidy.org/adguardhome/release/AdGuardHome_linux_amd64.tar.gz -O AdGuardHome.tar.gzCopyARM 64-bit
wget https://static.adtidy.org/adguardhome/release/AdGuardHome_linux_arm64.tar.gz -O AdGuardHome.tar.gzCopy6. Once AdGuard has been downloaded, you can use the tar command to extract the archive you just downloaded to your system.
You can extract this archive by using the command below within the terminal.
tar xvf AdGuardHome.tar.gzCopy7. With the archive extracted, we no longer need it, so we can use the rm command to remove it.
rm AdGuardHome.tar.gzCopyInstalling AdGuard Home on Ubuntu
8. To install AdGuard Home on the Ubuntu system, we need to use the cd command to change to the directory we extracted.
cd AdGuardHomeCopy9. After changing to the new directory, we can install AdGuard using the following command.
This command will install everything and set up a service to keep AdGuard Home running.
sudo ./AdGuardHome -s installCopy10. When you see messages saying to go to a particular IP address, you know the installation was successful.
This IP address is the dashboard for the AdGuard Home, and you will need to go to it to finish setting up the software.
2024/05/01 21:03:27 [info] go to http://192.168.0.9:3000Accessing the Web Interface
11. At this stage, you will want to access the web interface for AdGuard Home and finish setting up the network-wide adblocker.
You can get the IP address of your Ubuntu machine by using the hostname command in the terminal.
hostname -ICopy12. In your favorite web browser, go to the following address. You will need to ensure that you replace “<IPADDRESS>” with the IP of your Ubuntu device.
http://<IPADDRESS>:3000Initial Setup of AdGuard Home on Ubuntu
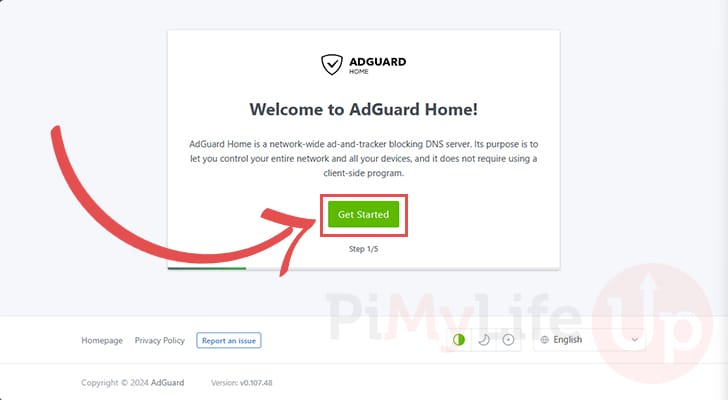
13. The first time you access your AdGuard Home installation on Ubuntu, you will need to complete some initial set-up steps.
To start this process, click the “Get Started” button.
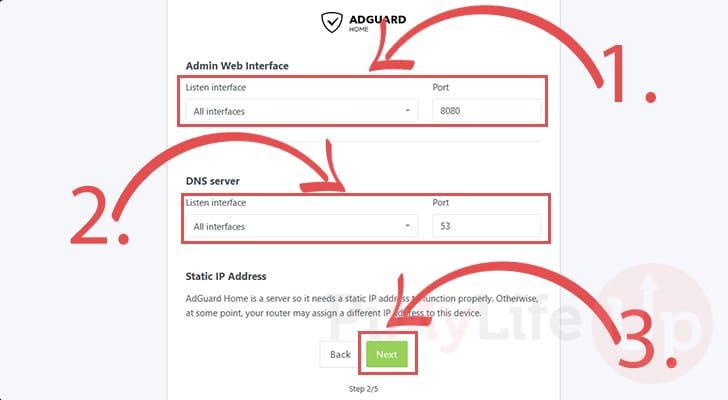
14. This next screen allows you to control the ports that AdGuard Home operates on.
The first set of options (1.) allows you to set the port and interface on which the admin web interface operates. In our example, we changed the port to 8080 as we had other services running on our device.
With the second set of options (2.), you can control the ports that the AdGuard Home DNS listens on. Typically, you will want to keep this set to port 53.
After filling out both textboxes, click the “Next” button (3.).
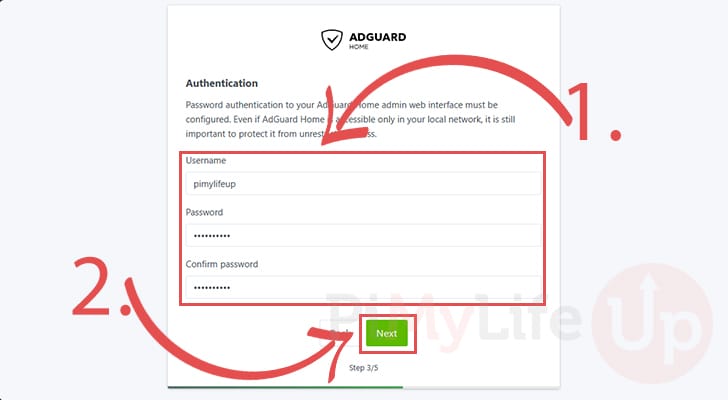
15. This next screen allows you to create an admin account to manage AdGuard Home. Fill out the username and password (1.) that you will use to use this network-wide adblocker.
Once you have filled in your login details, click the “Next” button (2.).
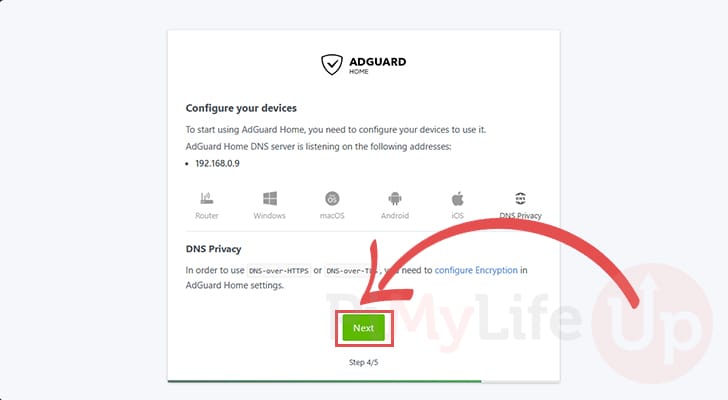
16. On this screen, you will find a set of instructions on how you can configure your various devices to use your adblocker.
Basically, all you need to do is set the DNS service on your devices to point to the IP address of your Ubuntu machine.
Once you are happy to proceed, click the “Next” button.
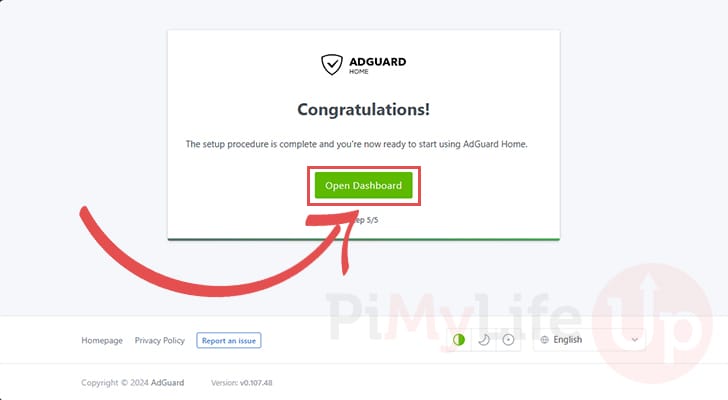
17. You have now successfully installed AdGuard Home on Ubuntu.
Proceed to the dashboard screen by clicking the “Open Dashboard” button.
Logging in and Accessing AdGuard Home
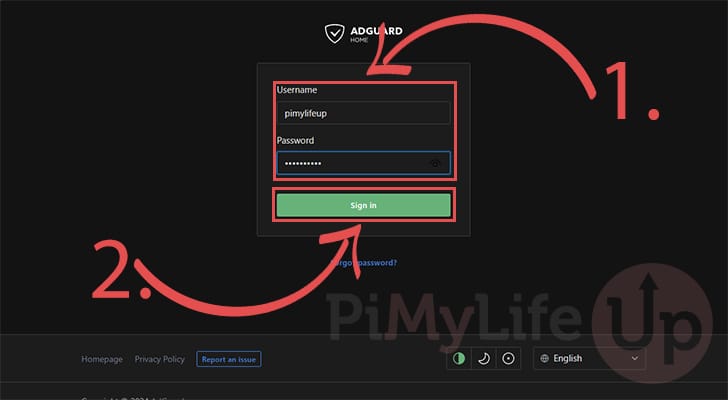
18. You will now be taken to a screen that asks you to log in to the AdGuard Home web interface. Fill in your username and password (1.) on this screen.
Now, click the “Sign in” button (2.) to log in using your details.
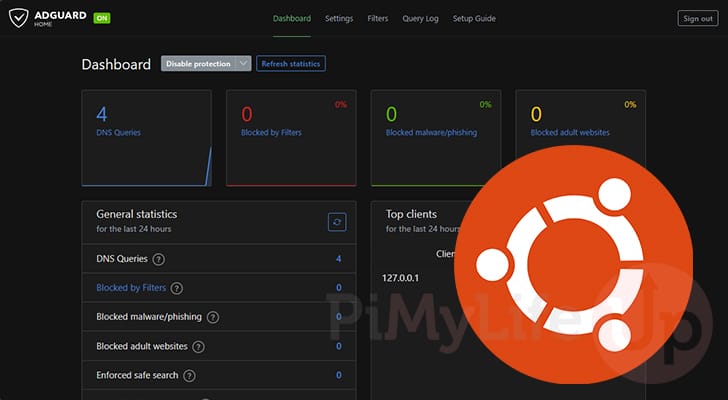
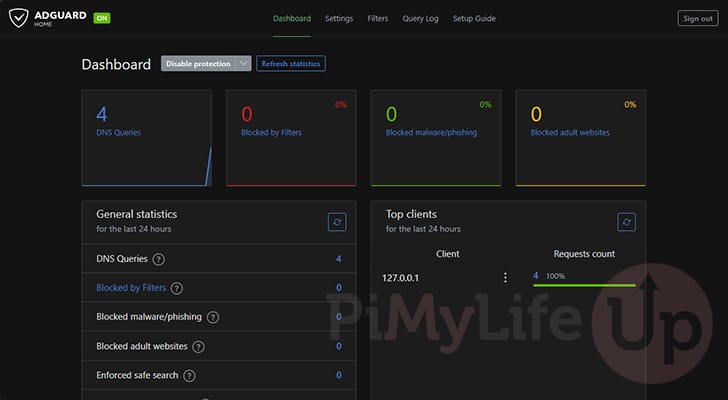
19. Below, you can see that we have the AdGuard Home installed on our Ubuntu system and now have access to its dashboard.
This dashboard allows you to control how the adblocker works and gives you statistics on how many DNS queries it processes and blocks.
Conclusion
You should now have AdGuard Home installed on your Ubuntu system.
This software works as an amazing network-wide adblocker thanks to its incredibly simple use. Like Pi-Hole, it is also open-source.
Please comment below if you have encountered any issues with getting adblocker working on your system.
If you liked this guide, we highly recommend you explore our many other Ubuntu tutorials.