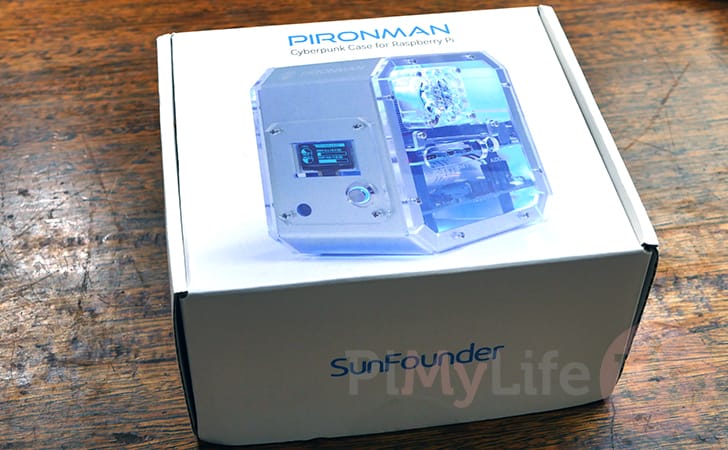
In this article, we will explore the Pironman case for the Raspberry Pi 4 by SunFounder.
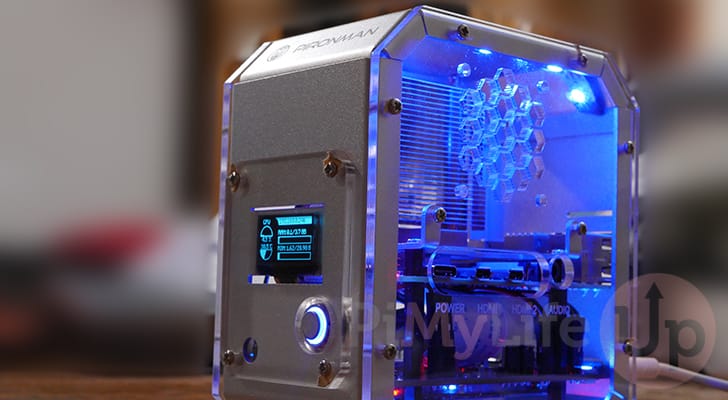
The Pironman is one of the most unique cases for the Raspberry Pi that we have checked out. It is a feature-packed case boasting a SATA M.2 slot, a power button, RGB lighting, a mini-OLED display, and more.
All of these features come in a case that looks like it was designed to look like a tiny gaming PC case. The case even comes with a tower cooler and RGB fan to keep everything cool under load.
The downside of implementing these features in such a tight space is that it is one of the more time-consuming cases we have had to put together. You must carefully follow the instructions when putting the Pironman case together.
We found the case to be quite a unique and interesting design, but it is let down a little by how fiddly it is to put together. If you ever need to swap out your Raspberry Pi 4, you will need to disassemble the entire case.
Hopefully, in future versions of this case, SunFounder will be able to work out a more straightforward way for everything to piece together without relying on so many screws.
Over the following few sections, we will go over the features of the case and give you our thoughts on the assembly process and the overall build quality.
Before we continue, we should note that we were sent the Pironman case from SunFounder. Besides receiving the case for free, SunFounder didn’t set any expectations from us. Below are our honest thoughts on this case.
We should also note that the Pironman only supports the Raspberry Pi 4. It will not work with older versions of the Pi.
Equipment
Before we get started let us quickly go over all the parts we used when reviewing the Raspberry Pi Pironman Case
Recommended
- Raspberry Pi Amazon 4
- Micro SD Card Amazon
- Power Supply Amazon
- SunFounder Pironman Case Amazon
- Ethernet Cable Amazon or Wi-Fi Amazon
Optional
Additionally, we verified everything while using both Raspberry Pi OS Lite and Raspberry Pi OS Desktop Bullseye.
Pironman Case Showcase
Below, you can check out the assembled Pironman case in action to give you an idea of how everything looks.
Adblock removing the video? Subscribe to premium for no-ads.
Features of the Pironman Raspberry Pi Case
Let us start by quickly going over all of the features of the Pironman case for the Raspberry Pi. As mentioned earlier, this is a somewhat feature-packed case, so there are a few things to review.
- Aluminum Case: The metal casing helps add rigidity to the design and helps add strength and a bit more of a premium feel compared to cheap plastic cases.
- Transparent Side Panels: The side panels of the case are made out of an acrylic plastic allowing you to see inside of the case.
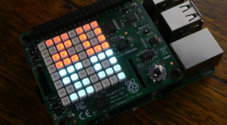
- OLED Display: Allows you to display information on the front of the case. By default, the Pironman will display information about your Raspberry Pi such as its temperature, IP address, RAM and more.
- Power Button: This button lets you wake the OLED screen and safely turn the Pi on and off.
- IR Receiver: This receiver allows you to control the Raspberry Pi remotely using an IR remote. However, the Pironman case doesn’t come with a remote.
- SATA M.2 Slot: This M.2 slot allows you to use a SATA SSD with your Raspberry Pi. Please note that it will not work with an NVME drive, so be careful if you use this functionality.
The M.2 slot works like an external drive, so you will lose a USB 3.0 port on your Pi if you use this functionality. But it also means you can easily plug the drive into your computer if you ever need to format it. - Tower Cooler: The case comes with a cooler that you will mount to the surface of your Raspberry Pi. If you are familiar with building your own PC, you will be familiar with this cooler style.
- RGB Fan: This fan is used to bring fresh and cooler air into the Pironman case. It also has RGB lights, which will light up when powered on.
- RGB Lights: One of the additional features of this case is that it comes with a small 5cm RGB light strip that you will mount to the top of the inside of the case.
Unboxing and Assembling the Raspberry Pi Pironman Case
Over the following sections, we will give you a quick rundown of our thoughts on the unboxing and assembling process of the Raspberry Pi Pironman case.
The assembly process is probably the biggest downside of the Pironman case. If you don’t mind a bit of fiddly work, your work will pay off with a sleek and unique Raspberry Pi case.
Don’t ignore the instructions that come with the Pironman case. You don’t want to miss a step with so many components that need piecing together.
Unboxing the Pironman Case
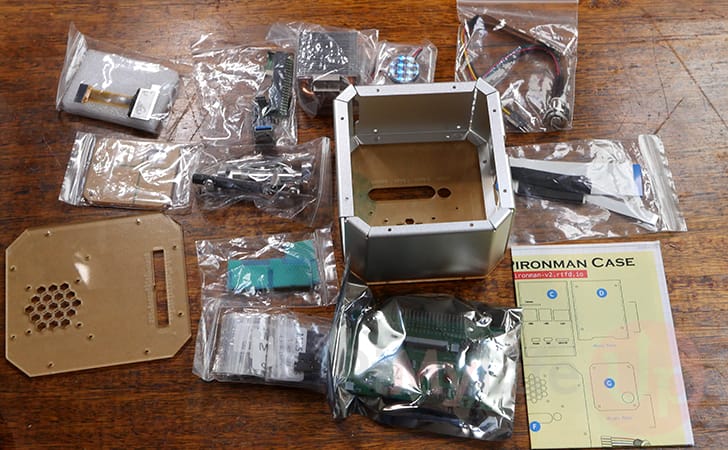
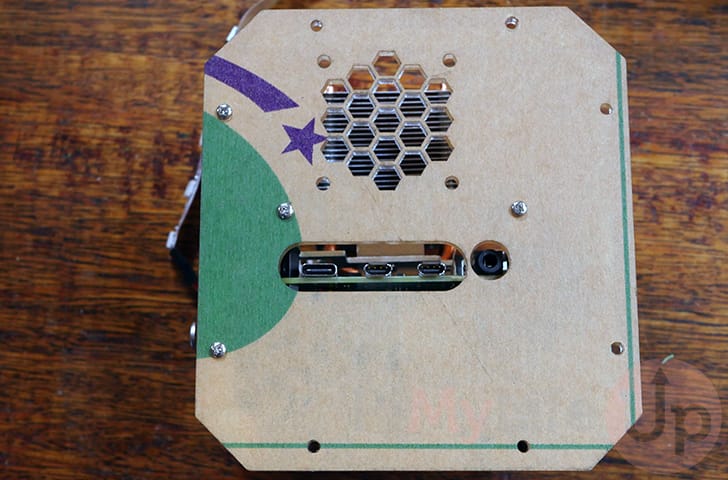
The Raspberry Pi Pironman case comes in a compact square cardboard box with all components safely packed with some sturdy foam.
Everything seems packed well enough to survive most shipping companies without significant issues.
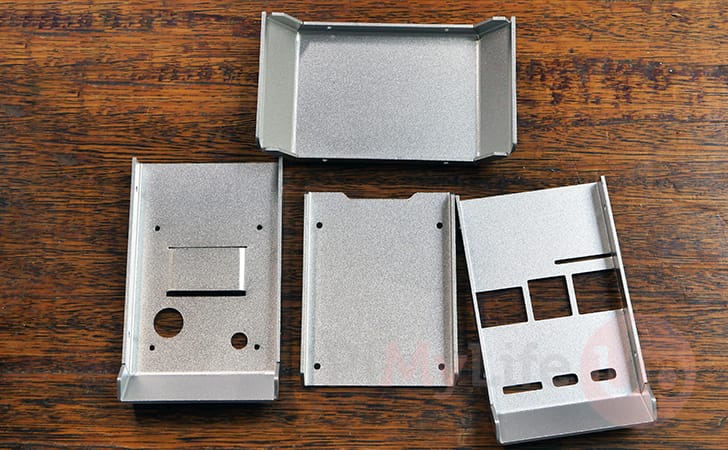
Taking everything out of the box, you will quickly see that you are about to be very busy putting this case together.
There are numerous pieces, but luckily, everything is relatively straightforward what it is used for, and the included instruction sheet walks you through almost every step.
The only step not included within the instruction sheet provided was setting up your Raspberry Pi to talk with the Pironman case. However, we will touch on that process later on in this article.
Assembling the Raspberry Pi Pironman Case
Where the user experience of the Raspberry Pi 4 Pironman case falls apart a bit is its assembly. You will definitely need to put some time aside to put this case together; we do not feel like you can rush.
Follow the steps provided by SunFounder’s instructions to the letter, as missing a step or getting a step out-of-order can leave you scratching your head. The case’s design expects elements to be placed in particular ways, especially the ribbon cables.
Immediately after unboxing the case, you will find numerous parts you must assemble. You even start the assembly process by disassembling the one piece that comes pre-assembled.
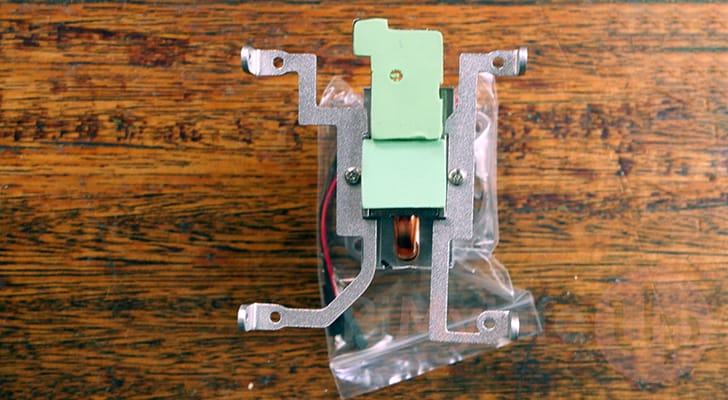
During our own assembly experience, we made a couple of mistakes. The first of these mistakes was putting together the tower cooler.
The cooler has two pieces of metal that form the bracket for the cooler. These pieces of metal must be mounted correctly for the cooler to mount to your Raspberry Pi properly.
Ensure that you pay attention to the way you have mounted the brackets. Additionally, the bent parts of the metal brackets where the screw points are should be facing up towards the fin stack. We made the mistake of installing them upside down.
We feel this is a part where SunFounder could have improved slightly by having the mounts pre-installed or the bracket as a single piece.
The second mistake we made when building the Pironman case was not taking the protective backing of the acrylic panels before we screwed everything together.
With all the panels screwed together, getting this tape off neatly turned into a bit of a pain. We ended up with bits stuck tightly underneath the screws that were holding everything together. This is more of a personal mistake than an actual issue with the Pironman case.
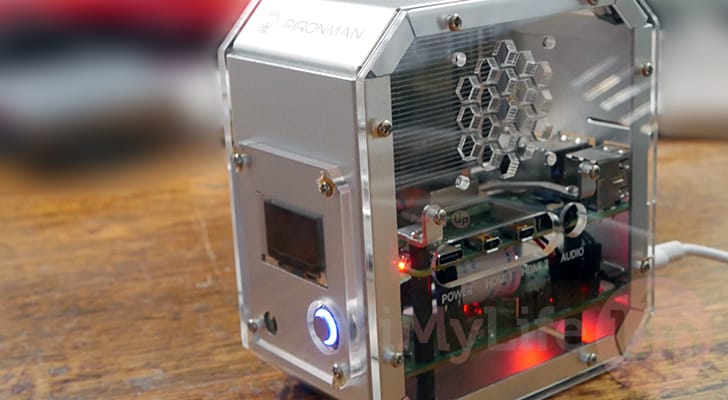
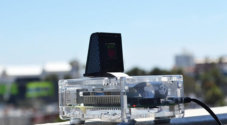
Once the case is fully assembled, you will have a case with a sleek design reminiscent of a miniature PC case. Below, you can see our Raspberry Pi Pironman case powered on for the first time.
Don’t worry when you first power on your Pironman and none of the RGB lights turn on. Most functionality won’t work correctly until you install additional software to your Raspberry Pi’s operating system.
Setting up the Raspberry Pi for the Pironman Case
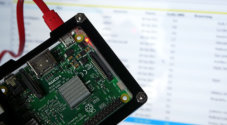
After assembling the Pironman case for the Raspberry Pi, you might find that its functionality doesn’t work straight out of the box.
This is because you are required to install some additional software. This software allows your Pi to talk with the Pironman’s main board and control features such as the OLED display and the RGB lighting.
1. To set up the Pironman software on your Raspberry Pi, you must set up some things first.
Start by updating the package list by using the following command.
sudo apt updateCopy2. Your next step is to ensure Python 3 and Git are installed on your Raspberry Pi by running the command below.
sudo apt install git python3 python3-pip python3-setuptoolsCopy3. Now that you have everything installed, we must use Git to clone the Pironman repository to our Raspberry Pi.
git clone https://github.com/sunfounder/pironman.git -b v2.0Copy4. Once the package has been cloned, use the cd command to change into its directory.
cd pironmanCopy5. You can run the install script within this newly cloned directory.
This script will install all the packages required to control the Pironman from your Raspberry Pi. It will also set itself up as a service, so everything will start functioning when your Raspberry Pi powers on.
Without this script, you won’t be able to control any of the Pironman cases functionality.
sudo python3 install.pyCopy6. After installing the Pironman setup script, you will be asked if you want to restart your Raspberry Pi.
Type in “Y“, then press the ENTER key to restart your Pi immediately.
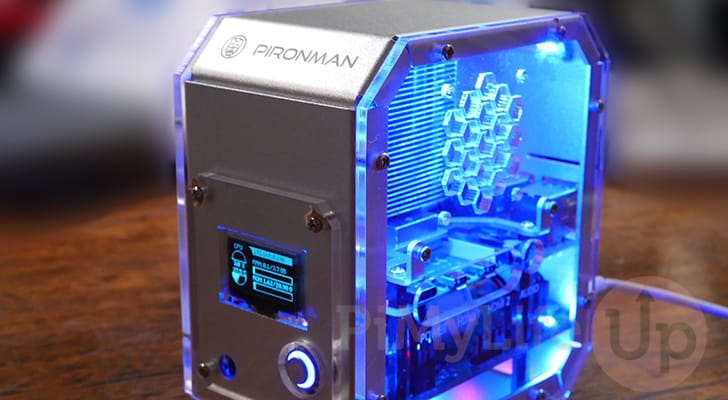
7. Your Pironman case should now be lit up, with the script not controlling everything. You should also see some information is now being displayed on the front OLED display.
If the screen is off, you can quickly press the power button on the front of the Pironman case to wake it back up.
To safely turn your Raspberry Pi off using the Pironman case’s power button, you will want to hold it down for 5 seconds. To force the device off, hold it down for 10 seconds.
To learn how to configure the Pironman scripts, be sure to check out the official documentation.
Conclusion
The SunFounder Pironman case is one of the more unique cases we have tried for the Raspberry Pi. It boasts a ton of functionality in a tiny package, even allowing you to use a SATA M.2 SSD.
The build quality of the case and all of its components seemed to us to be pretty solid. Nothing was misaligned out of the box, and everything pieced together quite nicely.
We felt the only real letdown of this case is that it is relatively fiddly to put together. It requires numerous screws to hold everything together and routing components properly for it to all fit together.
If you are happy to put up with a case that is slightly more difficult to put together then you will be more than happy with all the extra functionality provided by it and the cases sleek design.
The OLED display at the front of the case lets you quickly reveal information about your device without having to SSH in or connect a display.
The added tower cooler and fan allow you to keep the Pi’s temperature in check no matter what you throw at the device.
Best of all, this functionality comes in a reasonably aesthetic case that allows it to stand out from the more standard credit card-designed cases you typically see for the Raspberry Pi.


I bought one and used it for a short period of time before taking it apart and putting it on the shelf when the wow factor wore off. Cool but I would not do it again.