This quick Raspberry Pi project will show you how to install and run the note-taking application called Obsidian.
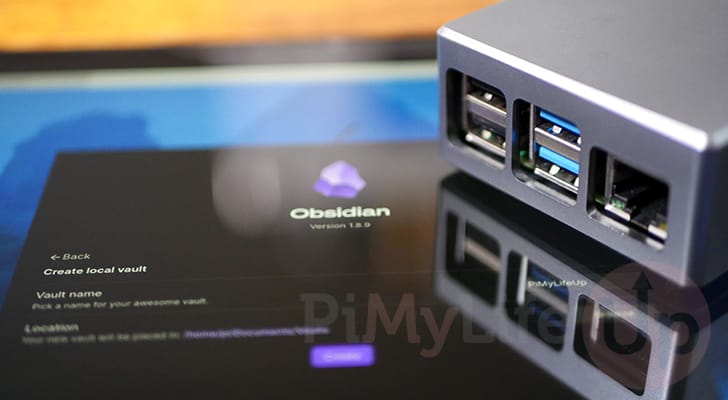
Obsidian is a self-hosted note-taking application designed to act as your personal knowledge base. All of your data is kept locally on your own machine in what Obisdian calls “Vaults.” These vaults are essentially just text files that store all of your information, formatted using Markdown.
You could consider Obsidian a self-hosted alternative for your Raspberry Pi to online-only solutions such as Notion. It is also a great alternative to Microsoft’s OneNote and can actually run on Linux.
The other great thing about Obsidian is that compared to the other paid solutions. You don’t lose out on a huge amount and keep full control over your data. The software is also very actively developed.
To run Obsidian on your Raspberry Pi, you must have a 64-bit operating system. If you are unsure if you are running a 64-bit system, we have a guide on how to check this.
All the main Raspberry Pi models since the 3 have support for using a 64-bit system.
Equipment
Below is a list of equipment we used when setting up Obsidian on our Raspberry Pi.
Recommended
- Raspberry Pi Amazon
- Micro SD Card Amazon
- Power Supply Amazon
- Ethernet Cable Amazon or Wi-Fi Amazon
- HDMI Cable Amazon
- Monitor Amazon
- USB Mouse Amazon
- USB Keyboard Amazon
Optional
- Raspberry Pi Case Amazon
This tutorial was last tested on a Raspberry Pi 5 running the latest version of Raspberry Pi OS Bookworm 64-bit.
How to Install and Run Obsidian on Your Raspberry Pi
Over the following sections, we will be walking you through the steps required to install the Obsidian note-taking software onto your Raspberry Pi.
To achieve this, we will use Obsidian’s Flatpak distribution. This approach has the advantage of including everything required to get Obsidian running within a single package. Additionally, Obsidian only distributes its ARM versions through Flatpak or Appimage.
Below, we have included our video, which will walk you through all of the steps needed to install and run Obsidian on your Raspberry Pi. If you prefer to follow along at your own pace, be sure to check out our written steps below.
Preparing your Raspberry Pi
1. For the first part of this process, we must ensure that our Raspberry Pi is up-to-date. You can update the existing packages on your system by using the following two commands in the terminal.
The first command will update the package list cache. The second will upgrade any out-of-date packages.
sudo apt update
sudo apt upgrade -yCopy
2. Once your packages have been updated, we will need to install and set up Flatpak. This is fairly straightforward, as Flatpak is available through the official Raspberry Pi OS repository.
To install the software, we only need to use the following command in the terminal.
sudo apt install flatpakCopy3. When Flatpak has finished installing to your Raspberry Pi, we will need to add a remote repository for it to use to install the Obsidian Fatpak. As Obsidian is hosted on FlatHub, we will be adding that repository.
You will want to use the following command within the terminal to add this remote repository.
sudo flatpak remote-add --if-not-exists flathub https://flathub.org/repo/flathub.flatpakrepoCopy4. To ensure that the rest of your system reflects this change, reboot your Raspberry Pi by running the following command in the terminal.
Flatpak won’t work properly until your system has been rebooted, meaning we won’t be able to install and run Obsidian just yet.
sudo rebootCopyInstalling Obsidian onto your Raspberry Pi
5. Now that Flatpak has been installed, all we need to do to get Obsidian installed on our Raspberry Pi is to run the following command.
With this command, Flatpak will find and download Obsidian for ARM64 from the Flathub repository.
flatpak install flathub md.obsidian.ObsidianCopyLaunching the Obsidian Note-taking Software on your Raspberry Pi
6. Once Flatpak has finished downloading and installing the Obsidian software, all we need to do to launch it is to use the following command
flatpak run md.obsidian.ObsidianCopyIt can also be found by going through the start menu, opening the “Office” menu, and then selecting the “Obsidian” option.

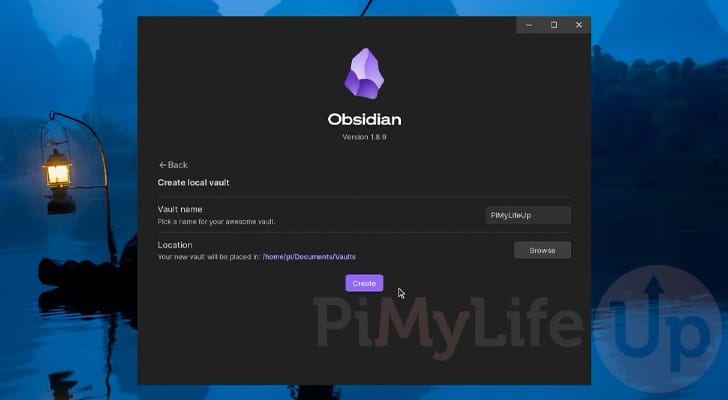
7. You should now successfully have Obsidian up and running on your Raspberry Pi. You can now set up your own vaults and begin taking and storing your notes.
Conclusion
Hopefully, by the time you reach this point in the project, you will have successfully installed Obsidian on your Raspberry Pi.
Obsidian is by far one of the best self-hosted note-taking tools. It is packed with functionality and is incredibly easy to get up and running.
Please feel free to drop a comment below if you have any issues getting Obsidian installed and running.
If you liked this tutorial, we recommend checking out some of our many other Raspberry Pi projects and guides.


I followed these steps and didn’t encounter any problems with the Obsidian installation. I am running the latest 64 bit OS on my Pi 500. When I launch the program it opens but soon goes to a dark blank screen. I can only quit the program. I suspect I need to uninstall the program and would like recommendations on what steps to take.During the installation I had 7 files that were installed, not the 2 shown in the demo. I have confirmed that a vault was created and my first file added before the program went dark. I can still open Obsidian but get the same results each time. Please advise.
Hi Dale,
I am sorry to hear you’re running into issues. We haven’t been able to reproduce the issues you have mentioned, but it is on our list to look into further.
In the meantime, you can uninstall Obsidian by simply running the following command.
You can try installing Obsidian again by going through the steps again.
I haven’t tested it, but you could also try disabling hardware acceleration by running the following command.
Let us know how you go.