This tutorial will show you how to install and use Raspberry Pi Connect.
The Raspberry Pi Connect software allows you to control your Raspberry Pi remotely through a web browser. It is a super neat tool provided by the Raspberry Pi Foundation.
You can use a wide variety of solutions to control your Pi. For example, on our website alone, we have covered solutions such as VNC, TeamViewer, TailScale, Tmate, Cockpit, and AnyDesk. Each of these solutions is great at what it can do but often requires additional software or configuration to work.
Where this software tries to improve over the other solutions is its sheer ease of use. You don’t have to open any ports or worry about configuring any files, as the Connect software handles the whole process for you.
Installing is as simple as running a couple of commands, and then connecting isn’t much more work than that.
Connect uses two methods to access your Raspberry Pi. The first is the fastest, and that is to establish a peer-to-peer connection between your web browser and your Pi. If this connection fails for whatever reason, Connect will fall back on using a relay server. A relay server will add latency to your connection but will help ensure you can access your Raspberry Pi.
One downside of using this software to connect to your Raspberry Pi remotely is that you must use a Raspberry Pi 4, 400, or 5.
Additionally, you must also be running a 64-bit version of Raspberry Pi OS Bookworm desktop and using Wayland (the new operating system’s default behaviour) instead of the X window server.


Equipment
Below is a list of equipment we used when setting up and using Raspberry Pi Connect.
Recommended
Optional
This tutorial was tested on a Raspberry Pi 5 running the latest version of Raspberry Pi OS Bookworm 64-Bit.
How to Install Raspberry Pi Connect
In this section, we will walk you through installing Connect on your Raspberry Pi. Installing this software is pretty simple but you will need to be happy enough to at least use the terminal.
Signing up for a Raspberry Pi ID
1. Before you begin, you will need to have a Raspberry Pi ID account. This account will allow you to access your Pi remotely and connect the Connect software to the relay servers.
Please note that a Raspberry Pi ID is different to the account you would use to access their forums.
You can sign up for an ID by going to the following URL.
https://id.raspberrypi.com/sign-up2. Once you have signed up for an account, you may proceed with this tutorial.
Installing and Starting Raspberry Pi Connect to your Pi
3. Now that you have a Raspberry Pi ID account, we can move on to installing the Raspberry Pi Connect software.
The installation steps will be fairly simple, as this software is available through the official Raspberry Pi OS repository.
Your first task, however, is to open the terminal. If you are unsure how to do so, you can always use the CTRL + ALT + T shortcut to open the terminal.
4. With the terminal open, you should ensure your Raspberry Pi is up-to-date by using the following two commands.
The first command will update your package list cache to the latest version. The second will upgrade any out-of-date packages. Whenever you go to install new packages, it is recommended to at least run the “update” command.
sudo apt update
sudo apt upgradeCopy
5. At this stage, all you must do to install the Raspberry Pi Connect software is to run the command below within the terminal.
It is fairly lightweight software, so the installation process should take only a minute.
sudo apt install rpi-connectCopy6. Even though the Raspberry Pi Connect software is now installed, it won’t automatically start until your system boots again.
Luckily, we don’t have to restart to get the remote control software running. Use the command below to start the “rpi-connect” system service now.
systemctl --user start rpi-connectCopyStarting the Sign-in Process
7. There are two different ways to start the sign-in process for the Raspberry Pi Connect software.
The first is to use the terminal. This method will give you a URL to go to and complete the sign-in process. The second is to run the sign-in process directly on your Raspberry Pi. This will open a web browser and have you complete the sign-in through that.
We have covered both methods below, so choose the one you feel most comfortable following.
Signing in to Raspberry Pi Connect from the Terminal
a. You can begin the sign-in process for the Raspberry Pi Connect software without leaving the terminal.
To get the software to begin to connect to the Raspberry Pi ID service, run the following command
rpi-connect signinCopyb. Within the terminal, you should now see a unique URL. You will need to follow this URL to finish setting up the software and enable access to your Pi through the web browser.
Ensure you keep the terminal session open, as the software is currently waiting for you to log in.
Complete sign in by visiting https://connect.raspberrypi.com/verify/XXXX-XXXX

⢿ Waiting for a response…
Starting the Sign-in Process from the Raspberry Pi Desktop
a. Alternatively, you can start the sign-in process for the Connect software directly from the Raspberry Pi desktop. This is a great way to log in if you are physically already at your Pi and have a keyboard and mouse connected.
You can start this process by finding and clicking the “Raspberry Pi Connect” icon on your taskbar. It should be the grayed-out circle with two squares in the top-right corner of your screen

b. After clicking the Raspberry Pi Connect option, you will see a context menu appear.
In this context menu, click the “Sign in” option.

Signing in to your Raspberry Pi ID Account
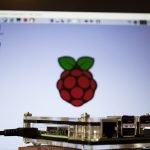
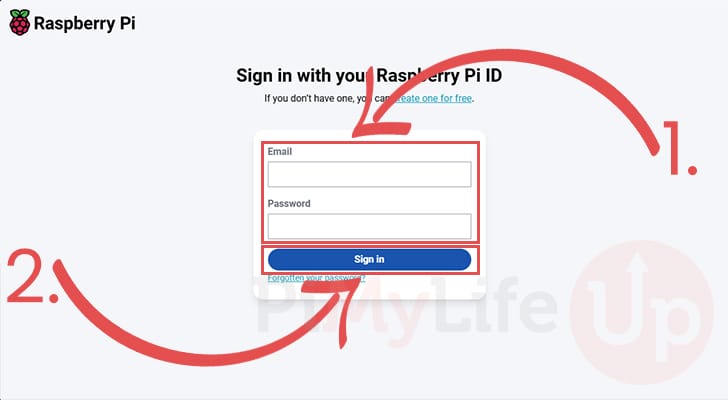
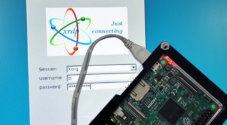
8. With the sign-in screen open, click the button labeled “Sign in with Raspberry Pi ID“.
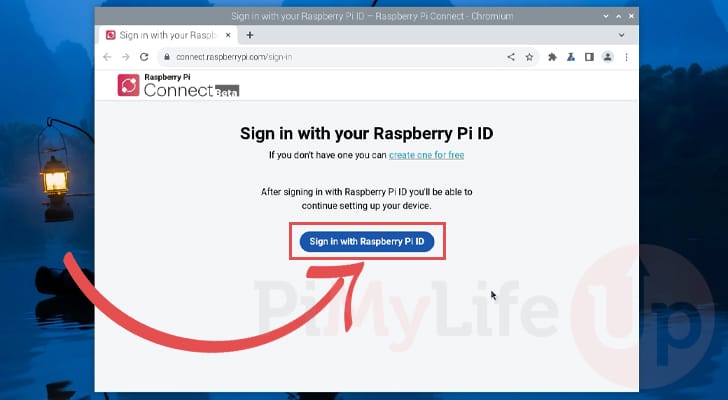
9. Next, you must type out the email and password (1.) you set when signing up for Raspberry Pi ID.
After filling out your details, click the “Sign in” button (2.) to proceed.
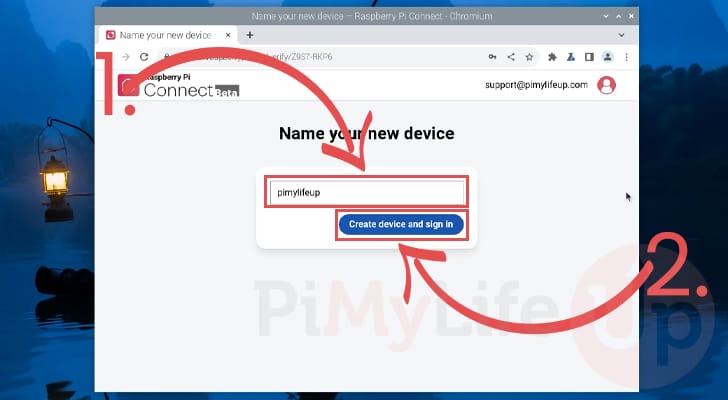
10. Before adding your device to the Raspberry Pi Connect web interface, you must name it (1.). Ensure that you name your device so it’s easy to notice which one you are connecting to.
Once you have typed out a name, click the “Create device and sign in” button (2.).
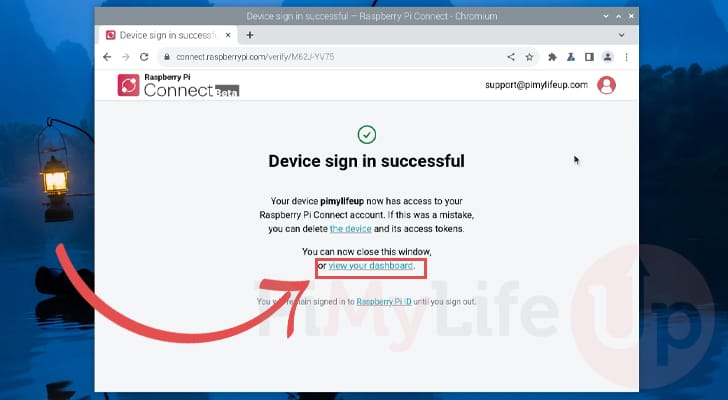
11. You should have successfully added your Raspberry Pi to your Connect account. If the connection was successful you should see the text “Device sign in successful“.
To verify that the device was added, click the “view your dashboard” link.
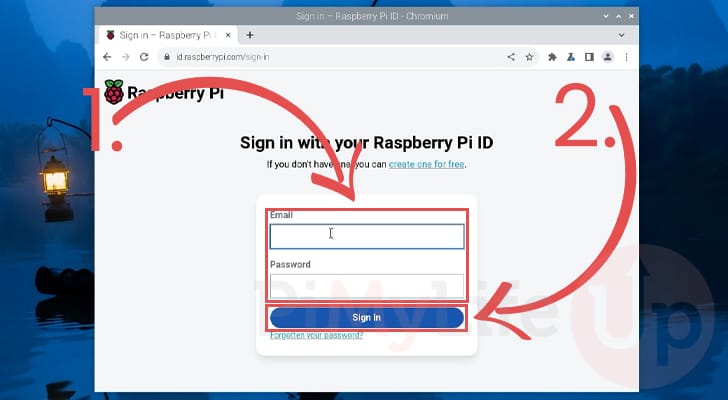
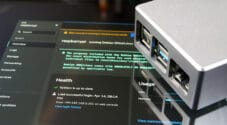
12. Below, you can see that we can now use this web interface to remotely manage your Raspberry Pi
We will cover how to use this interface over the next few steps.
Remotely Control your Raspberry Pi using Connect
Now that Raspberry Pi Connect is set up and running on your device, you will want to know how to use it to connect remotely to your Pi.
1. To remotely manage your Raspberry Pi using this software, go to the Connect web interface by going to the following URL in your favorite web browser.
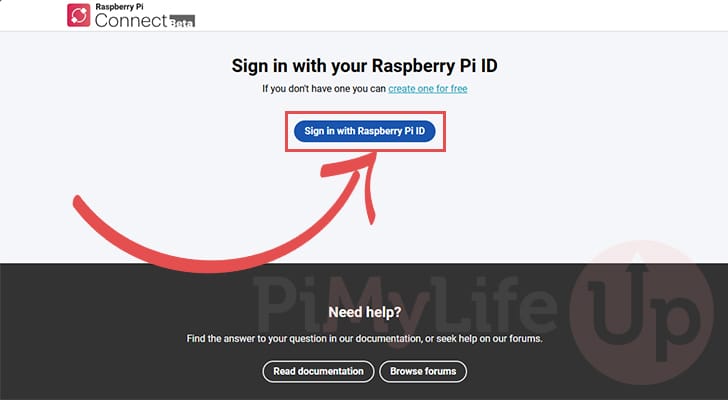
https://connect.raspberrypi.com/2. Once on this page, you will be prompted to sign in with your Raspberry Pi ID account.
To begin this process, click the “Sign in with Raspberry Pi ID” button.
3. On this screen, fill out the username and password you used to create your Raspberry Pi ID account (1.). This must be the same account you used when connecting your Raspberry Pi to the service.
Once you have entered your information, click the “Sign in” button (2.).
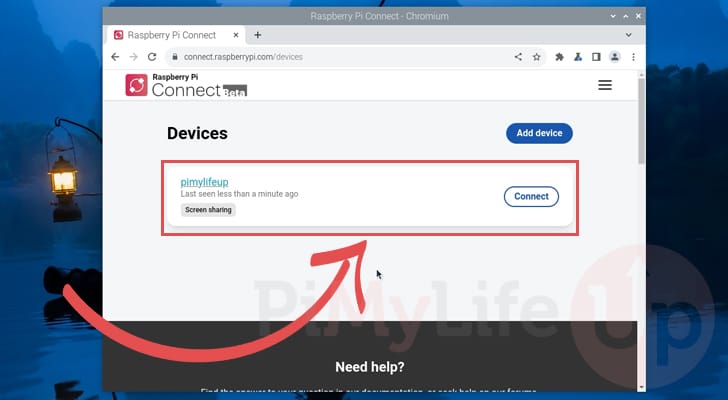
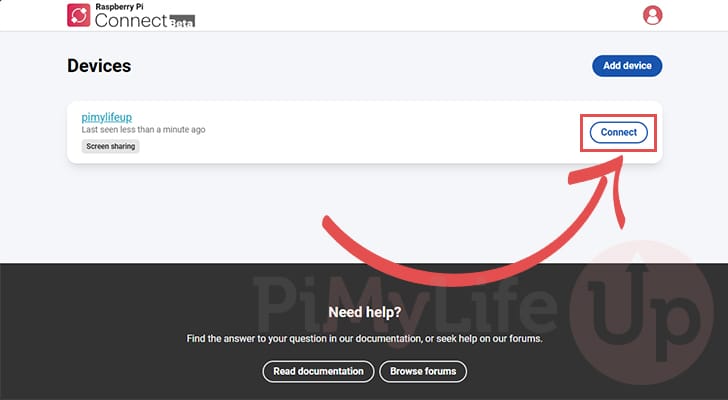
4. You should now see a list of the devices that you have connected to the Raspberry Pi Connect service.
Identify the Pi you want to remotely manage and click the “Connect” button.
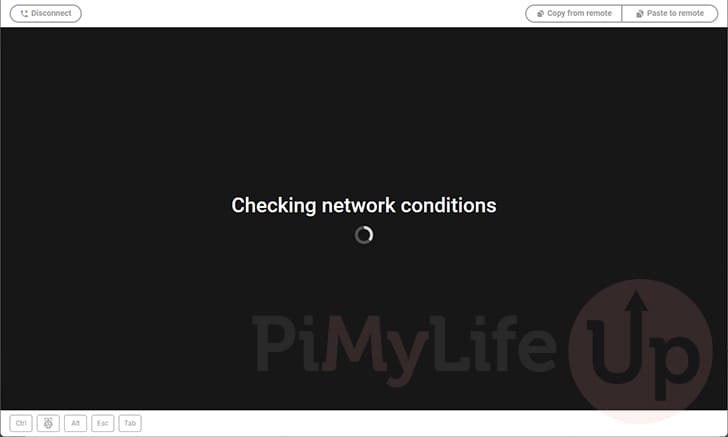
5. A new window will pop up, and your browser will begin to connect to your Pi remotely.
This process shouldn’t take very long, especially if your browser can establish a direct connection to your Pi.
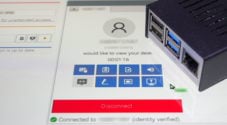
6. Below, you can see that we have successfully remotely connected to our Pi using the Raspberry Pi Connect service.
You can copy from your clipboard to the remote and vice versa by using the buttons in the top-right corner.
Additionally, if you want to perform actions such as pressing the “CTRL” key, you will need to use the buttons in the bottom-left corner of the screen.

Controlling Connect on your Raspberry Pi
This section will show you how to control the Raspberry Pi Connect software from the terminal.
These tips are useful if you need to temporarily turn off the remote-control software, sign out of your account, or uninstall the software completely.
Please note that you may still need to remove your device from the Connect web interface.
Temporarily Disabling the Raspberry Pi Connect Software
1. Use the following command to turn off the Raspberry Pi Connect software’s remote sharing feature.
With this feature disabled, you won’t be able to connect remotely using your web browser.
rpi-connect vnc offCopy2. Once you want to turn the remote connection feature back on, you simply need to use the command below.
rpi-connect vnc onCopySigning out of the Screen Sharing Software
1. If you want to disconnect your Raspberry Pi from the service, then you will want to use the “signout” option.
rpi-connect signoutCopy2. If you have been successfully signed out, you should see the following message appear within the terminal,
✓ Signed outUninstalling the Remote Management Software
1. The final option is to remove the Connect software from your Pi completely.
Run the command below to purge the “rpi-connect” package from your Pi. Please note that you will still need to remove your device from the Connect web interface.
sudo apt remove --purge rpi-connectCopyConclusion
Hopefully, at this point in the tutorial, you should now have the Raspberry Pi Connect software up and running.
This software offers an easy-to-use solution for remotely connecting to your Raspberry Pi. It even allows you to access your device without ever leaving your web browser, saving the need to have specific software installed.
Please comment below if you have questions about running this remote-sharing software on your device.
We recommend investigating our many other Raspberry Pi projects if you like this tutorial.


Hi. Is Wayland necessary? I have followed the steps but there is no icon in the task bar. Apparently the service failed to start until I commented # ExecStartPre=/usr/bin/test -S %t/wayland-0 -o -S %t/wayland-1 out. But even after has started I still cannot connect on the web dashboard.
Hi Faust,
As mentioned at the start of the tutorial, Wayland is required for the Raspberry Pi Connect service to work. Unfortunately, it doesn’t appear like the team are interested in supporting the older X window system which is a bit of a pain since older Pi’s do not currently use Wayland, and Wayland itself brings with it a lot of annoyances.
Kind regards,
Emmet