In this project, we will be showing you how to set up Android on your Raspberry Pi by using EmteriaOS.
To get Android up and running on our Raspberry Pi, we will be making use of an Android distribution created by the Emteria team.
This Android distribution may be designed with industrial applications in mind, but it is a perfect solution for getting Android up and running on the Raspberry Pi.
The only downside to EmteriaOS is that you will have to purchase a license to remove the watermark and remove the 8-hour uptime limitation. However, this also means that EmteriaOS is one of the only Android distributions that is actively developed.
By following this guide, we will walk you through the process of signing up to Emteria to utilize their Android OS for the Raspberry Pi.
If you are using a Raspberry Pi 4, be sure to check out our guide on using LineageOS as it features support for both the Pi 3 and Pi 4.
You can extend this project further by making use of a Touchscreen for the full Android experience.
If Android doesn’t take your fancy then there are plenty of other operating systems that you can install for the Raspberry Pi.
Equipment List
Below is all the equipment that I made use of for this tutorial on getting Android to run on a Raspberry Pi using EmteriaOS.
Recommended
- Raspberry Pi Amazon 3or 4
- Micro SD Card Amazon
- USB Keyboard Amazon
- USB Mouse Amazon
- Power Supply Amazon
- Ethernet Cable Amazon or Wi-Fi Amazon
- HDMI Cable Amazon
- Monitor Amazon
Optional
- Raspberry Pi Case Amazon
Registering with Emteria OS for Android
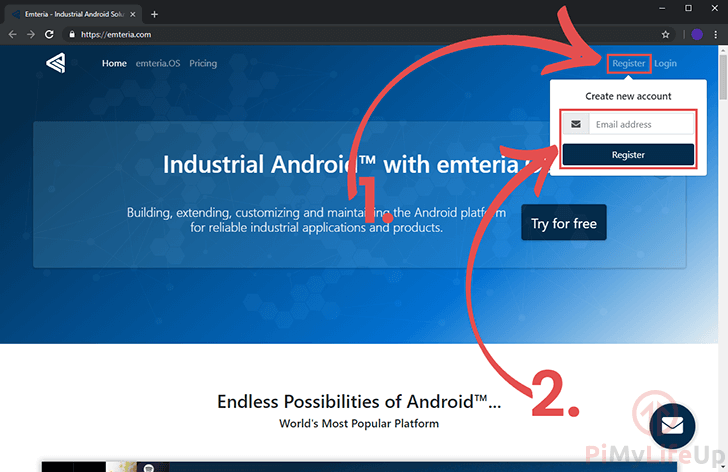
1. To start, we will need to first register on Emteria’s website so that we can download its Android installer for the Raspberry Pi.
Once you are on their website, go and click the “Register” link (1.) in the top right-hand corner.
Next, enter your email address into the text box then click the “Register” button (2.).
2. By clicking the “Register” button, you will receive an email with a link to finish your registration.
Click this link to continue with this tutorial and finalize registering for Emteria’s website.
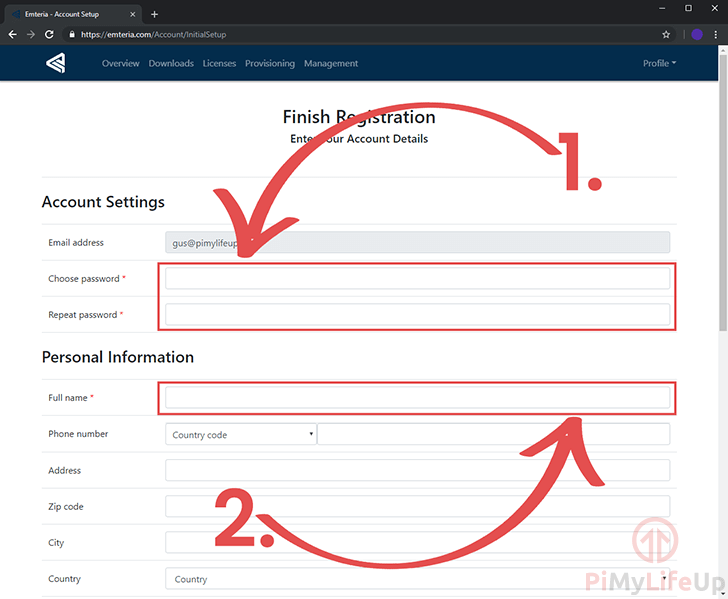
3. On the final registration screen, you will need to fill in two pieces of information to finalize your registration.
The first you will need to enter a password for your account (1.). Make sure you set a strong but memorable password as you will need this to log in to the Emteria Android downloader.
Also, you will need to enter your “Full name” (2.) to finish the registration process.
Downloading the EmteriaOS Android Installer
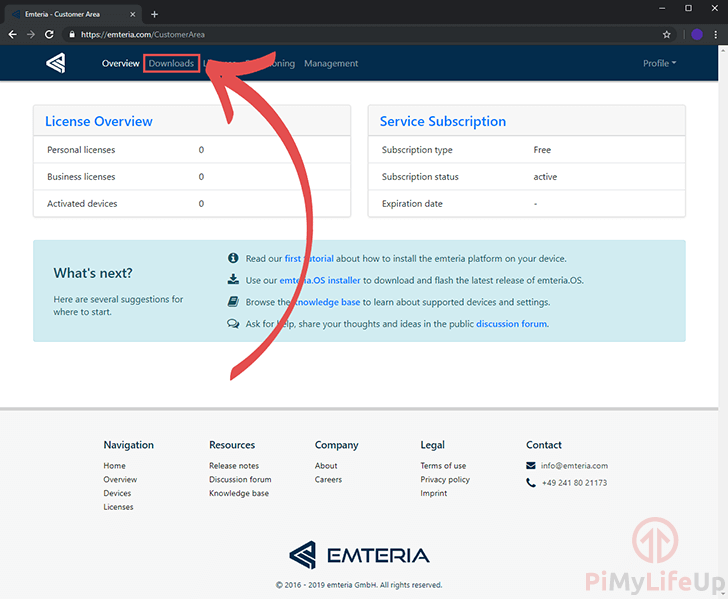
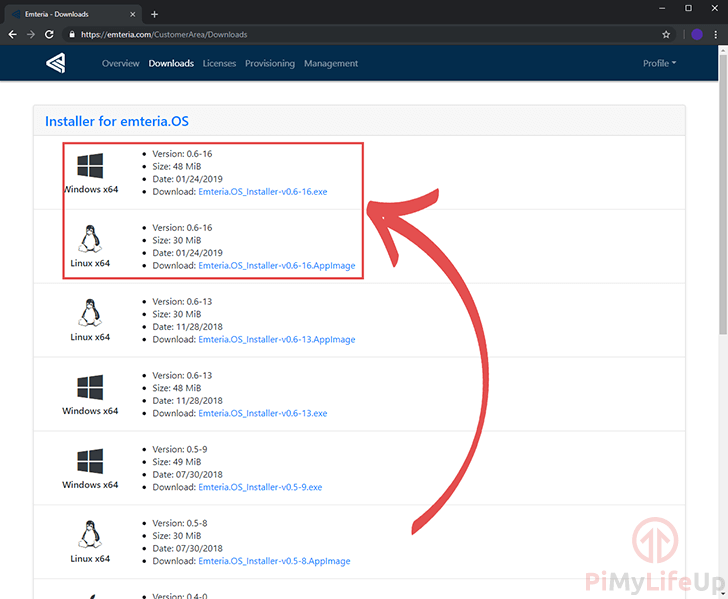
1. Once you have finished registering for Emteria OS, you will now be able to download the installer.
Within the dashboard area, click the “Downloads” link in the menu.
2. Now download and install the latest version of the Emteria OS installer for your operating system.
They offer versions of the installer for both Windows and Linux.
Using the EmteriaOS Android Installer
1. To make use of the Emteria OS installer, you will need to first login using your Emteria account credentials.
Enter your login details into the two text boxes (1.), then click the “Login” button (2.) to continue.

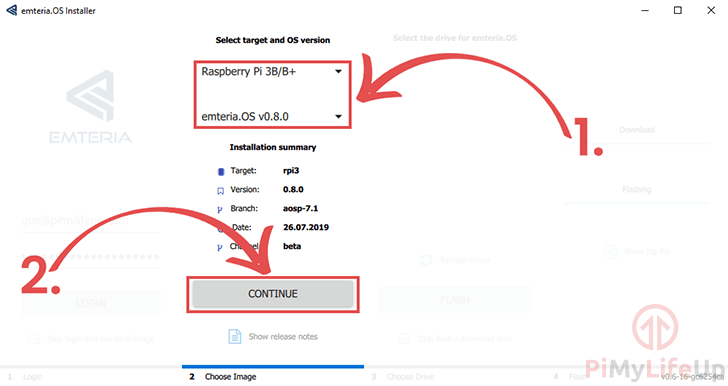
2. Now we need to select “Raspberry Pi 3B/B+” as the target device for the Emteria OS installer.
We also need to select the version of Emteria OS. You can either use the latest version, 0.8.0 or use a slightly older but more stable version, 0.6.0.
From our experience, we had fewer issues with enabling WiFi on our Raspberry Pi when we used the 0.6.0 version of EmteriaOS.
Once you are ready, click the “Continue” button (2.) to proceed on with writing the EmteriaOS Android image to your SD card.
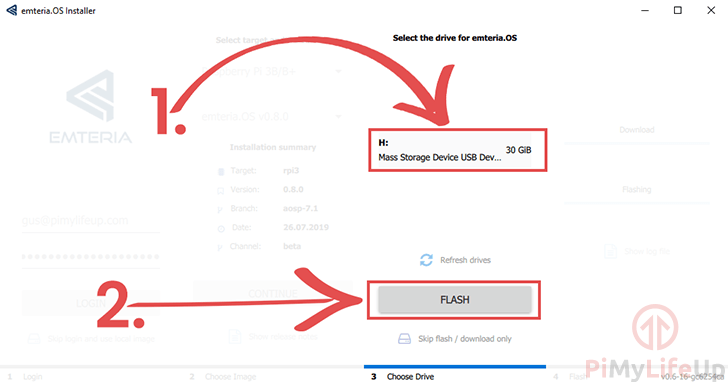
3. Next, you need to select the drive you want to write Emteria OS to (1.).
Once you have selected a drive that you want to write the Android OS to for your Raspberry Pi, click the “FLASH” button (2.).
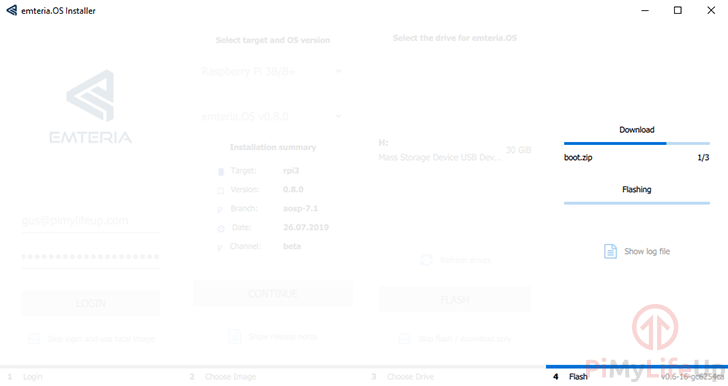
4. This final step can take some time to complete as it first has to download Android for your Raspberry Pi from Emteria.
Once it has finished downloading, the software will immediately write it to the SD card.
Getting Started with Android on the Raspberry Pi
1. Upon first booting up your Raspberry Pi with the Android operating system, you will first need to run through some initial configuration steps.
To begin this setup process, you need to click the “Next” button.
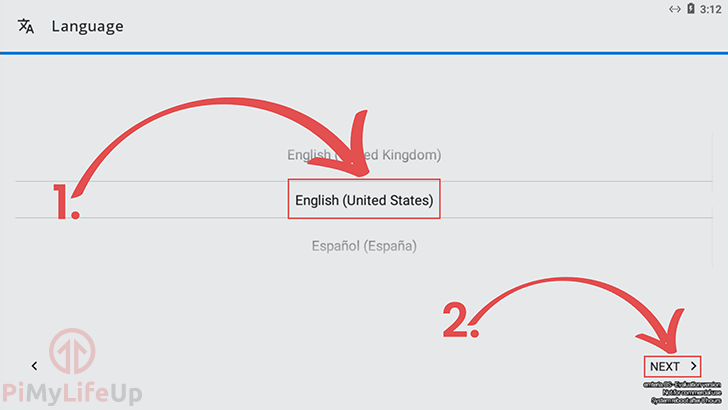
2. In this step, we will need to select the language we want LineageOS to use on our Raspberry Pi. You can choose this using the carousel in the middle of the screen (1.).
With your language chosen, click the “Next” button (2.).
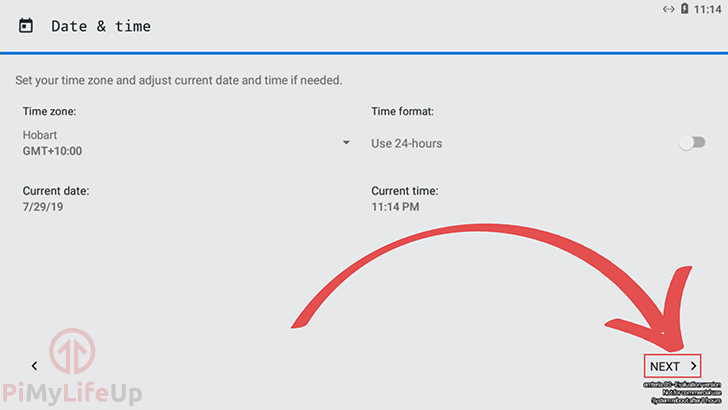
3. Now you need to set up the date and time you want for your Android-based Raspberry Pi. This timezone should automatically correct itself when connected to the internet.
Once you have set your timezone, click the “Next” button.
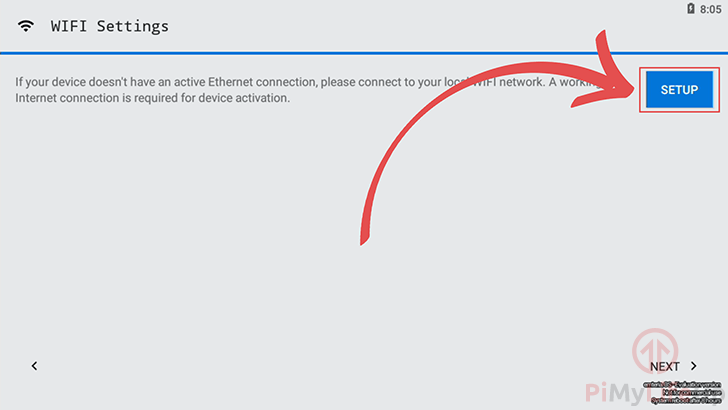
4. You will now set up your WiFi connection if you are utilizing one. Start the WiFi setup process by clicking the “SETUP” button.
If you are using an ethernet connection, this setup screen may not appear.
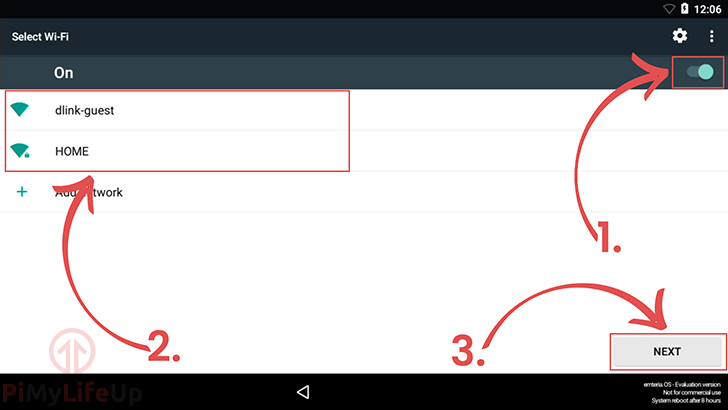
5. On this screen, you need to first enable WiFi by clicking the toggle (1.) in the top right-hand corner.
Once enabled, go ahead and select the WiFi network you want to connect to (2.).
Lastly, click the “NEXT” button (3.) to continue.
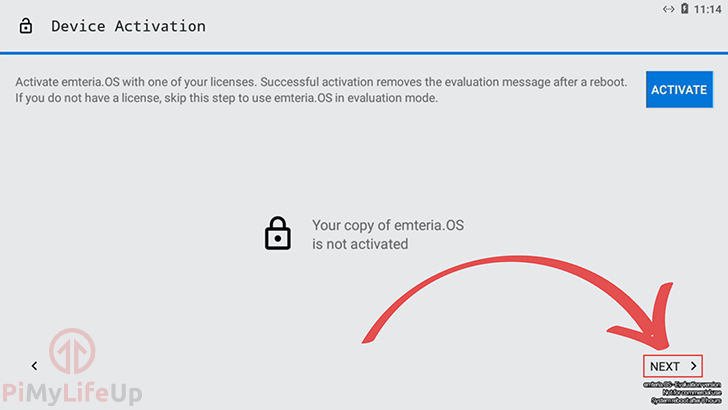
6. Next, you will be asked if you want to activate this Android installation with one of your Emteria licenses. Click “Next” if you don’t have a license.
If you don’t activate a license, the Raspberry Pi will automatically power off after 8 hours and will have a watermark placed on the bottom right of the screen.
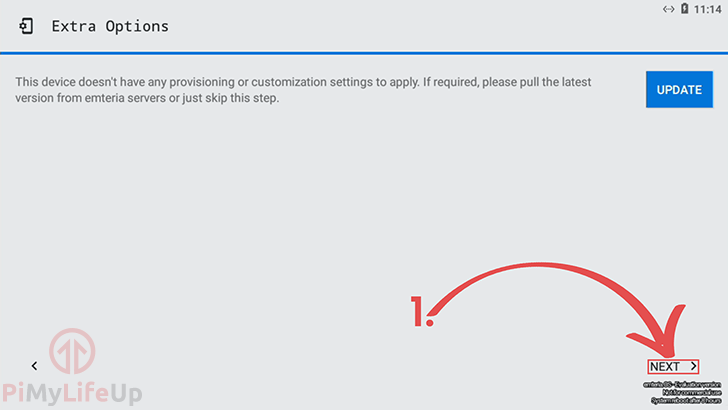
7. In this menu, you can click the “Next” button to continue.
This option is only useful if you have set up provisioning settings through Emteria. We do not need to worry about this as we are just going through the basics for installing Android to the Raspberry Pi.
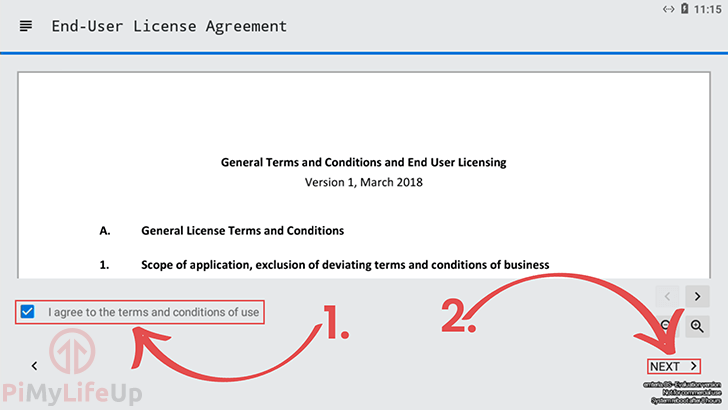
8. Next, you will need to agree to Emteria’s EULA before you can continue. First, click the “I agree” checkbox (1.)
Lastly, click the “Next” button (2.) to continue.
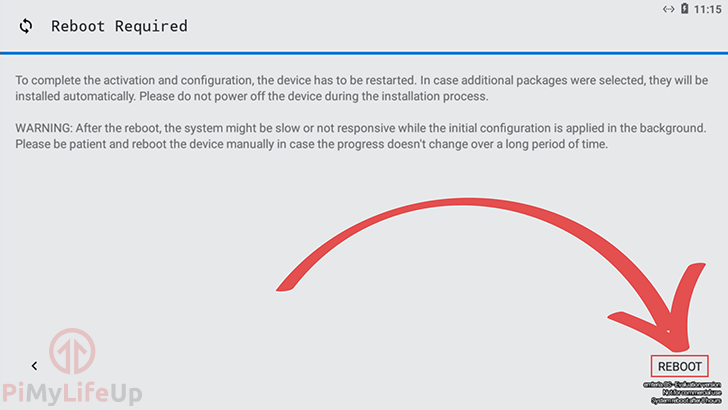
9. Finally, we need to restart the Raspberry Pi so that it can reload the Android operating system with all of its configuration changes.
You can do this by clicking the “REBOOT” button.
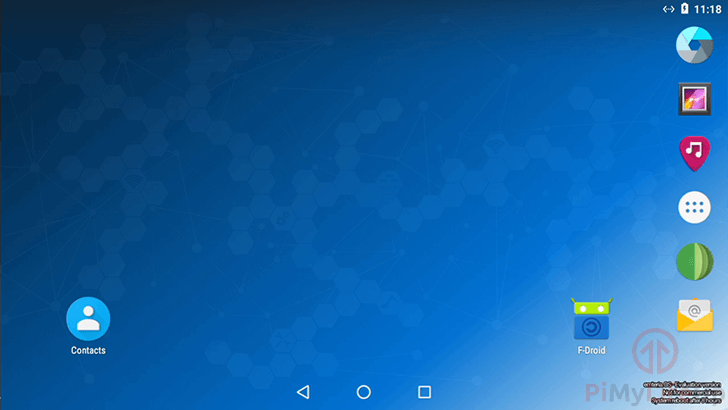
10. Once your Raspberry Pi has rebooted, you will be greeted by the desktop of your newly installed Android operating system.
Feel free to explore a bit, one thing you will notice is that none of the Google Apps are installed by default to EmteriaOS. The reason for this is that Emteria is not allowed to distribute the Google Apps with their version of Android.
In the next section, we will show you a process on how to install these apps to your Raspberry Pi’s copy of Android.
Installing GApps to Android on the Raspberry Pi
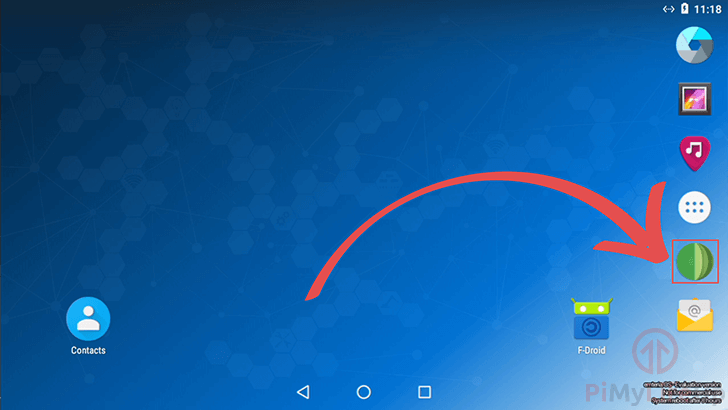
1. One thing that you will find missing in your base Android installation on the Raspberry Pi is the lack of any Google Apps, including the Google Play store.
We can, however, install them by making use of an app called Open GApps. To download this app, we will first need to open the Android web browser.
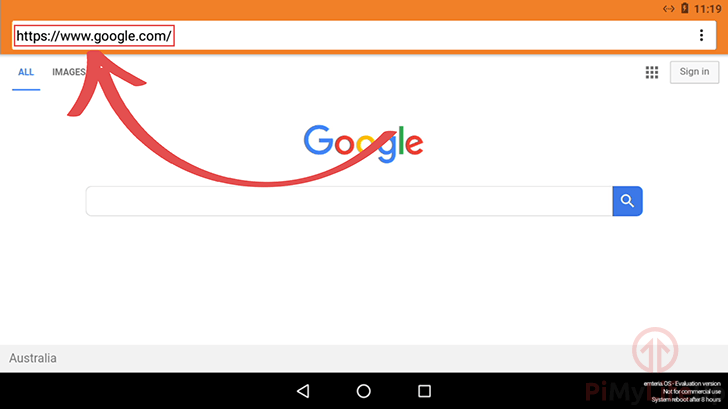
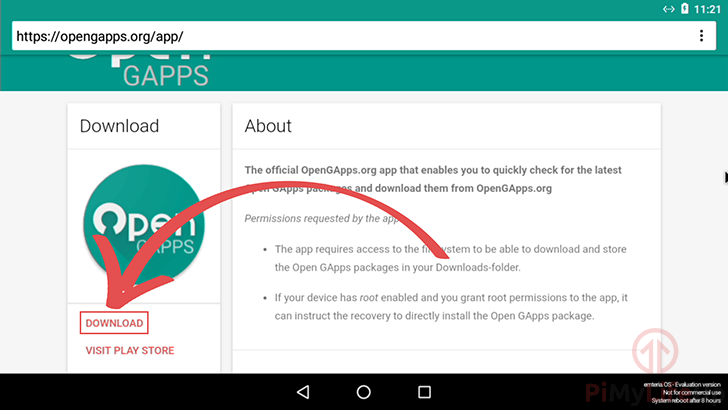
2. Within the Android web browser app, you will need to open up the following web address, “https://opengapps.org/app“
You can use your keyboard to type into the address bar.
3. Once you are on the Open GAPPS website, go ahead and click the “DOWNLOAD” link as shown in the screenshot below.
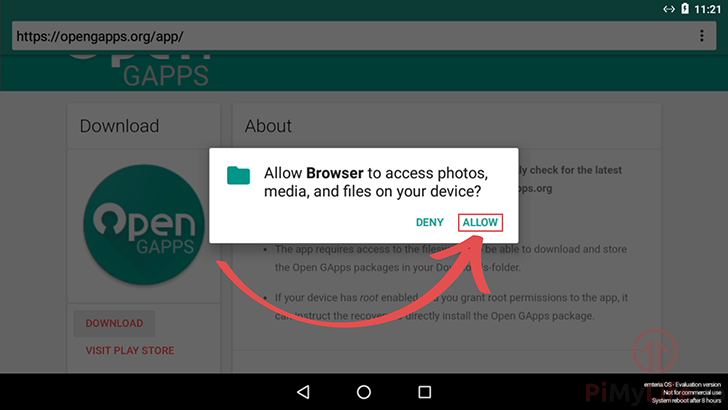
4. When you first try to download a file through the web browser on your Android-based Raspberry Pi, you will need to grant it permissions to save those files.
To continue, click the “Allow” button to proceed on with downloading the Open GApps APK file.
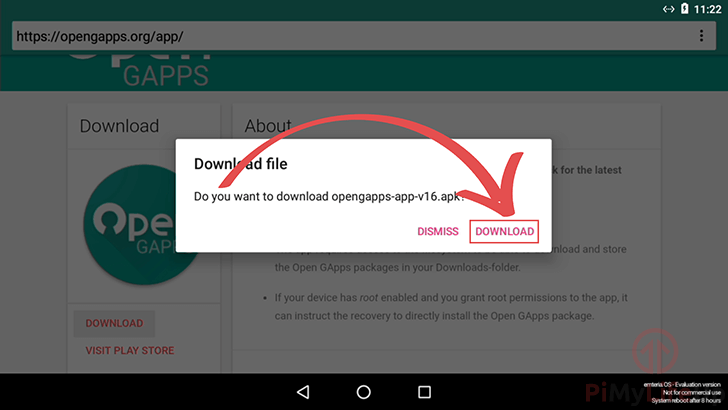
5. Finally, to download the Open GApps APK to your Raspberry Pi go ahead and click the “DOWNLOAD” button.
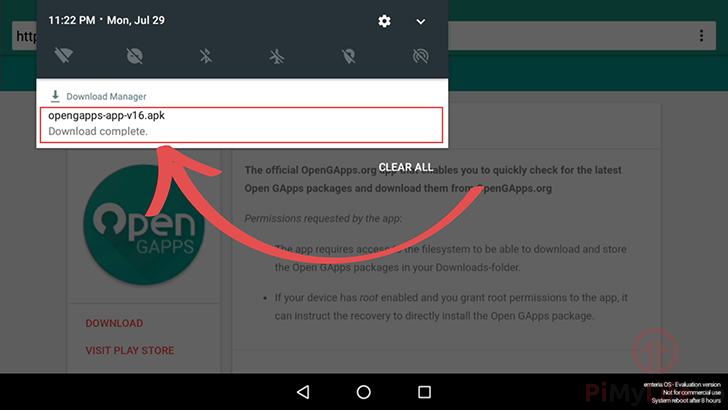
6. Once the download has finished, click and drag from the top left to bring down the notifications menu.
Now, click the .apk file you just downloaded. By clicking this, you will start the installation process for Open GApps.
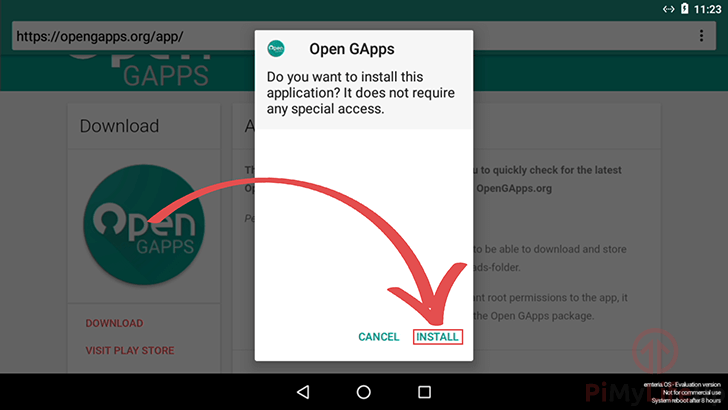
7. When asked if you want to install the Open GApps application to your Raspberrry Pi, go ahead and click the “INSTALL” button.
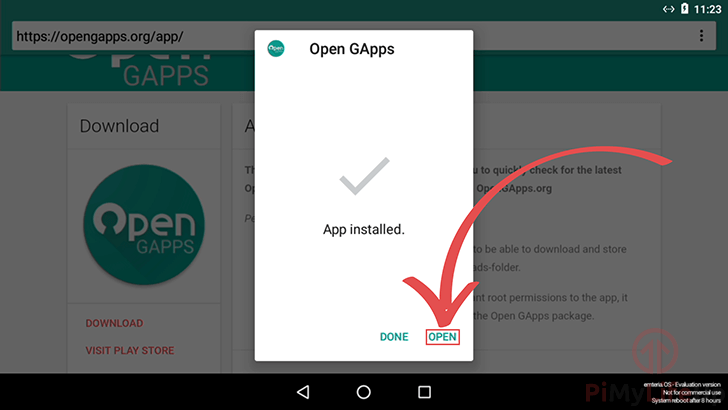
8. Now with the Open GApps software installed to your Raspberry Pi, go ahead and click the “OPEN” button.
Configuring Open GApps
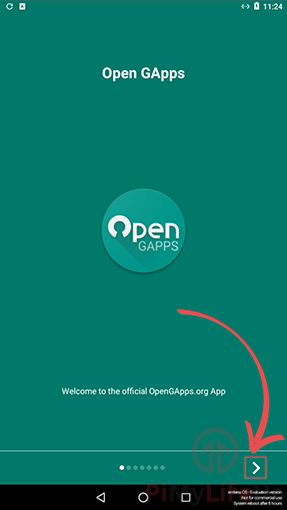
1. Before we can start making use of the Open GApps application, we must first run through some setup steps.
To begin this, click the arrow as indicated in the screenshot below.
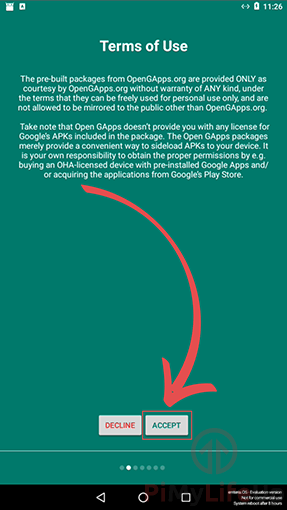
2. The first step is to agree to the “Terms of Use” for Open GApps.
To proceed, click the “Accept” button, as shown below.
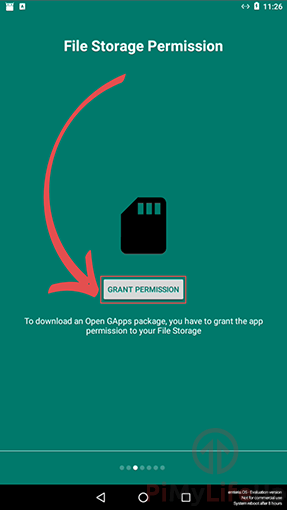
3. Next, you will be required to grant the app permission to access your Raspberry Pi’s storage.
You can do this by first clicking the “GRANT PERMISSION” button in the middle of the screen.
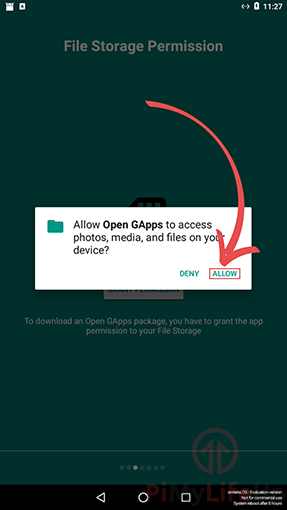
4. Now click the “ALLOW” button to grant the Open GApps file permissions.
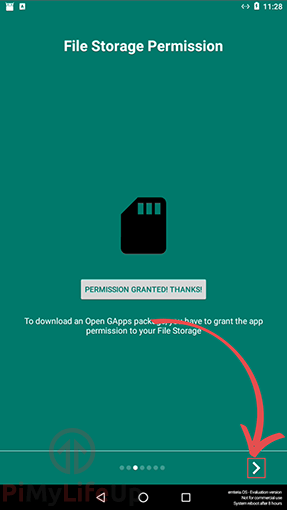
5. If permissions have been granted successfully, the text “PERMISSION GRANTED THANKS!” should appear on the screen.
Click the arrow to proceed to the next step.
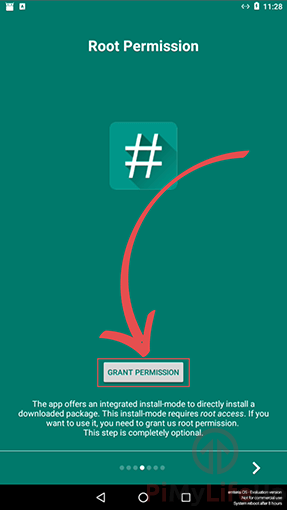
6. Now we need to grant “Root Permissions” to the application. The app needs this to install Google Apps to your Raspberry Pi.
Click the “GRANT PERMISSION” button to proceed.
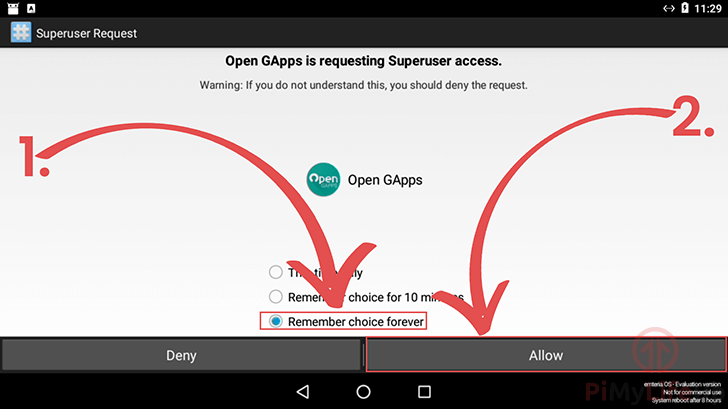
7. On this screen, click the “Remember choice forever” radio box (1.).
Next, click the “Allow” button (2.).
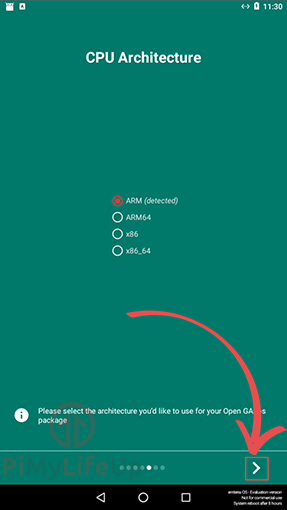
8. We can now click the arrow button to proceed. The software should automatically detect the correct CPU architecture.
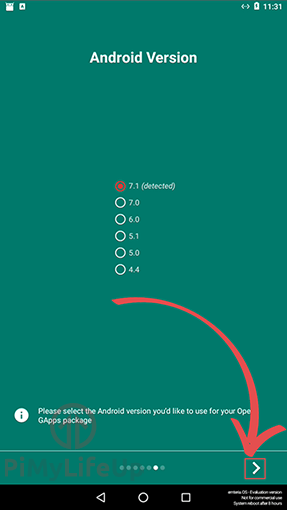
9. This screen will ask you to select the Android version that you are running.
The Android version should be automatically detected, and you should be able to proceed by clicking the arrow button.
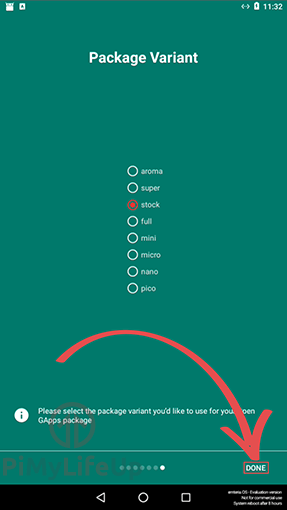
10. Finally, you will need to select the GApps package that you want to download to your Android OS running on the Raspberry Pi.
In our case, we just left it as “stock” and clicked the “DONE” button.
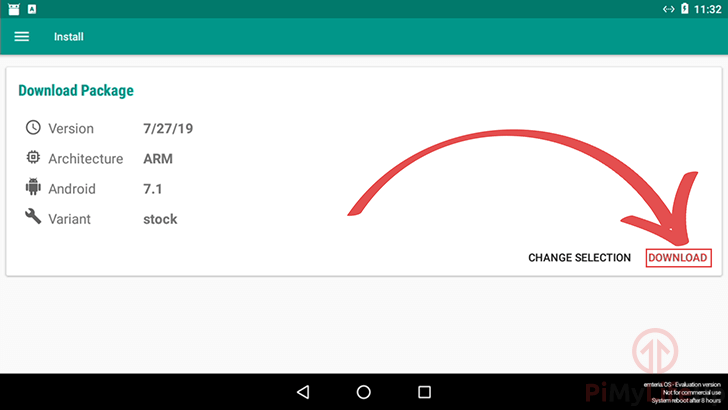
11. After finishing the setup process, you will be greeted by the following screen.
Click the “DOWNLOAD” button to start downloading the latest version of GApps.
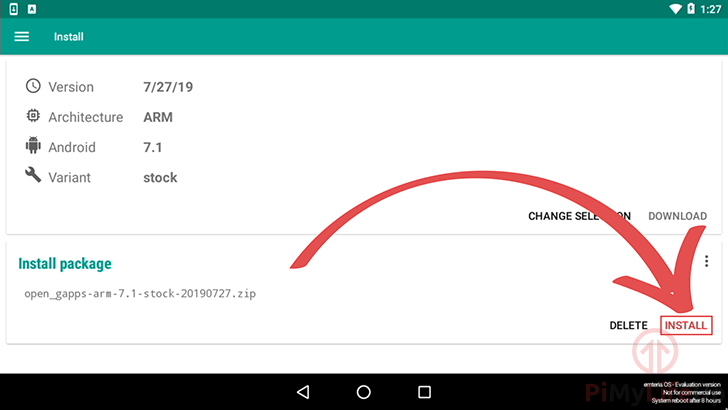
12. Finally, you can install the download package to your Raspberry Pi by clicking the install button.
This process will restart your Raspberry Pi as it installs the apps to your Android installation.
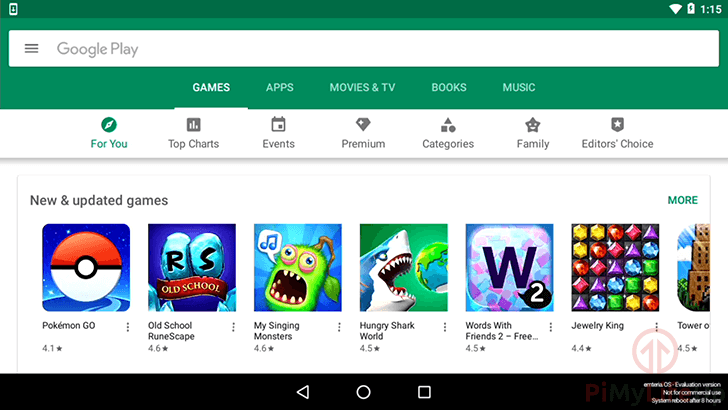
13. Once your Raspberry Pi has finished restarting you should now have Android installed to it with access to the Google Apps.
Note that the optimization process can take a long time to complete after restarting.
By the time you have reached this point, you should have your Raspberry Pi setup and running the EmteriaOS version of Android. EmteriaOS is likely not to be perfect, but it is one of the best Raspberry Pi versions of Android we have tried.
If you have any feedback regarding this tutorial, then please don’t hesitate to leave a comment below.


is this working right now?
Hi Rahmat,
As long as you are using a Raspberry Pi 3 Model B, then this tutorial for Android on the Raspberry Pi will work perfectly.
Cheers,
Emmet