This tutorial will show you how to install the Unifi controller to the Ubuntu operating system.
Ubiquiti offers an affordable lineup of robust mesh wireless access points, switches, cameras, and plenty more. Of all the products Ubiquiti offers, their network devices are one of the most popular.
To control all of the network devices and maintain an effective mesh network, they need something to control them. The software that manages all of this is called the UniFi network controller.
One of the best things about Ubiquiti is that they don’t force you to use their hardware to run the controller. Instead, you can install the UniFi network controller to any supported operating system such as Ubuntu.
Please note that you will run the following steps within the Ubuntu terminal. If you run a desktop flavor of Ubuntu, you can open the terminal quickly by pressing CTRL + ALT + T on your keyboard.
Installing the UniFi Controller on Ubuntu
This section will walk you through preparing your Ubuntu system to install the UniFi controller.
Over the next few steps, we will install the required software and add the official UniFi repository.
1. Before we get started, we will need to update the package list of the Ubuntu system.
The package list is a cache of all packages we can install and where apt can download them.
sudo apt updateCopy2. Our first task is to install some packages we will rely on to add the package repositories we require as well as run the UniFi network controller.
Use the following command to install the “wget“, “gpg“, “openjdk-17-jre-headless“, and “havegd” packages to Ubuntu.
sudo apt install curl haveged gpg openjdk-17-jre-headlessCopycurl– We will be using curl to download the GPG keys for both MongoDB and the UniFi controller to Ubuntu.haveged– This package allows us to generate extra entropy that the UniFi controller needs during startup to help guarantee security.gpg– We need to ensure this package is installed as we will need to “dearmor” the MongoDB GPG key before we save it to our system.openjdk-17-jre-headless– As the UniFi controller is built upon Java we will need to install the java runtime environment. At the time of publishing UniFi still relies on Java 17.
Adding the UniFi Repository to Ubuntu
3. Our first step is to download the UniFi GPG key to our system. This key helps tell the package manager that the packages are valid and have been signed by the repository.
Download this key to your system using the following command within the terminal.
curl https://dl.ui.com/unifi/unifi-repo.gpg | sudo tee /usr/share/keyrings/ubiquiti-archive-keyring.gpg >/dev/nullCopy4. With the UniFi GPG key saved to our Ubuntu device, we can now add the repository to our sources list.
Adding UniFi to the “apt” sources list is as straightforward as using the following command.
echo 'deb [signed-by=/usr/share/keyrings/ubiquiti-archive-keyring.gpg] https://www.ui.com/downloads/unifi/debian stable ubiquiti' | sudo tee /etc/apt/sources.list.d/100-ubnt-unifi.list > /dev/nullCopyAdding the MongoDB Repository
5. With the UniFi repository added to our Ubuntu system, we can move on to adding the one for MongoDB 7.0.
Before adding the MongoDB repository, our first step is to download its GPG key using the command below.
curl https://pgp.mongodb.com/server-7.0.asc | sudo gpg --dearmor | sudo tee /usr/share/keyrings/mongodb-org-server-7.0-archive-keyring.gpg >/dev/nullCopy6. Once the GPG key has been added, our next step is to add the MongoDB 7.0 repository to our Ubuntu device.
As the UniFi controller relies on an older version of MongoDB, we can’t just rely on a version provided through the Ubuntu repository.
Use the command below in your terminal to add the MongoDB 7.0 repository to the sources list on your system.
echo 'deb [arch=amd64,arm64 signed-by=/usr/share/keyrings/mongodb-org-server-7.0-archive-keyring.gpg] https://repo.mongodb.org/apt/ubuntu jammy/mongodb-org/7.0 multiverse' | sudo tee /etc/apt/sources.list.d/mongodb-org-7.0.list > /dev/nullCopyInstalling MongoDB 7.0 to Ubuntu
7. As we changed our sources list, we will need to perform a package list update.
If we don’t perform an update, the apt package manager won’t be aware of any of our newly added repositories.
sudo apt updateCopy8. We can now install the final piece of software we require to install and run the UniFi controller on Ubuntu.
This final piece of software is called “MongoDB” and is the database server that UniFi requires.
You can install the MongoDB server to Ubuntu by running the command below in the terminal.
sudo apt install -y mongodb-org-serverCopy9. After installing MongoDB, we want to ensure that its service is enabled to start at boot.
Run the command below to ensure that the MongoDB server is set to start at boot.
sudo systemctl enable mongodCopy10. Finally, we can ensure that the MongoDB server is running by using the following command in the terminal.
This command will start up MongoDB on your Ubuntu device immediately.
sudo systemctl start mongodCopyInstalling the UniFi Network Controller
11. Finally, now that everything is in place, we can install the UniFi controller to Ubuntu by using the following command.
With this command, the apt package manager will download UniFi from the official repository that we added in an earlier step.
sudo apt install unifiCopy12. At this point, you will finally have the UniFi controller up and running on your Ubuntu device.
Over the next section we will show you how to access this interface and go through the initial setup steps.
Using the UniFi Controller Web Interface
Within this section, we will be showing you how to access your freshly installed UniFi controller’s web interface.
The following steps should work fine in whatever web browser you choose to utilize.
Accessing the Ubuntu UniFi Controller
1. Before we continue, you will need to know the IP address of your Ubuntu device.
One of the easiest ways to get the IP address assigned to the device is to utilize the hostname command as shown below.
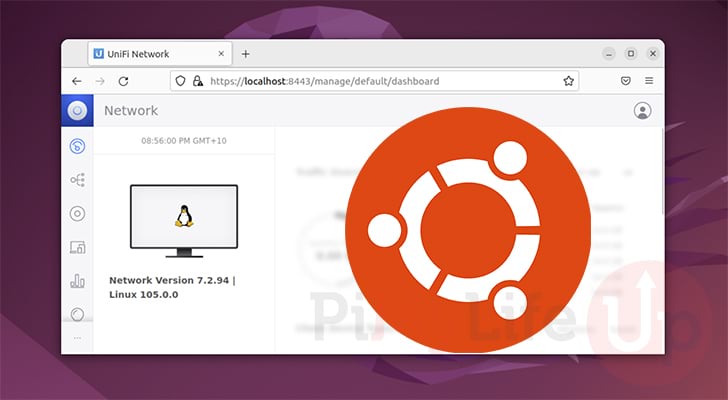
hostname -ICopy2. With the IP address in hand, you will want to go to the following address in your favorite web browser.
Make sure that you replace “IPADDRESS” with the IP of your device. From this, you can see that the UniFi controller will operate its web interface on port 8443.
https://IPADDRESS:8443First Run of the UniFi Controller
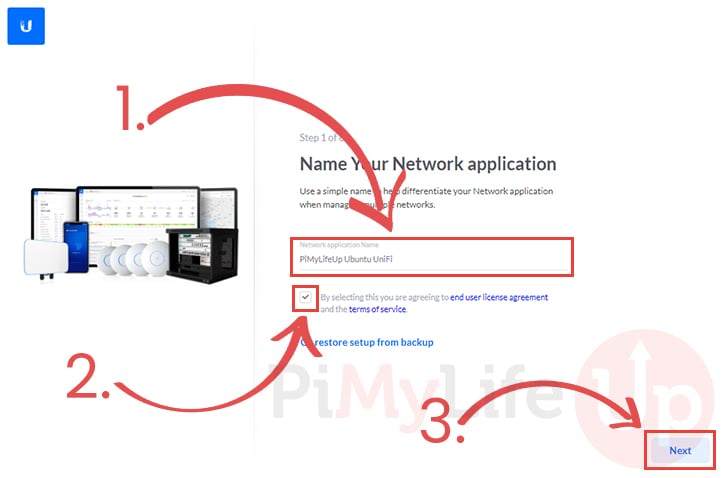
3. After heading to the UniFi controller for the first time, you will be greeted by the following screen.
For these first steps, you must assign your Ubuntu UniFi controller a name (1.).
Next, to utilize this controller, you will be required to agree to the Ubiquiti end-user license agreement and their terms of service.
Once you have read through both documents and agree to them, click the checkbox (2.)
Finally, to proceed with the setup steps, you will need to click the “Next” button (3.).
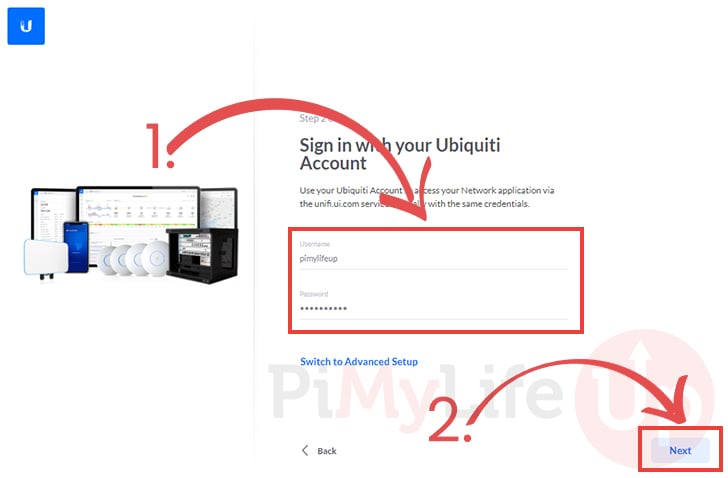
4. To proceed further you will need to log in to your Ubiquiti account (1.).
If you don’t have an account, you must register for one by going to the official Ubiquiti website.
With your login details entered, click the “Next” button (2.).
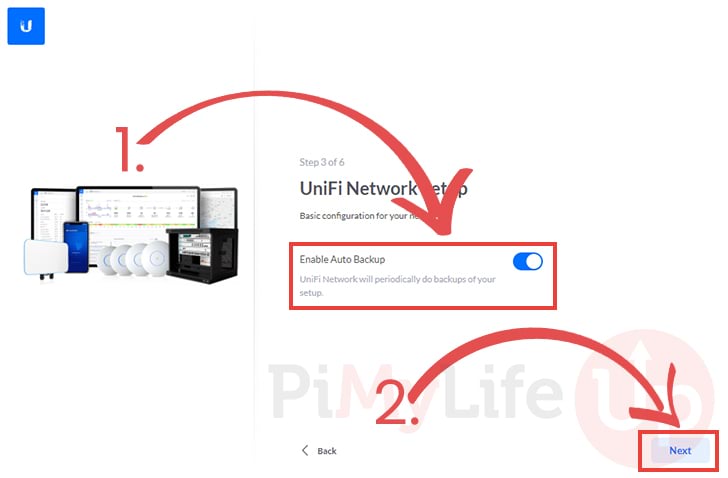
5. You will be asked if you want to configure any basic options for your UniFi Network controller on Ubuntu.
The only option available to us during setup was the “Enable Auto Backup” option (1.).
When you are happy with your chosen options, click the “Next” button to proceed (2.).
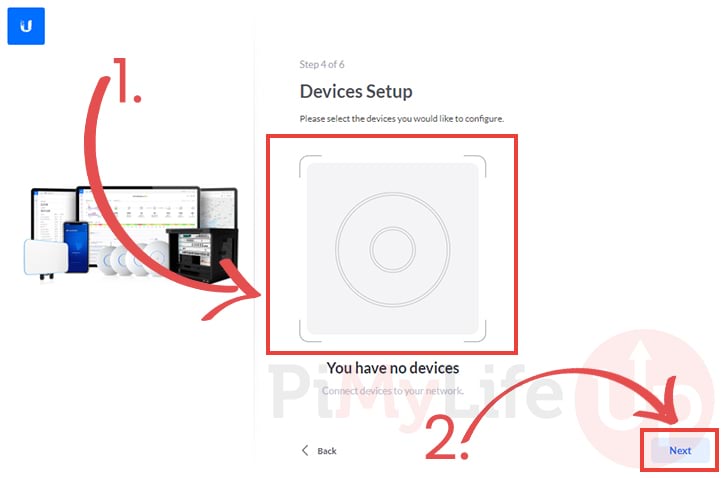
6. At this point, if you have any Ubiquiti network devices awaiting adoption (1.), you will get the chance to adopt them to your network controller.
Once you are ready, you can proceed through the setup process by clicking the “Next” button (2.).
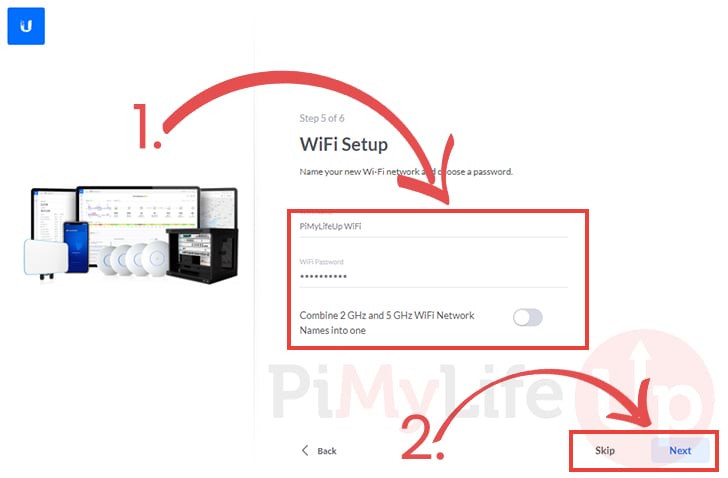
7. You can now configure the Wi-Fi network that the UniFi network controller will create on any of your attached network devices.
At this point, you can enter an SSID and password for your network (1.). However, it is possible to skip this process.
In the bottom-right of the page, you will see both the “Skip” and “Next” options (2.). Click the appropiate option to proceed.
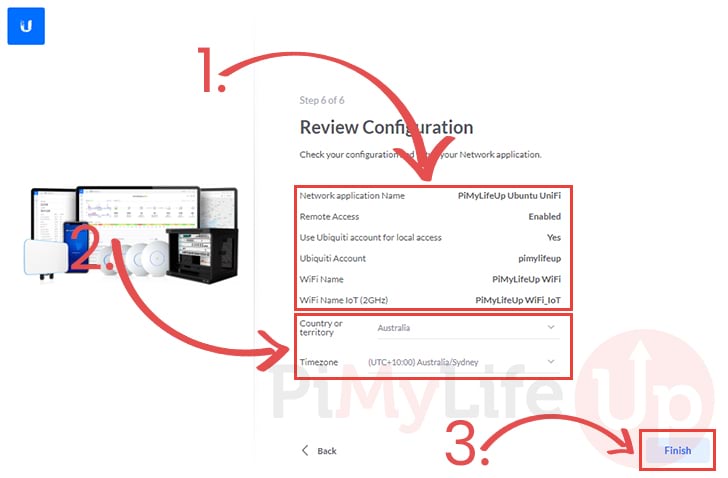
8. Before the setup process is complete, you will get a chance to review all of the options you just configured (1.).
Additionally, you can also set the country/territory and timezone (2.) for the UniFi network controller to utilize on your Ubuntu system.
If you are happy with everything, you can click the “Finish” button (3.) to complete the setup.
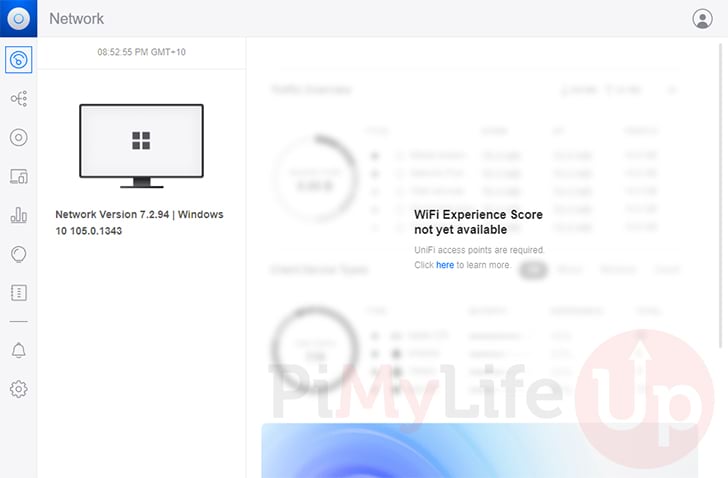
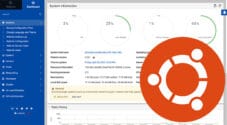
9. You should now have the UniFi network controller successfully installed on your Ubuntu system.
If you haven’t yet adopted any network devices, you will end up with a screen similar to the one shown below.
Conclusion
Throughout this tutorial, we have shown you how you can install and run the UniFi network controller on Ubuntu.
The UniFi controller allows you to easily control all of your Ubiquiti network devices from one central interface.
Please comment below if you have questions about running the UniFi controller on Ubuntu.
Be sure to check out our many other Ubuntu tutorials. Alternatively, we have plenty of general Linux guides that are well worth a read.


Hi,
All installation steps worked fine on a Proxmox VM with Ubuntu 24.04. However, I can’t acces the IP on any web broswer (a ping to it works just fine). Is there any way to confirm that the Unifi is currently up and running? Thanks!
Hi Aitor,
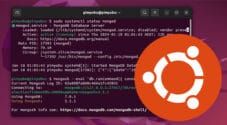
From memory, you should be able to check the status of the unifi service by using the following command.
There is a chance something is causing it to fail on startup, hence why you can’t access it when you browse to your IP.
Kind regards,
Emmet
I’m having the same issue. Installing the Unifi package via both apt and dpkg takes about 10 minutes and then finishes, not not before printing:
Could not execute systemctl: at /usr/bin/deb-systemd-invoke line 148.
sudo systemctl status unifi shows that the process is running, but the web interface is inaccessible. I tested with both Unifi 8.5.6 and 8.6.9 on a fresh install of Ubuntu Server Ubuntu 24.04.1, once after updating all packages and once without updating anything. When I install unifi on RPi OS it works fine. And it’s not a network issue.
Hi Matthew,
I have been unable to replace this on my end using a fresh install of Ubuntu 24.04 so I’m really not sure what must be happening here.
Is there any logs of interest returned by using the following command. Any warnings or errors could be helpful. If the service has started it should be accessible.
Only other thing I could think of that could be causing issues if that the firewall is active and port 8443 is being blocked.
You can allow this port through UFW by using the command below
Kind regards,
Emmet
Hi Emmet
Steps worked out the box for a new install of Ubuntu 24.04. Used to migrate an existing install off an aging RPi to mini PC. (Restore method on GUI 1st login).
Much appreciated!
The guide worked like a charm!
Thanks alot!
Hello Emmet,
This is really great tutorial. I am just going trough it and came across following messages in the step 9 as result of command ‘sudo apt update’.
Could you please advise what could go wrong here?
Thanks and regards
Rob
Hi Rob,
It looks like you are facing two different errors here. The first one is caused by the GPG key for MongoDB 3.6 expiring. I have updated the tutorial to use MongoDB 4.4 as that is now meant to be the latest supported version for the UniFi controller.
The second issue is caused by the Ubiquiti repository thinking you are running a 32-bit operating system (i386). UniFi and MongoDB only supports 64-bit.
If you are certain you are running a 64-bit OS, I can try looking into this further.
Kind regards,
Emmet
Hi Emmet,
Thank you very much for updating tutorial with new version of Mongo DB. I went through it on fresh server installation and everything worked perfectly.
Again great thanks!
All the best and kind regards
Robert
Would it be possible to have the commands to install MongoDB 7, since Unifi 8.1 and higher support it
Hi Ari,
I have updated the instructions to use both Java 17 and MongoDB 7 so we are now running the latest supported versions by Unifi. Which also means we could remove the old steps that forced us to use an older release of LibSSL.
Please let me know if you have any issues.
Kind regards,
Emmet
This Guide was very helpful thank you, it worked perfectly for me on Ubuntu 22.04.3 LTS
Hello. Amazing and fast tutorial. I was wondering how to update server for new releses in future ? Thank you.
Hi Sr,
Since we are installing the Unifi controller through their repository, updates should be provided when you run an “apt update” and an “apt upgrade” just like any other package.
Kind Regards,
Emmet
Hi Emmet,
I’ve spent a huge amount of time following other tutorials, even the one provided by Ubiquiti, to get their controller up and running. Yours is the only one that worked for me! It’s running in a LXD container on my QNAP NAS. Fantastic stuff!.
Keep up the great work, and thanks a bunch!
Best regards,
Umo
I get an architecture error when installing the libssl:
$ sudo dpkg -i libssl1.1.deb
dpkg: error processing archive libssl1.1.deb (–install):
package architecture (amd64) does not match system (arm64)
Errors were encountered while processing:
libssl1.1.deb
Hi Kevin,
This tutorial makes an assumption that you are running Ubuntu on an x64 system (Not an ARM based device like the Raspberry Pi).
Can you please try using the following command instead to download the ARM64 version of that library.
The problem you are going to run into after this however is that MongoDB doesn’t provide an ARM64 build for MongoDB 3.6 through their repository.
Instead of running steps from 7 to 10, you will instead need to do the following.
First, download a compatible version of MongoDB 3.6 for ARM architectures
Next, install that package to your system.
After this it should hopefully be safe to continue from step 11. I haven’t had a chance to test this for myself so there may be further issues when attempting to do this on an ARM based system.
Please let me know how you get on with this.
Cheers,
Emmet
Thanks Emmet.
When I go to install mongodb_arm64.deb, it errors with the depends on libssl1.0.0.
Hi Kevin,
Sorry to see that you are still running into issues. I personally haven’t had any chance to test this tutorial on an ARM device.
Please try using the following two commands to install an older version of Libssl.
Cheers,
Emmet
This is probably the best guide to install UniFi Controller on Ubuntu.
Thank you!
Thanks Emmet! Much appreciated again!! Long live Mongo
[URLSNIPPED]
Thanks a ton for posting this! Very helpful. Almost there, but getting the errors
_______
——————
Have confirmed Mongo is installed and running (and reinstalled) Also getting a notificating during apt update
—————
——–
Any thoughts are greatly appreciated.
thanks again!
Hi Jon,
It looks like you have a newer version of MongoDB installed (6.0) on your Ubuntu system.
The problem here is that the UniFi controller relies on a much older version of MongoDB (3.6). I am not aware if you are actually able to run two versions of MongoDB alongside each other.
The only solution would be to uninstall MongoDB 6.0 from your system and remove the repository providing that version of MongoDB.
Cheers,
Emmet