In this tutorial, we will walk you through setting up the Plex Media server on a Synology NAS.
Plex is one of the most popular media servers, enabling you to stream your own media to almost every device with a screen.
While the Synology NAS does have its own ways of streaming media it is nothing compared to a fully-fledged media server like Plex. Plex builds a super easy-to-browse, visually pleasing, and helpful library from your media. It does this by scanning your media and getting metadata for each video.
A Synology NAS is a great place to host your Plex Media Server, as it makes storing lots of movies and TV shows straightforward. Depending on the model of your Synology you will even be able to transcode videos so they can be played on devices that might not natively support them.
Best of all, setting up Plex on a Synology NAS is straightforward and can be done with just a few clicks. This allows you to start streaming all your media in no time.
The following steps were written for DSM 7; however, they should work for older releases with little to no tweaks.
How to Download and Install Plex on your Synology NAS
In the following sections, we will walk you through downloading and installing the Plex media server on your Synology NAS.
We will also show you how to change the permissions of your shared folders so that the media server can access them.
Downloading Plex Media Server for your Synology
1. There are multiple ways to install the Plex Media Server on your Synology NAS. The method we will show you will ensure you get the latest available version.
For this method, we must download the latest version of Plex that is compatible with your NAS. You can download this media server by going to the URL below in your favorite web browser.
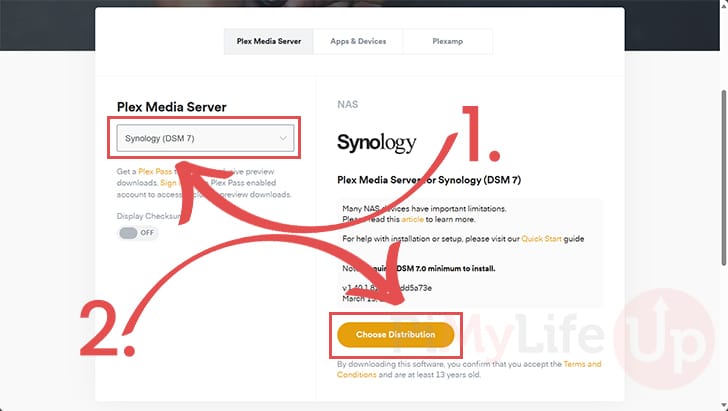
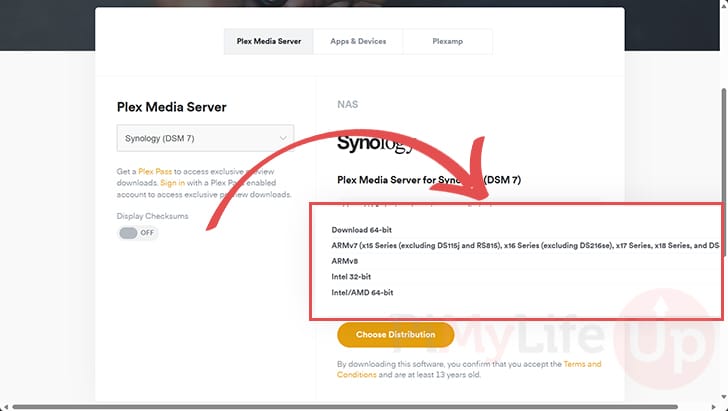
https://www.plex.tv/en-au/media-server-downloads/?cat=nas&plat=synology-dsm72. Once you are on the download page, use the select box to choose the Synology version (1.) At the time of publishing, most users will likely be using DSM 7, so select “Synology (DSM 7)“.
After selecting your version of Synology, click the “Choose Distribution” button (2.).
3. After clicking the “Choose Distribution” button, you will be prompted to select the architecture of your Synology NAS.
In our case, we are using a DS918+, so we will choose the “Intel/AMD 64-bit” option. Check the architecture used for your Synology NAS and select the correct model.
Installing Plex Directly to your Synology NAS
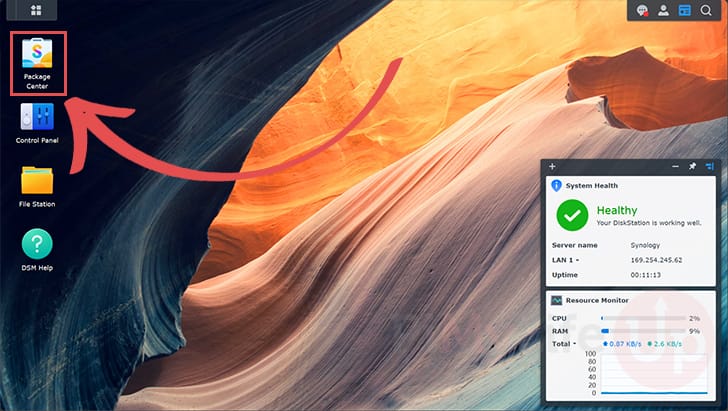
4. Now that you are on your Synology NAS, click the “Package Center” icon.
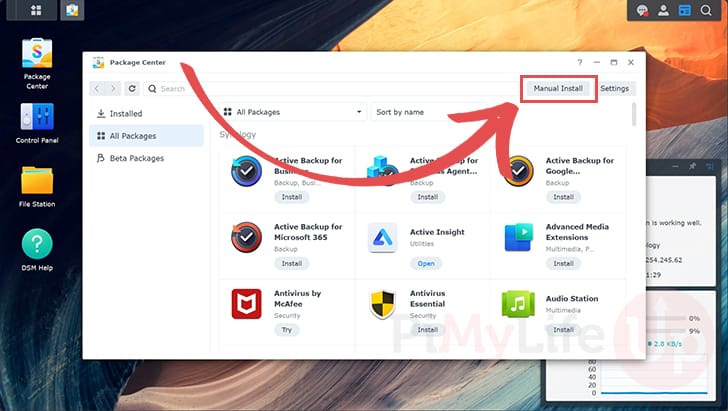
5. With the package center open, click the “Manual Install” button.
This option allows you to install the Plex package to your Synology NAS we downloaded earlier.
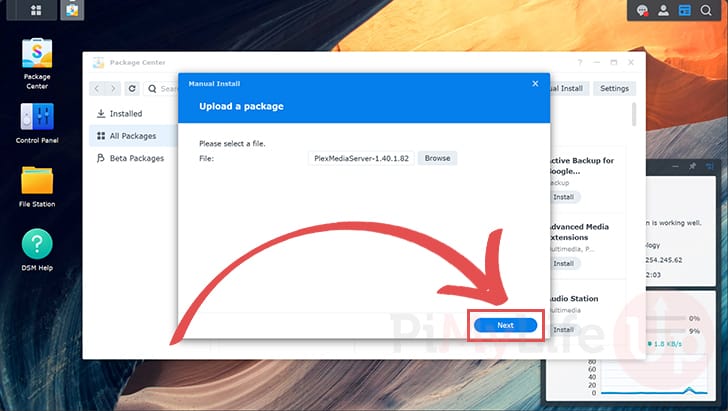
6. After opening the manual install dialog, you will be prompted to select a file.
You can open the file dialog by clicking the “Browse” button. In this dialog, select the Plex package you downloaded at the start of this guide.
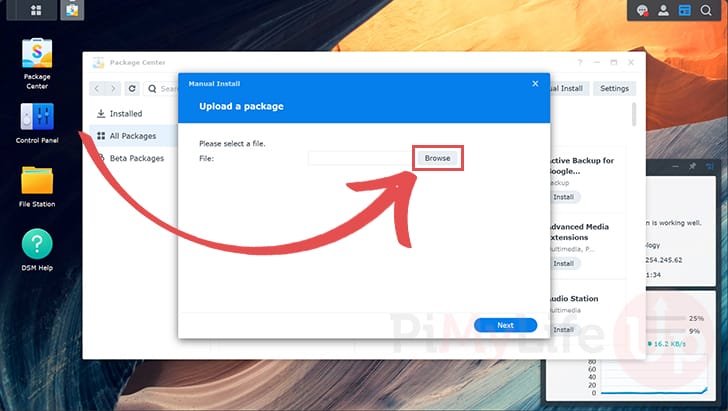
7. Once you have selected the Plex package to install to your Synology NAS, click the “Next” button to continue.
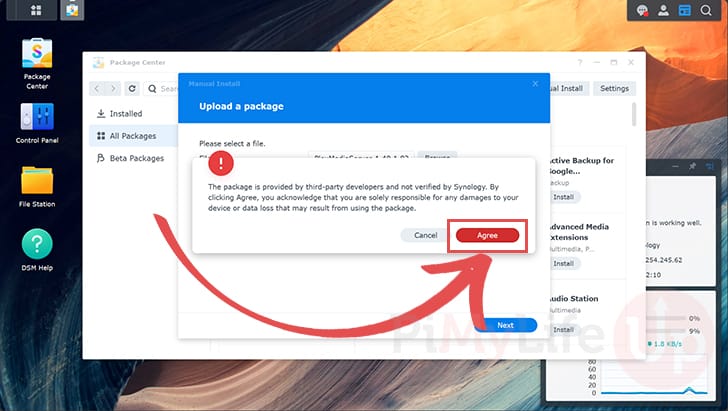
8. Since Synology does not provide this package, you will receive a warning before it is installed.
To proceed with the installation of Plex, click the “Agree” button.
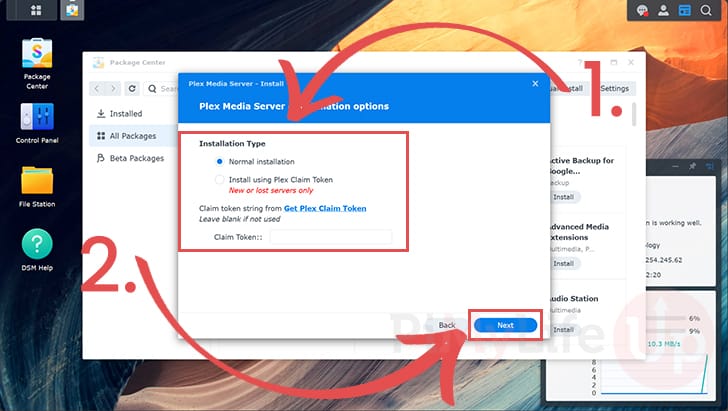
9. Next, you will be prompted with a couple of installation types. For this guide we will stick with the “Normal installation” type (1.).
To continue with the installation, click the “Next” button (2.).
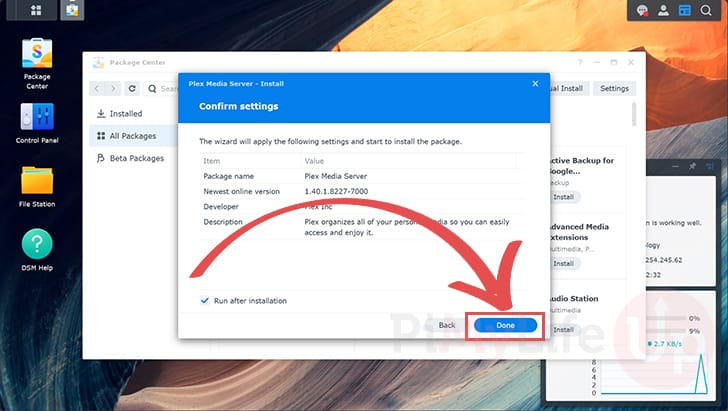
10. Before your Synology NAS installs the Plex Media Server you will be prompted to confirm your settings.
To finally install this media server, click the “Done” button.
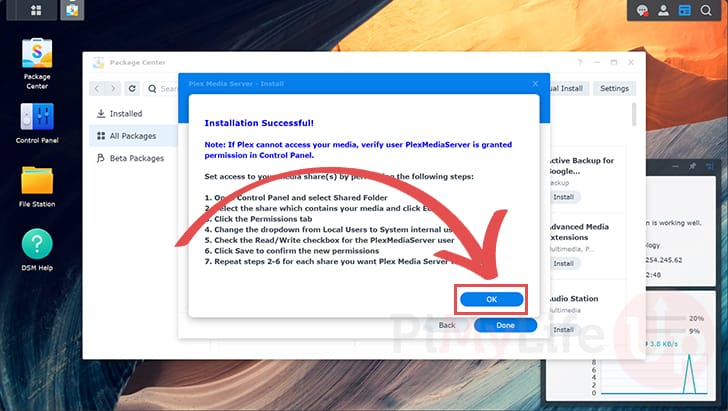
11. You have now successfully installed Plex to your Synology NAS.
However, before you can use it, we must do a few more things. Click the “OK” button to complete the installation.
Configuring Permissions for Plex to Access a Folder
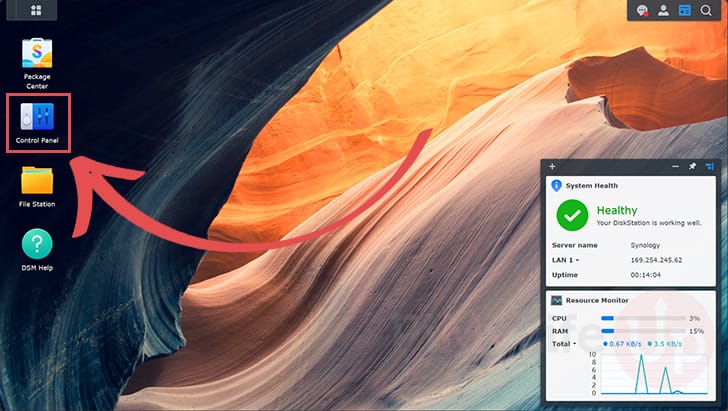
12. For Plex to access the media files on your Synology NAS, we must adjust the permissions for the shared folder where you store media.
In particular, the “plexmediaserver” system user must have read/write permissions.
To set these permissions, open the “Control Panel” on your Synology.
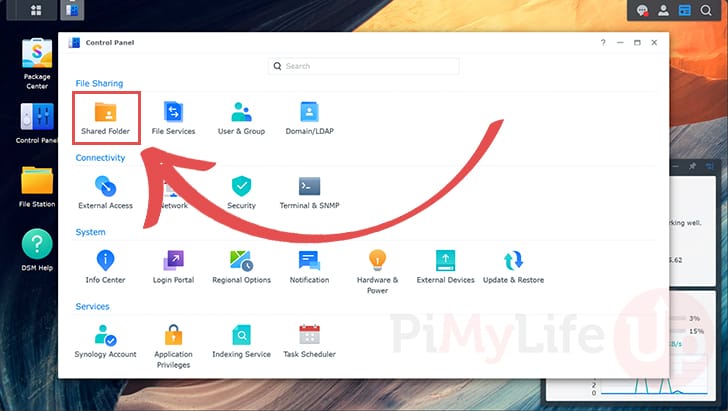
13. With the control panel open on your device, click the “Shared Folder” option.
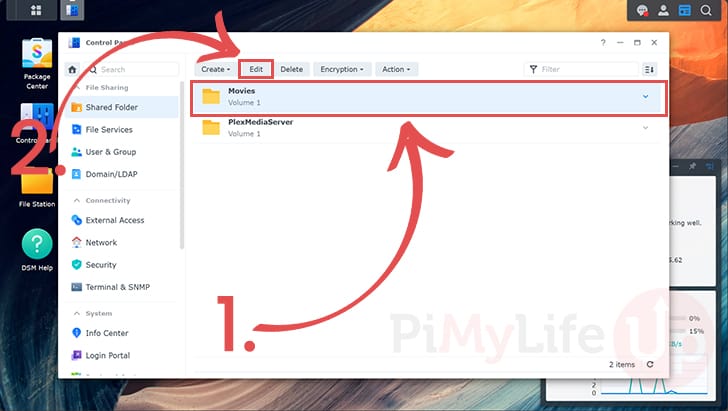
14. Once you see a list of shared folders on your Synology NAS, click the one you want Plex to access (1.).
After selecting your shared folder, click the “Edit” button.
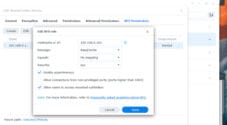
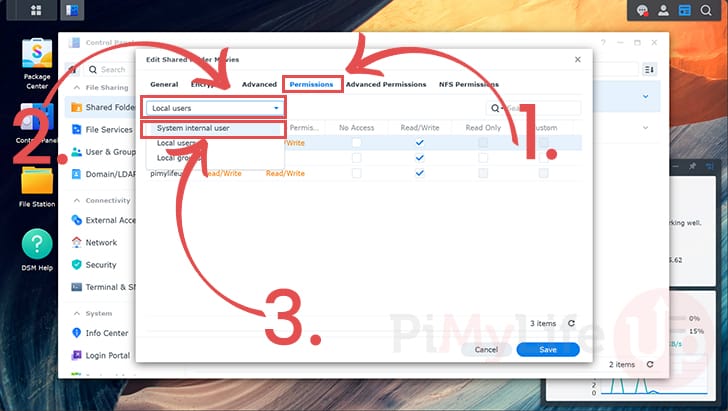
15. You must now switch to the “Permissions” tab (1.).
Within the permissions screen you will see a switch box (2.). Click this box and select the “System internal user” option (3.).
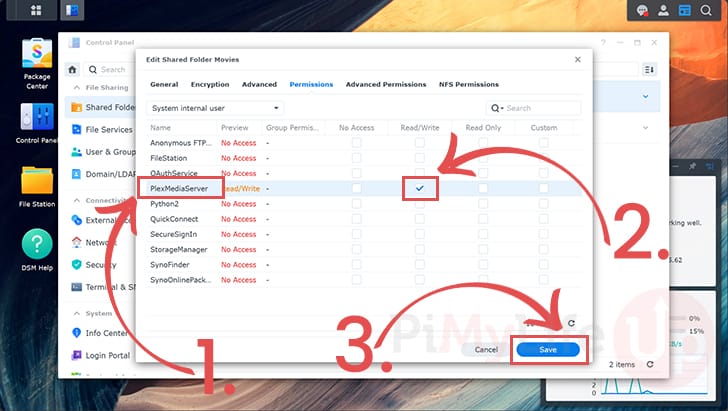
16. You will now see a large list of users, find the one labeled “PlexMediaServer” (1.).
After finding this user, tick the “Read/Write” checkbox (2.).
Finally, once you have given the Plex server access to this folder, click the “Save” button (3.). Repeat these steps for any other folder you want to use on your Plex server.
Opening the Plex Web Interface
17. You can access the Plex web interface directly from your Synology NAS.
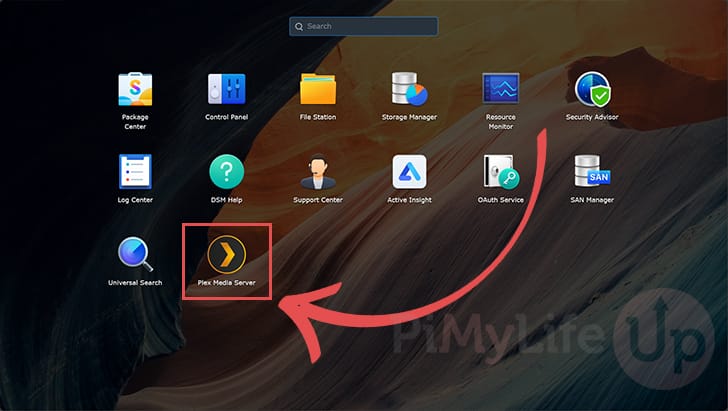
To start this process, click the four squares in the top-left corner of your screen.

18. With the applications screen open, click the “Plex Media Server” option.
Setting up your Synology Plex Server for the First Time
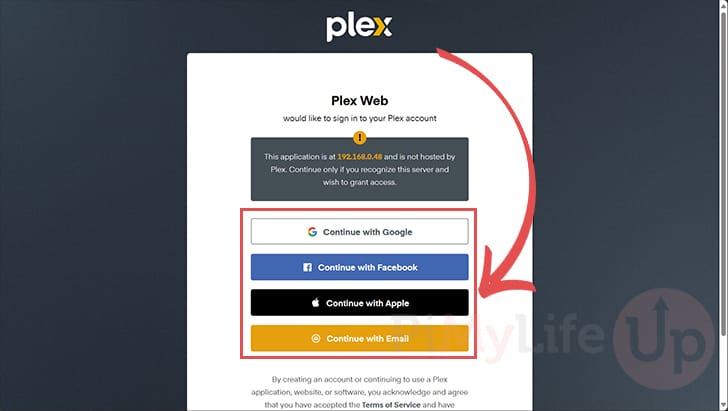
19. Since this is the first time we started Plex on our Synology NAS you will need to do some initial configuration.
You will be prompted to log in to your Plex account to continue.
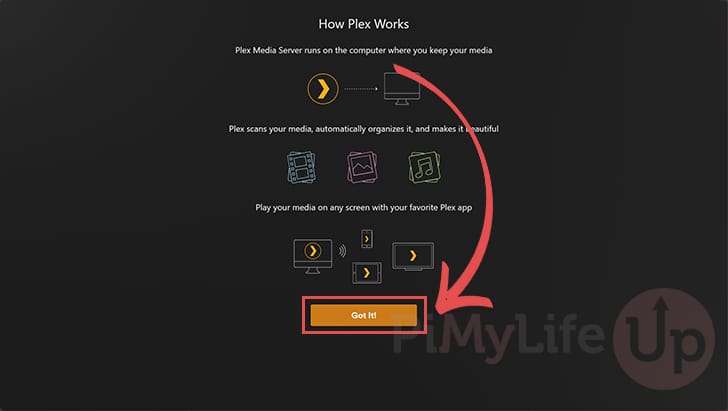
20. Once logged in, you will be prompted with a quick overview of how Plex works on your Synology.
To proceed with the set-up steps, click the “Got It!” button.
Naming your Plex Server
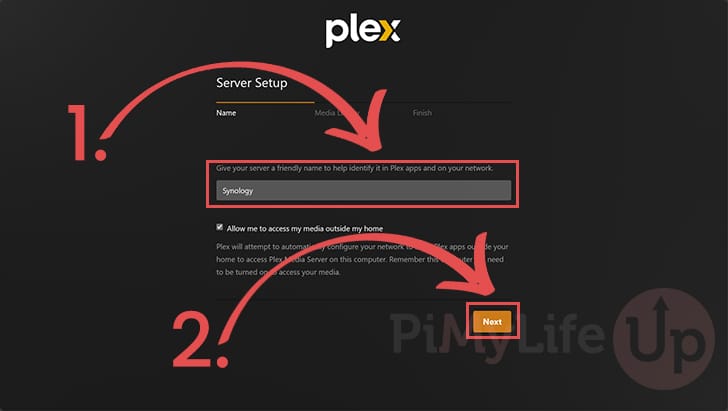
21. This first screen will let you assign a name to your Plex server (1.). You could name this server something like “Synology Plex“.
To proceed with the setup process, click the “Next” button (2.).
Setting up Media Libraries with Plex on the Synology NAS
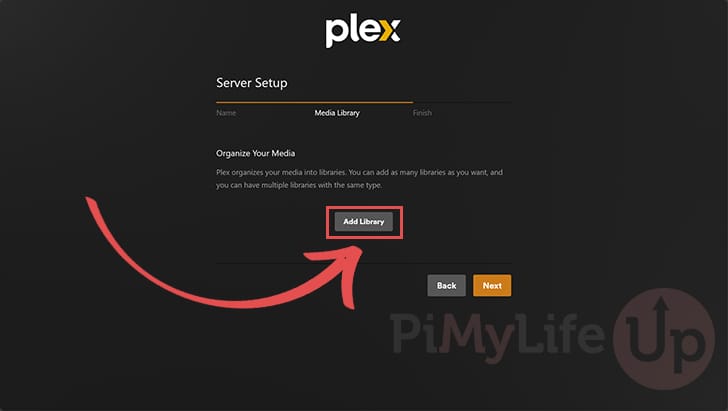
22. You can now add a media library to your Plex server.
To begin adding folders, click the “Add Library” button.
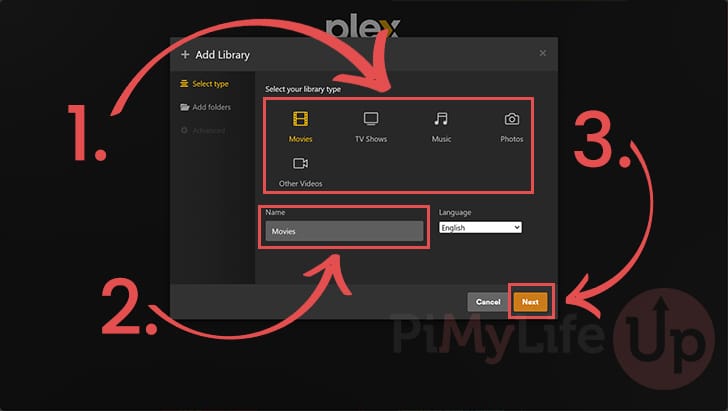
23. When adding a new library, you must first select a library type (1.).
Once you have selected a library type, you will want to choose a name for your library (2.).
To continue setting up this library, click the “Next” button (3.).
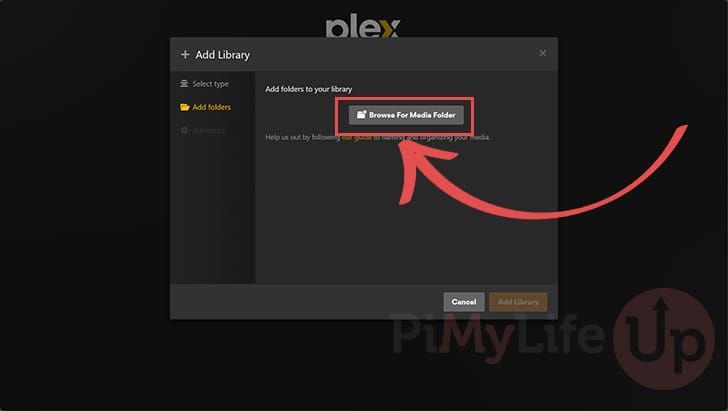
24. A library isn’t much use if it doesn’t have any folders added to it.
To add folders to this library, click the “Browse For Media Folder” button.
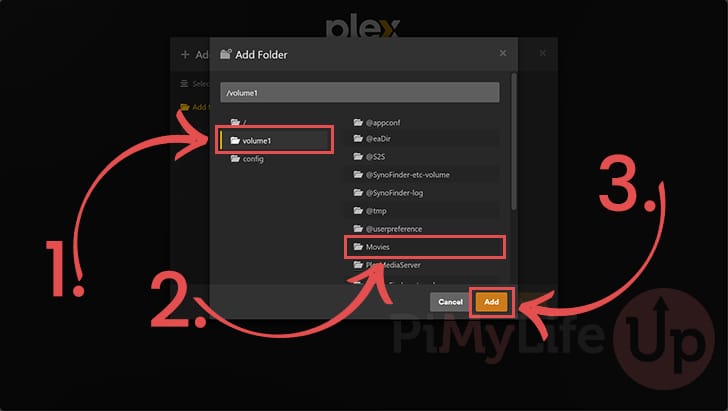
25. We must use this next dialog to select the shared folder on your Synology NAS to add to the Plex server.
On the left-hand side of the dialog, you will want to select your volume (1.). In this example it is “volume1“.
Now, using the right-hand side, look for your shared folder and select it (2.).
After selecting the shared folder you want to add to Plex, click the “Add” button (3.).
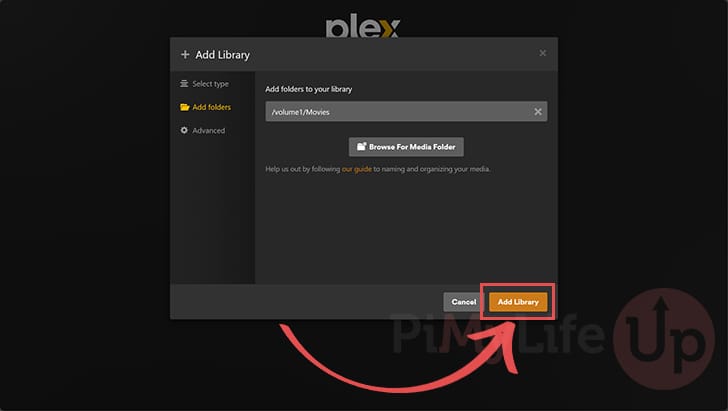
26. After selecting your folder, you will be returned to the screen below.
To add this media folder, click the “Add Library” button.
27. You will now see a quick overview of the libraries you have added to your Plex Media Server.
To continue with setting up Plex, click the “Next” button.

Finalizing the Setup of Plex on your NAS
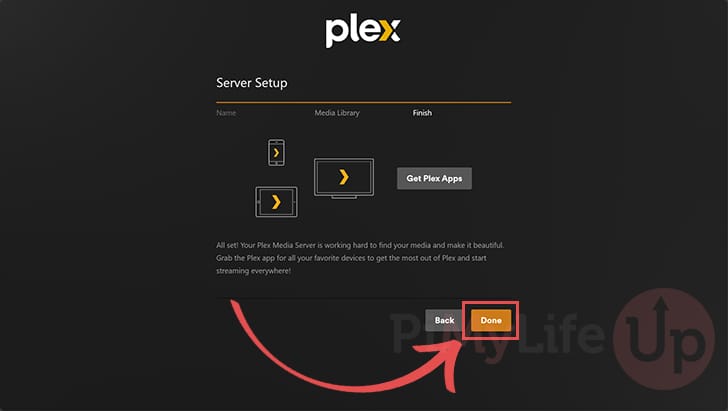
28. You have finished setting up Plex on your Synology NAS. At this point, you can install the Plex apps on your various devices and begin streaming media from your Synology.
To proceed to the Plex web interface, click the “Done” button.
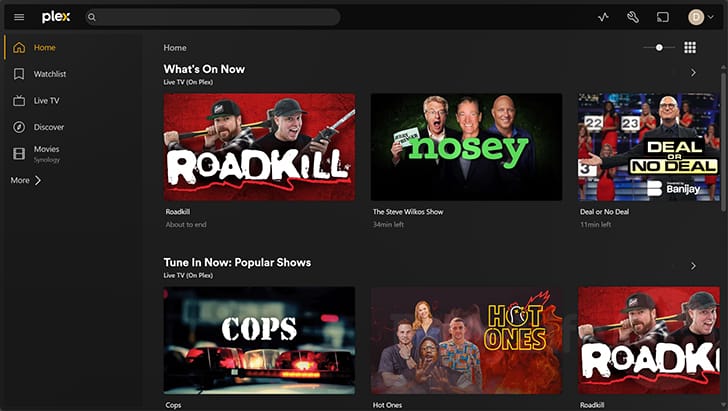
Plex Running off a Synology NAS
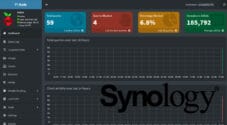
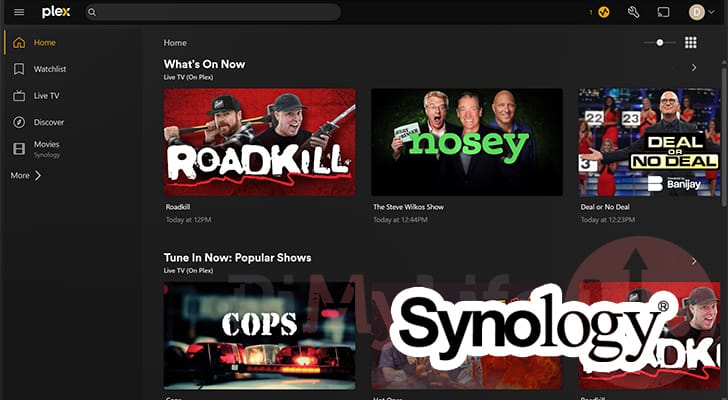
29. Below, you can see that our Plex server is successfully running off of our Synology NAS.
Enabling Hardware Transcoding for Plex on the Synology NAS
Hardware transcoding is a more efficient way for Plex to convert videos on your Synology NAS. Not all versions of the Synology support this functionality. However, if you use a version of the Synology that uses an Intel processor, these steps should work fine for you.
In addition to the hardware requirements, hardware transcoding requires a Plex Pass membership.
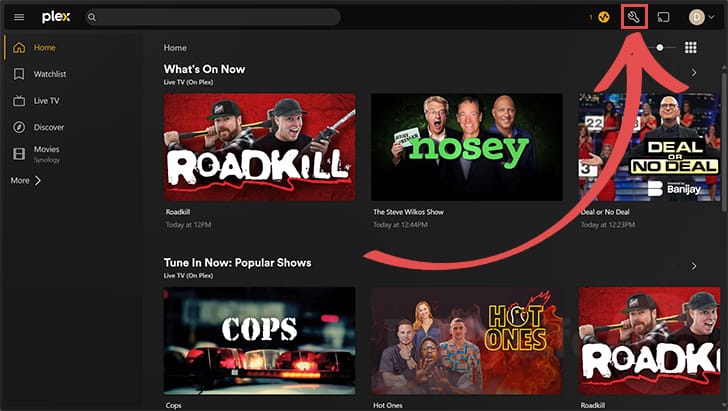
1. With the Plex web interface open, you will want to navigate to the settings panel.
You can open the settings by clicking the wrench in the top-right corner.
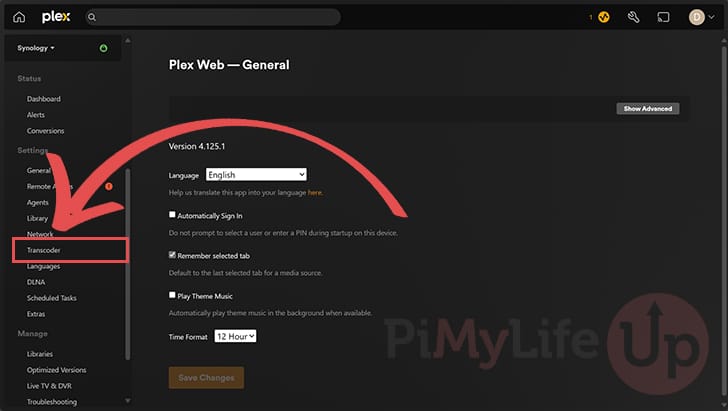
2. Now that you are on the settings page, use the left-hand sidebar to find and select the “Transcoder” options page.
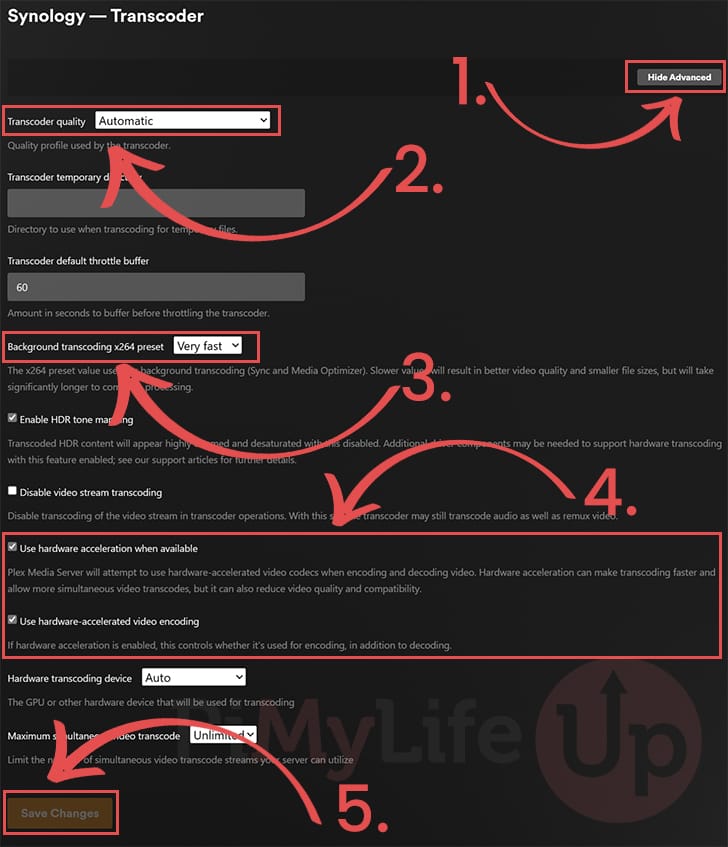
3. This page allows you to enable Plex’s hardware transcoding on your Synology NAS. Before you get started ensure that you have advanced options enabled (1.).
- First, ensure that the “
transcoder quality” is set to “Automatic” (2.). This lets Plex decide on the quality of the transcoding. - Next, check that the “
Background transcoding x264 preset” option is set to “Very fast” (3.).
A Synology NAS doesn’t have the most powerful CPU, so you don’t want it wasting its powers trying to transcode at a higher quality. - Finally ensure that both the “
Use hardware acceleration when available” and “Use hardware-accelerated video encoding” options are enabled (4.).
These options will allow Plex to automatically use your Synology NAS’s hardware to process video if possible.
Once you have finished checking all the settings, click the “Save Changes” button (5.). You should now have transcoding working on your NAS.
Conclusion
Hopefully, at this stage, you will have successfully got the Plex media server up and running on your Synology NAS.
Plex is a fantastic solution for acting as your media server because it is so well supported by various devices. It is rare to find a device for which you can’t find a working Plex client. Additionally, it has fantastic support for a wide variety of media formats.
Please feel free to comment below if you have had any issues getting Plex to run on your NAS.
We recommend investigating our other Synology NAS tutorials if you found this guide helpful.