This tutorial will show you the straightforward steps to installing the Plex Media Server on Ubuntu.
The Plex Media Server is one of the best ways to categorize and stream your media from Ubuntu to any Plex client.
This server organizes all of your media, whether that be a photo, audio, movie, or TV show, and allows you to stream it to a Plex client. If you pay for the Plex Pass, the server can even scan your media and allow you to skip intros.
For devices that don’t support the format you have your media in, the Plex Media Server can even transcode it on the fly to a supported format.
In the following sections, you will learn how to install the Plex Media Server to your Ubuntu system using the official repositories.
All the steps for installing this media server are done within the terminal. You can open the terminal by pressing CTRL + ALT + T on the desktop flavor of Ubuntu.
Preparing Ubuntu to Run Plex Media Server
This section will prepare your Ubuntu system so that you can install and run the Plex Media Server. This section mainly involves adding the official repository to the device.
We choose to use the official repository as it ensures that we will always have the latest version of the server available to us. In addition, this repository will be updated as soon as a new release is made available.
1. Before we start, you will need to perform an update of the Ubuntu package list cache.
You can update this list by using the following command.
sudo apt updateCopyThis list is used by the package manager when searching for packages to install.
2. Once the update completes, we must ensure that curl is available on your system. While typically, this comes pre-installed, it doesn’t hurt to try installing it.
To make sure curl is installed, all you need to do is use the following command in the terminal.
sudo apt install curlCopy3. Now that we have everything we need, our next step is to download the GPG key belonging to the Plex Media Server to our Ubuntu device.
You only need to use the command below to download this key to our keyring.
curl https://downloads.plex.tv/plex-keys/PlexSign.key | gpg --dearmor | sudo tee /usr/share/keyrings/plex-archive-keyring.gpg >/dev/null CopyThe package manager uses a GPG key to verify that the downloaded packages are authentic. This prevents attacks where an unsigned package is sent in its place.
4. With the GPG key saved to our Ubuntu system, our next step is to add the Plex Media Server repository.
All you need to add this repository to the apt sources is to use the command below.
echo deb [signed-by=/usr/share/keyrings/plex-archive-keyring.gpg] https://downloads.plex.tv/repo/deb public main | sudo tee /etc/apt/sources.list.d/plex.listCopy5. After adding the official Plex repository, we are required to perform another update of the package list.
Ubuntu will be unaware that it can now install the media server without an update.
sudo apt updateCopyInstalling the Plex Media Server on Ubuntu
With our Ubuntu device now prepared and the Plex Media Server repository added, we can move on to install the server.
This section will cover installing the software and doing some initial configuration. While Plex is mainly controlled through its web interface, there are some things we need to set up first.
1. Installing the Plex Media Server on Ubuntu is the easiest part of this section, thanks to adding that repository earlier.
All we need to do is use the following command within the terminal to install the media server.
sudo apt install plexmediaserverCopyDuring installation a user and group called “plex” will be created. Ubuntu will use this user to run the media server and access files on your system.
2. With the server installed, your next step is to make sure that the “plex” user can “read” or “execute” your media files.
The easiest way is to adjust the permissions of the files and directories where your media files are.
For this example, our media files will be stored at “/plexlibrary“. Ensure you change this directory in the following two steps to where your files are stored.
3. The following command will use the “find” command to search through the specified directory for any directories.
On every directory it finds, it will execute the chmod command to set the permissions of that directory to “755” This means everyone can read and execute the directory, but only the user can write to it.
sudo find /plexlibrary -type d -exec chmod 755 {} \;Copy4. This next command will do a similar thing, but this time will search for files within the specified directory.
The permissions that set for every file will be “644“. These permissions mean every user can read the file, but only the owner can read and edit them.
sudo find /plexlibrary -type f -exec chmod 644 {} \;Copy6. The last thing you will want to do is set up Ubuntu with a static IP address. If using this within a typical local network, the DHCP server will assign you a random IP address every time your device powers on.
A changing IP address can make using Plex a messier experience as you will have to continually check for the new IP address that has been assigned to it.
Configuring your Firewall for Plex
If you are running the default firewall on your Ubuntu device, you will need to open some ports to allow access to your Plex Media Server.
Plex uses several different ports that you must open for use. If you aren’t using a firewall, you can skip to the next step.
1. To make managing the firewall easier, we will start by creating an UFW application file for it. This application file will allow you to allow multiple ports through the firewall easily.
Begin writing this file by using the following command in the terminal.
sudo nano /etc/ufw/applications.d/plexmediaserverCopy2. Within this file, write the following lines to define two rules. One contains just the Plex Media Server port. The other contains the ports for the additional protocols the server can utilize.
[plexmediaserver]
title=Plex Media Server (Standard)
description=The Plex Media Server
ports=32400/tcp

[plexmediaserver-additional]
title=Plex Media Server (Additional)
description=The Plex Media Server (Additional Ports)
ports=5353/udp|8324/tcp|32410:32414/udp|1900/udp|32469/tcpCopy
3. You can save these changes by pressing CTRL + X, followed by Y, then the ENTER key.
4. Since we have created a new application definition, we need to tell UFW to be aware of it.
To do this, you will want to use the following command.
sudo ufw app update plexmediaserverCopy5. Finally, you will want to allow access to at least the standard Plex Media Server port (32400) by using the following command.
sudo ufw allow plexmediaserverCopy6. If your media server runs on Ubuntu without outside access, you can safely allow Plex’s additional ports.
These additional ports allow easier scanning of your Plex server by using various protocols such as DLNA.
sudo ufw allow plexmediaserver-additionalCopy7. You can verify what ports have been allowed through your firewall using the following command.
sudo ufw statusCopyAccessing the Plex Media Server Web Interface
With the Plex Media server finally installed on our Ubuntu device, we can move on to accessing its web interface.
The web interface is the primary way to control and configure this media server. Unless you need to adjust permissions for your media library, you shouldn’t have to touch the terminal again.
1. Accessing Plex’s web interface is a straightforward process; all you need is a web browser.
If you are connecting remotely, you will need to know your device’s IP address. One of the easiest ways to get the IP assigned to your Ubuntu device is to use the hostname command, as we have below.
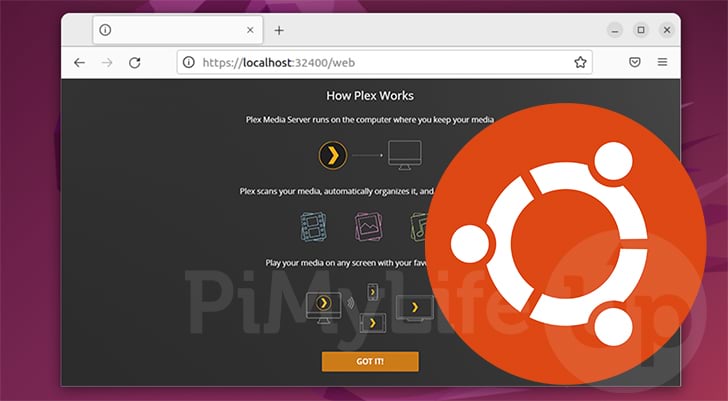
hostname -ICopy2. Once you know your local IP address, you will want to go to the following address in your web browser. Ensure you replace “IPADDRESS” with your IP.
If running this on the same device that you installed the media server, you can use “127.0.0.1” or “localhost” instead.
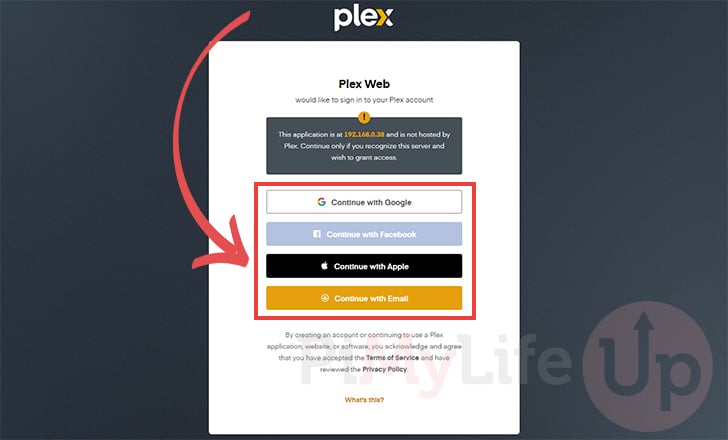
http://IPADDRESS:32400/web3. To utilize the Plex web interface running off your Ubuntu device, you will need to log in to a Plex account.
Plex offers several ways to do this, so select whichever best suits you.
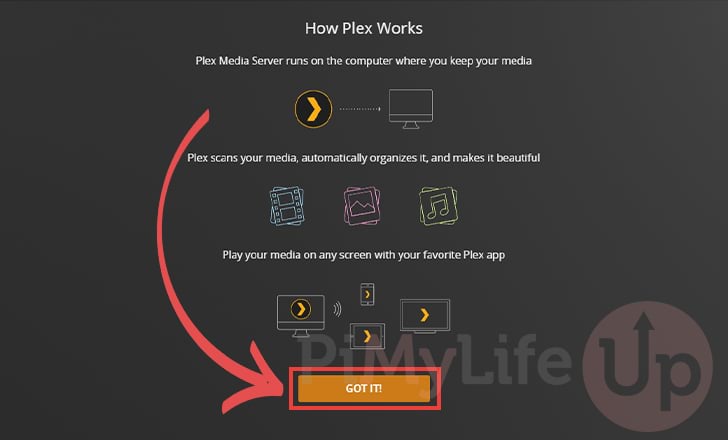
4. After logging into your Plex account you will be given a quick explanation of how the Plex media server works.
Once you are ready to proceed, click the “GOT IT!” button.
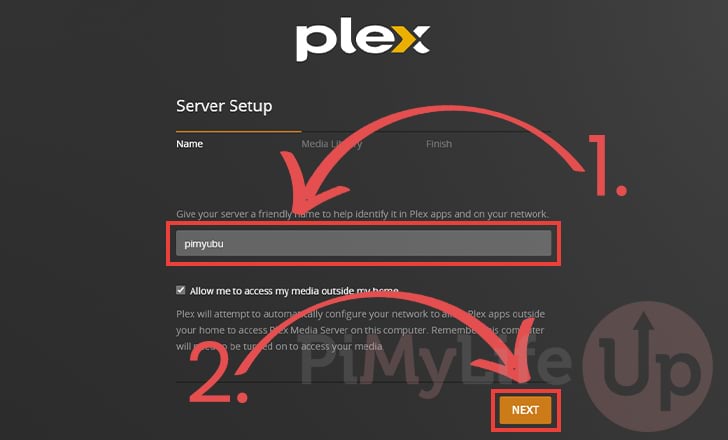
5. You now have the chance to name your Ubuntu Plex Media Server (1.). You can set whatever name you want to help identify this server.
Once you have set a name, you can click the “NEXT” button (2.) to proceed with the setup.
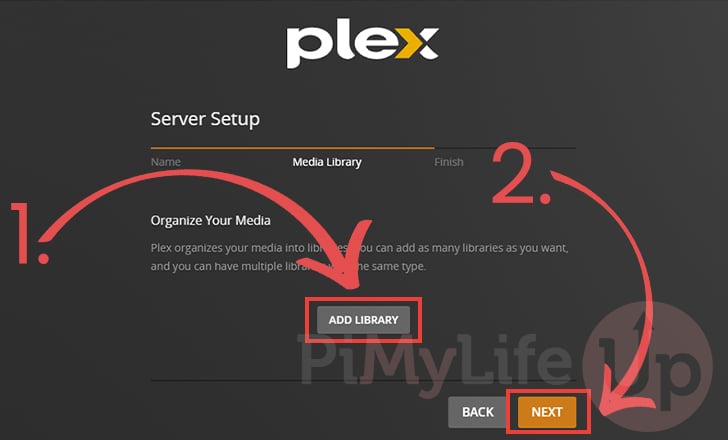
6. You now have the chance to add your first media libraries to your media server by clicking the “ADD LIBRARY” button (1.).
If you prefer to complete this process later, you can click the “Next” button (2.) and skip to step 10.
7. When you add a library to your Ubuntu plex media server you will need to start by selecting the library type (1.).
Plex only supports one media type per directory, so make sure your different media types are separated.
With a media type selected, you can set a name for this library (2.). We kept this to the default for our chosen type for our setup.
Once everything has been set correctly, click the “NEXT” button (3.) to proceed.

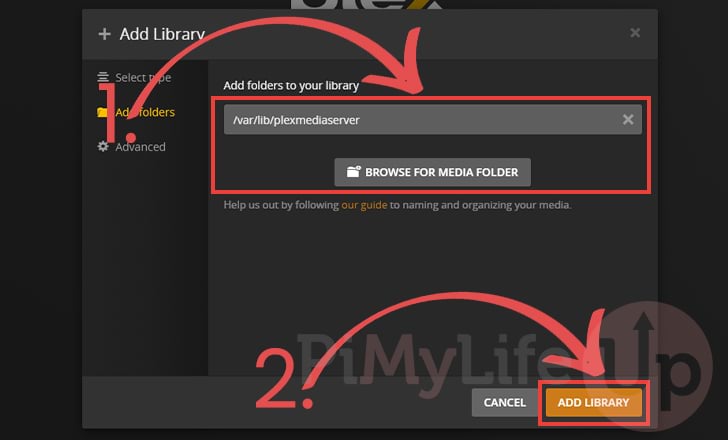
8. On this screen, you can select the folder or folders where your media files are stored (1.). You can either manually type in the path or click the “BROWSE FOR MEDIA FOLDER” button.
With the path set, click the “ADD LIBRARY” button (2.) to add this folder to your Plex Media Server.
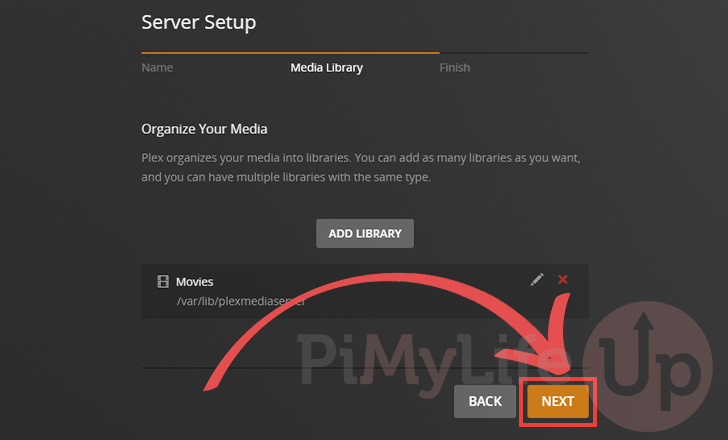
9. Once you have finished adding all your media libraries, you can click the “NEXT” button to continue setting up Plex.
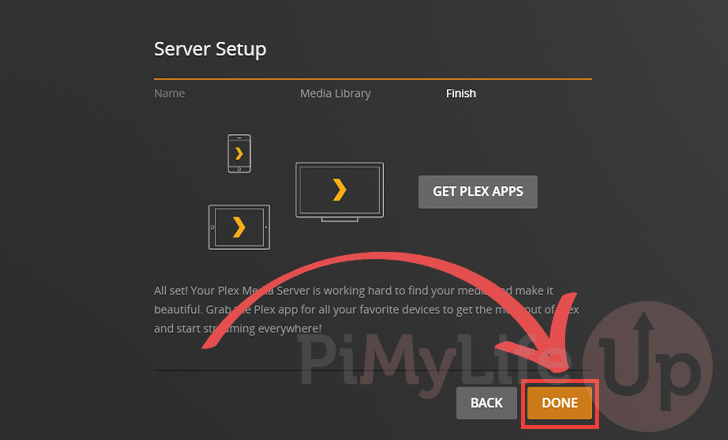
10. You have successfully set up the Plex Media Server on your Ubuntu device.
You can now install any of the many Plex apps and start streaming your content from your server.
To finish up the setup screen, click the “DONE” button.
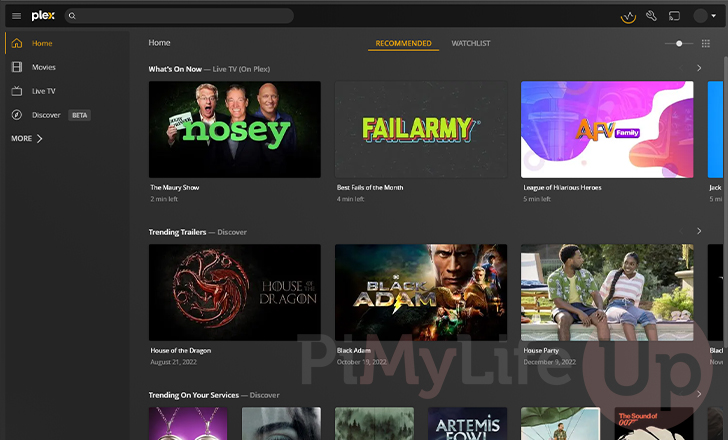
11. Below, you can see the default screen for Plex.
Conclusion
At this point in the tutorial, you should have managed to install the Plex media server to the Ubuntu operating system.
This media server allows you to stream all of your media to any device utilizing the Plex client.
Please comment below if you have had issues getting the Plex media server to work on your device.
If you liked this tutorial, check out our many other Ubuntu guides.