In this quick guide, we will show you how easy it is to install and use Ubuntu on the Raspberry Pi.
Ubuntu is one of the most popular Linux-based operating systems known for striking a good balance between being stable and user-friendly.
One of Ubuntu’s neatest features is its full support for the newer versions of the Raspberry Pi. You get the same full desktop experience that you would get if you installed Ubuntu on a full desktop machine.
The one downside of using the full version of Ubuntu is that it is significantly more resource-intensive than Raspberry Pi OS. You must use a Raspberry Pi 4 with at least 4GB of RAM.
However, if you still want to use Ubuntu, there are the lighter versions such as Ubuntu Server (terminal only). The main thing you miss out on here is the graphical interface, which is the heaviest part of Ubuntu.
Please note that while Ubuntu does offer full support for the Raspberry Pi, its support is less stable than that of the official operating system. Raspberry Pi OS will always offer the best experience because the Raspberry Pi Foundation maintains it.
With a new release of a Raspberry Pi, you will often have to wait a few months for Ubuntu to catch up and add support. While not the biggest problem as new Pi’s aren’t released super often it is something to keep in mind.

Equipment
Below is a list of equipment we used to install Ubuntu on our Raspberry Pi.
Recommended
- Raspberry Pi Amazon
- Micro SD Card Amazon
- Power Supply Amazon
- Ethernet Cable Amazon or Wi-Fi Amazon
- HDMI Cable Amazon
- Monitor Amazon
- USB Drive Amazon
Optional
- Raspberry Pi Case Amazon
This tutorial was last tested with a Raspberry Pi 5, and we installed Ubuntu 24.04. The version of Ubuntu Desktop you install may differ.
Quick Steps to Installing Ubuntu on your Raspberry Pi
Luckily installing the Ubuntu operating system on to your Raspberry Pi is a relatively straightforward process. It is even available to install directly through the official Raspberry Pi Imager.
The imager is a great tool for installing most operating systems supporting Pi’s hardware.
Installing Raspberry Pi Imager
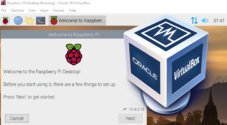
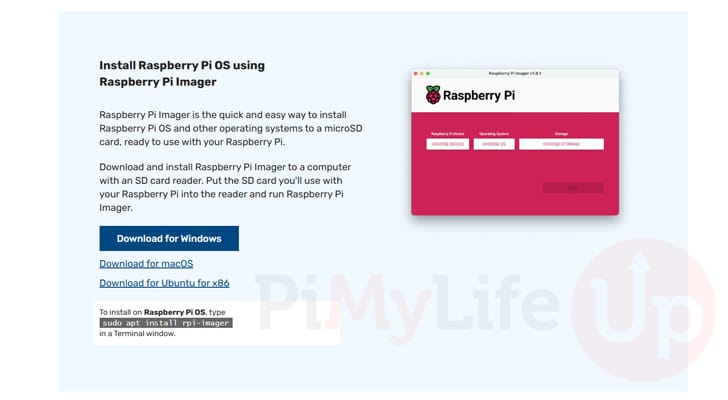
1. To make installing Ubuntu to your Raspberry Pi as easy as possible, we will use the official Raspberry Pi Imager.
This imager will download and install Ubuntu to your desired SD card or hard drive. To download and install this tool, go to the Raspberry Pi software page.
https://www.raspberrypi.com/software/You should see text similar to what we have shown below on this page. Download and install the version of the Imager for your operating system.
Writing the Ubuntu OS to your Raspberry Pi’s SD Card or Hard Drive
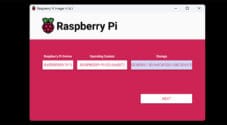
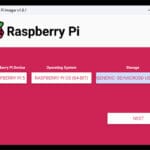
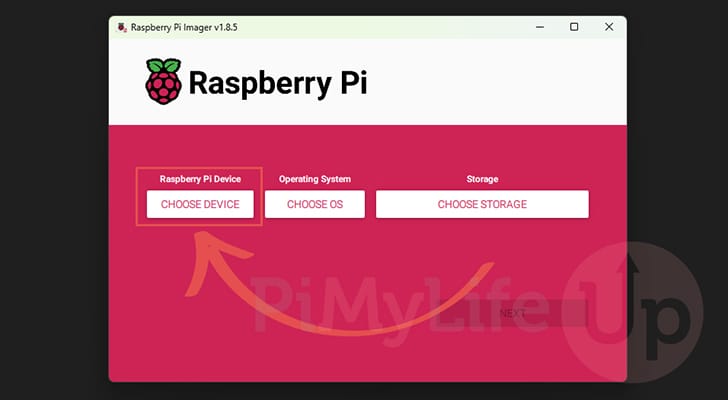
2. With the Raspberry Pi Imager now installed and open, you will want to click the “CHOOSE DEVICE” button.
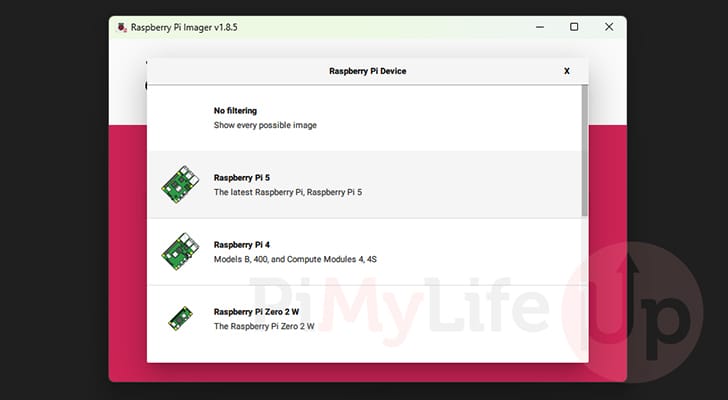
3. You will now be shown a list of the Raspberry Pi’s that this tool supports. Select the Raspberry Pi that you intend on installing Ubuntu for.
Basically, this helps the tool filter its operating system list to only the ones your device supports.
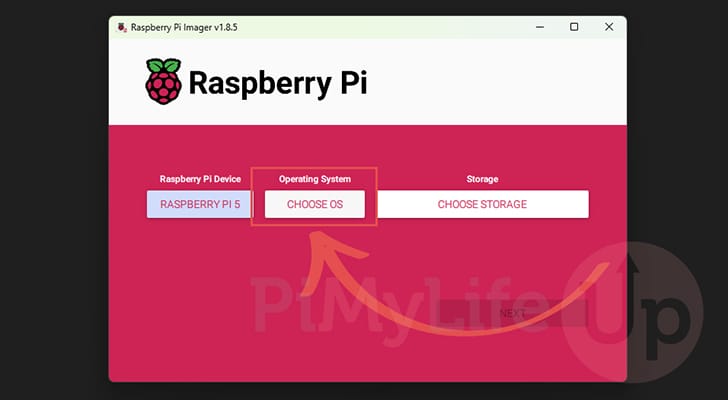
4. We can now move on to tell the tool that we want to install Ubuntu onto our Raspberry Pi.
You can begin this process by clicking the “CHOOSE OS” button.
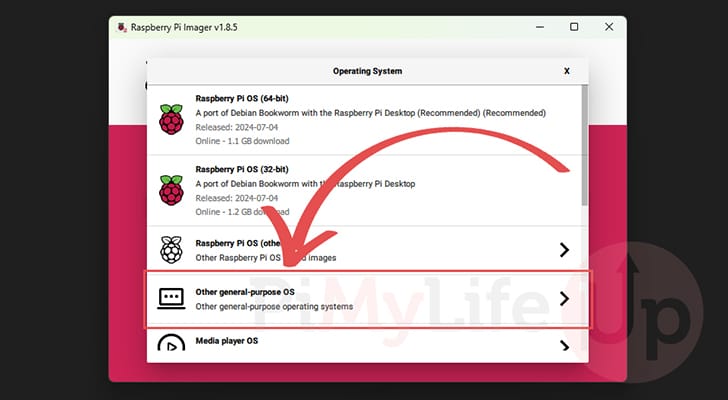
5. On this screen, scroll down and select the option labeled “Other general-purpose OS“.
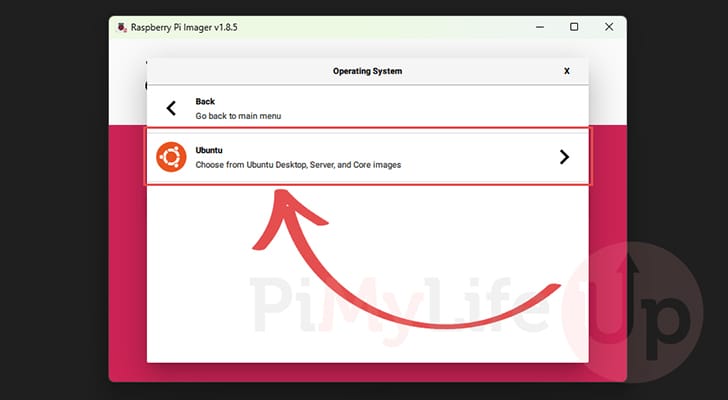
6. You will now be given a list of different distributions that support the Raspberry Pi. Select “Ubuntu” to continue.
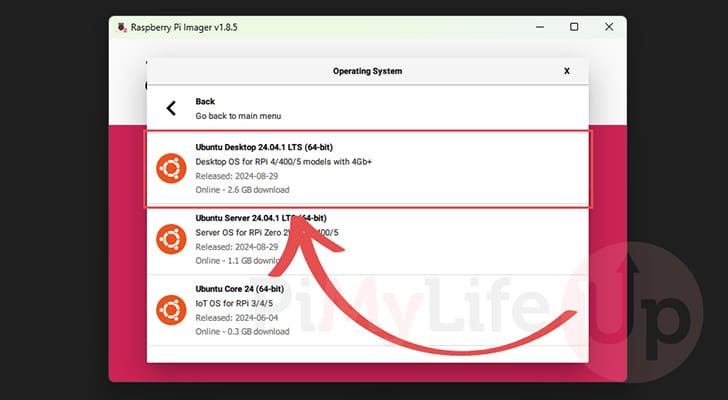
7. Within this list, you will want to select the “Ubuntu Desktop” option to install Ubuntu onto your Raspberry Pi.
You should also see a few other options that you can install, including the server and Core editions of Ubuntu. These are lighter versions that can be a great alternative to Raspberry Pi OS, especially if you don’t require a desktop interface.
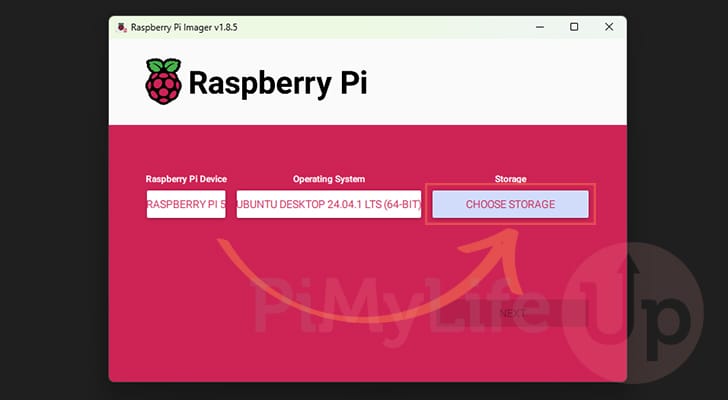
8. With the Ubuntu image now selected, you must choose the storage location where this image will be written.
Click the “CHOOSE STORAGE” button and then select the storage device you are using for your Raspberry Pi.
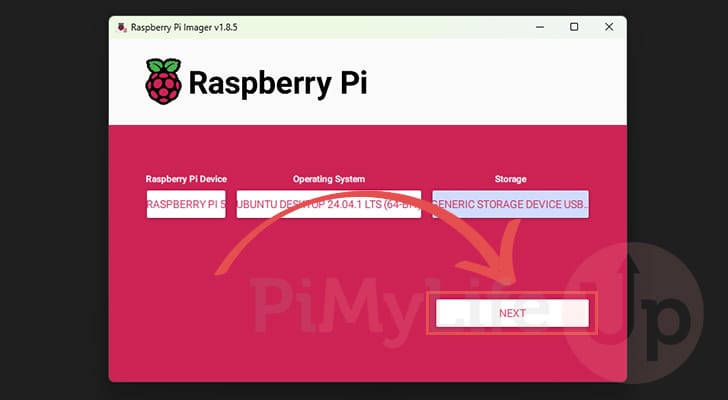
9. To begin the writing process, click the “NEXT” button
10. You will now be warned that the storage device you are writing the Ubuntu image will be overwritten.
To proceed with writing this image, click the “YES” button. This process can take a few minutes depending on the speed of your storage device and your internet.

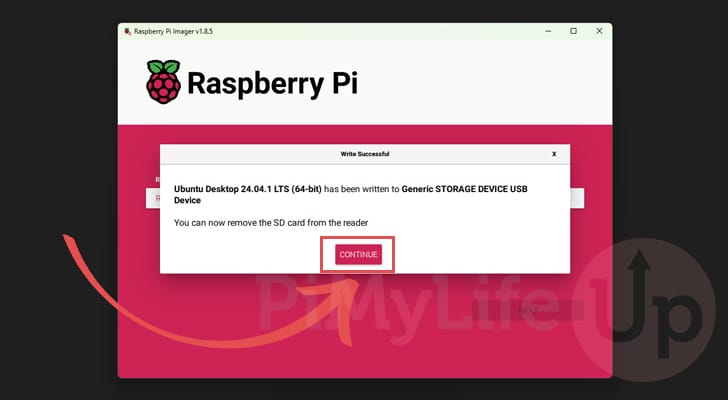
11. When the Raspberry PI Imager has finished writing Ubuntu to your storage device, you will see a message similar to the one below.
You can now remove the SD card or hard drive and insert it into your Raspberry PI.
First Boot of Ubuntu on a Raspberry Pi
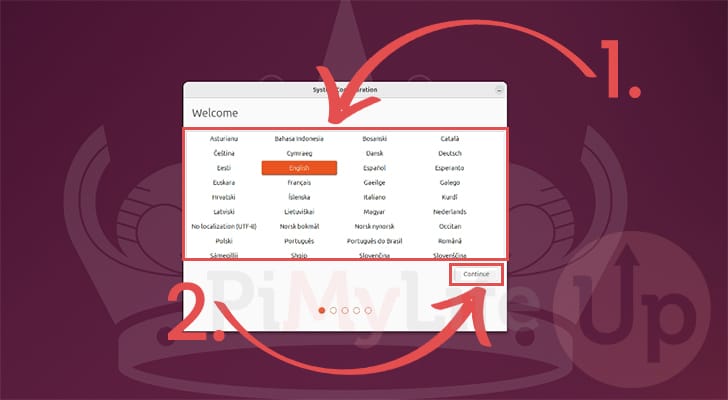
12. The first time your start up Ubuntu on your Raspberry Pi you will need to follow some initial installation steps.
This first step requires you to select the language you intend to use with Ubuntu (1.). Once a language has been selected, click the “Continue” (2.) button.
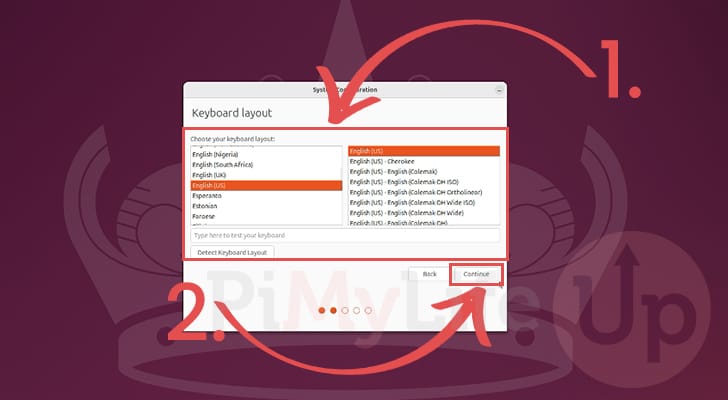
13. Next, specify the keyboard layout (1.). This is critical, as selecting the wrong layout will make it difficult to type within Ubuntu. Typically, Ubuntu will select the correct layout automatically.
Once a keyboard layout has been selected, click the “Continue” button (2.) to continue.
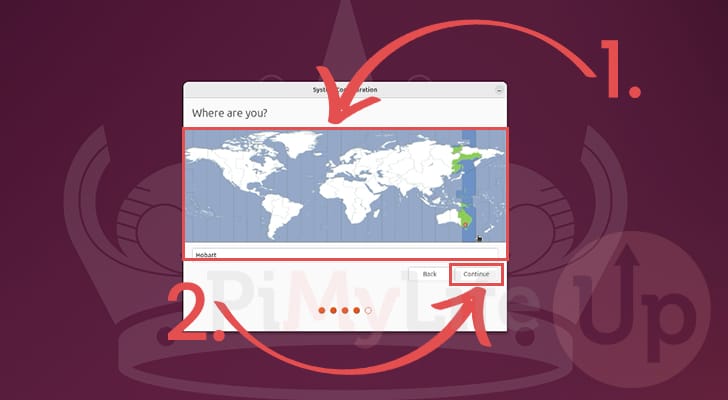
14. The next thing Ubuntu will ask you to configure on your Raspberry Pi is where you live (1.). This is used mainly for setting the correct time zone.
After setting your location, click the “Continue” button (2.) to confirm the setting.
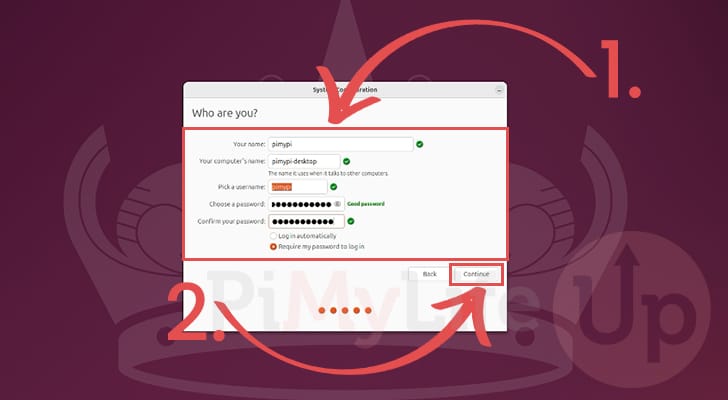
15. On this next screen, you will be asked to fill out the information you want to use for your Ubuntu user (1.). This includes information such as your username, password, and hostname.
This is the last settings screen, so ensure that you are happy with the details you have set and then click the “Continue” button (2.).
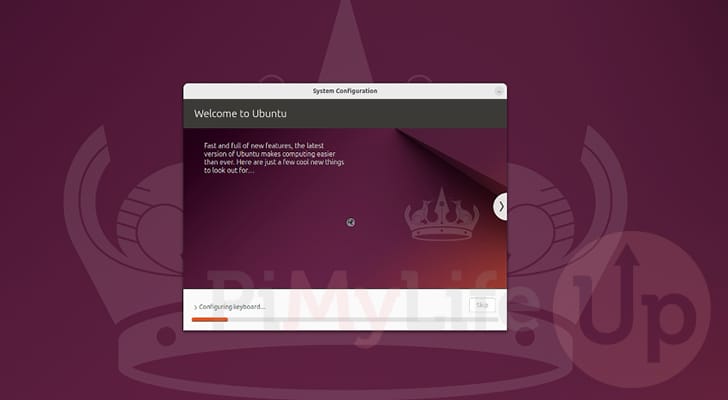
16. The next step can take a few minutes to complete as Ubuntu configured itself to run on your Raspberry Pi.
During this process, it will also install any additional software that enhances the experience of this operating system on your Pi.
Logging in for the First Time
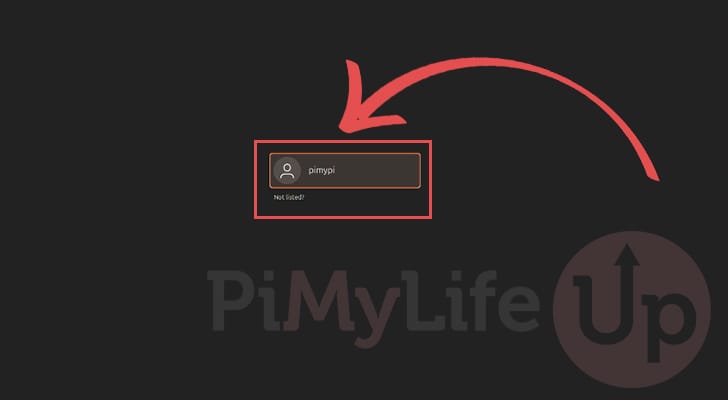
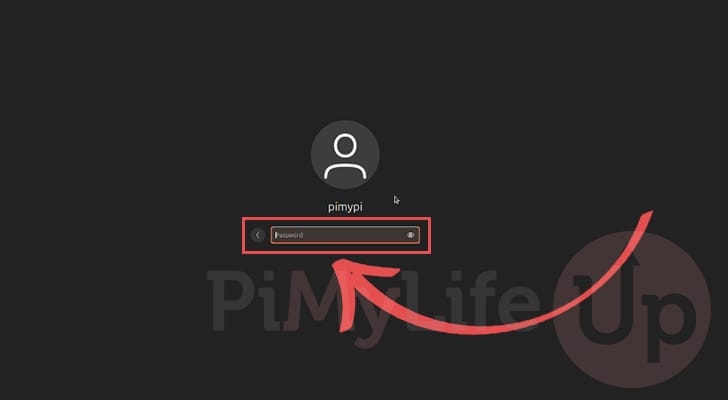
17. Once Ubuntu has finally finished setting itself up on your Raspberry Pi, you will be taken to the login screen.
On this screen, you will want to select the user you created during the initial setup process.
18. Next, type in the password for your user and then press the ENTER key.
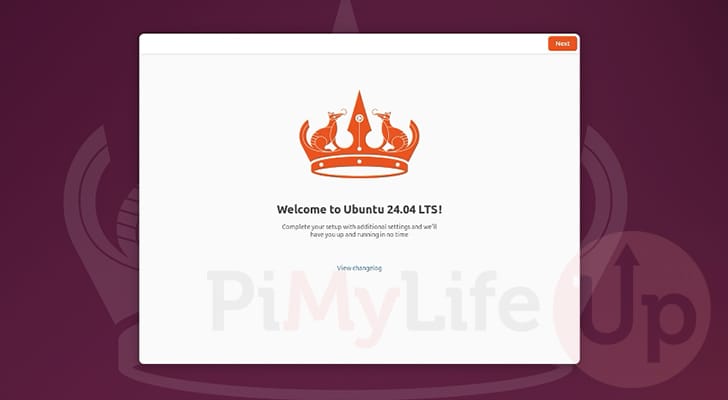
19. You have now successfully got Ubuntu up and running on your Raspberry Pi.
The vast majority of our projects should work fine on Ubuntu b
Conclusion
Hopefully by this point in the tutorial, you will understand how to quickly and easily install the Ubuntu operating system onto your Raspberry Pi.
Ubuntu is a great and well-maintained operating system that boasts proper support for the Pi and its unique hardware.
Please feel free to post a comment below if you have had any issues with getting this operating system to run on your Pi.
If you found this guide to be helpful, you can check out our other operating system tutorials or explore some of our many Raspberry Pi projects