This tutorial will teach you how to use NoMachine on your Raspberry Pi for remote access.
NoMachine is a free piece of software that you can use to access your Raspberry Pi’s desktop remotely.
This software is very much like other remote desktop software, such as TeamViewer or AnyDesk, allowing you to share the desktop and allow remote interaction.
The following sections will show you the steps of installing and running the NoMachine software on your device.
Please note, to run NoMachine you must be running the desktop variant of Raspberry Pi OS. The command line only version will not work. Instead, it would be best to look into software such as tmate to share the terminal.
Equipment
Below you can find a list of the equipment we used when installing NoMachine to the Raspberry Pi.
Recommended
Optional
This tutorial was last tested on a Raspberry Pi 400 running the latest version of Raspberry Pi OS Bullseye 64-bit.
Installing NoMachine to the Raspberry Pi
This section will walk you through the straightforward steps to installing NoMachine on your Raspberry Pi.
These steps will all be completed within the terminal. You can open the terminal on your system by pressing CTRL + ALT + T.
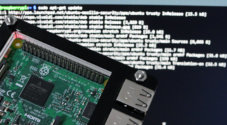
1. Before installing NoMachine on our device, we should update the package list and any out-of-date packages.
We can update these by running the following two commands within the terminal.
sudo apt update
sudo apt upgradeCopy
2. Once the device updates, we need to ensure the “wget” package is available by using the command below.
We will use the “wget” package to download the NoMachine package to our device.
sudo apt install wgetCopy3. Now that we have everything in place, we can move on to downloading the official NoMachine package.
The download links below may be out-of-date, so you can always check the official website for the latest versions.
32-Bit Raspberry Pi OS
Use the command below to download the version of NoMachine for 32-bit operating systems.
wget -O nomachine.deb https://download.nomachine.com/download/8.4/Raspberry/nomachine_8.4.2_1_armhf.debCopy64-Bit Raspberry Pi OS
If you are running a 64-bit version of Raspberry Pi OS, you can download the 64-bit release of NoMachine using the following command.
wget -O nomachine.deb https://download.nomachine.com/download/8.4/Raspberry/nomachine_8.4.2_1_arm64.debCopy32-Bit Raspberry Pi OS for Raspberry Pi 2
If you happen to be running the Raspberry Pi 2, you will need to download a different release.
wget -O nomachine.deb https://download.nomachine.com/download/8.4/Raspberry/nomachine_8.4.2_1_armv6hf.debCopy4. Now that we have the NoMachine package downloaded to our Raspberry Pi, we can now install it to our system.
To install this package to the system, you must run the following command within the terminal.
sudo apt install ./nomachine.debCopyUsing NoMachine on the Raspberry Pi
In this part of the tutorial, we will show you how to load up the NoMachine interface on your Raspberry Pi.
Loading up the NoMachine Client
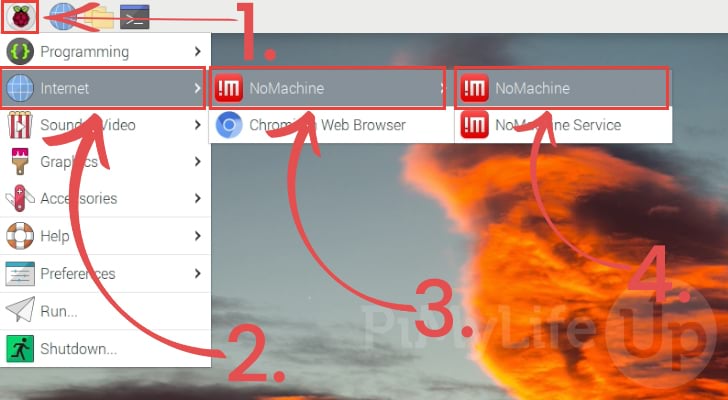
1. On the Raspberry Pi OS desktop, you will want to start by opening the start menu by clicking the top-left corner of the screen (1.).
Once the start menu opens, hover over “Internet” (2.), followed by “NoMachine“, and finally, click the “NoMachine” option (4.).
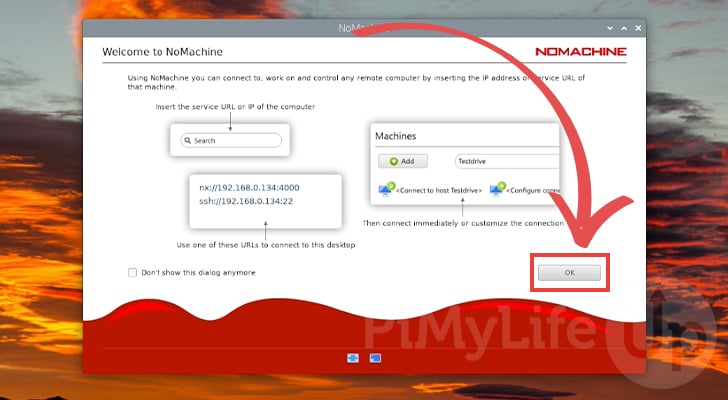
2. When you first start up the NoMachine client on your Raspberry Pi you will be greeted by the following welcome screen.
To continue, you will want to click the “OK” button.
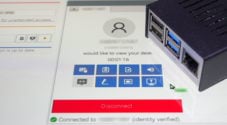
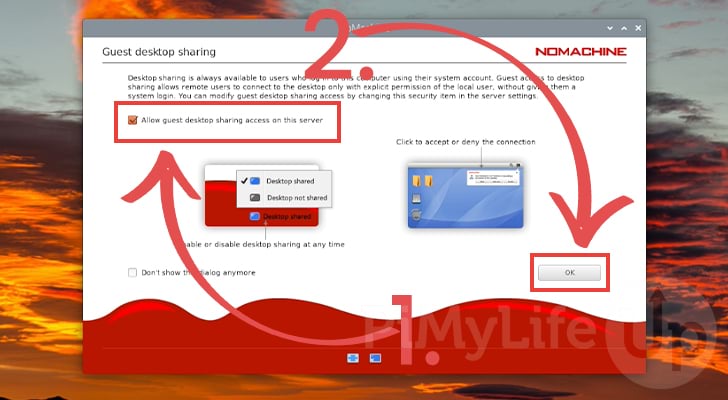
3. You can now decide whether you want guest desktop sharing enabled on your device (1.). If guest sharing is disabled, you can only connect to a machine if you have a valid account on the system.
You will need to accept that particular connection to connect as a guest.
Once you are happy to move on, click the “OK” button (2.).
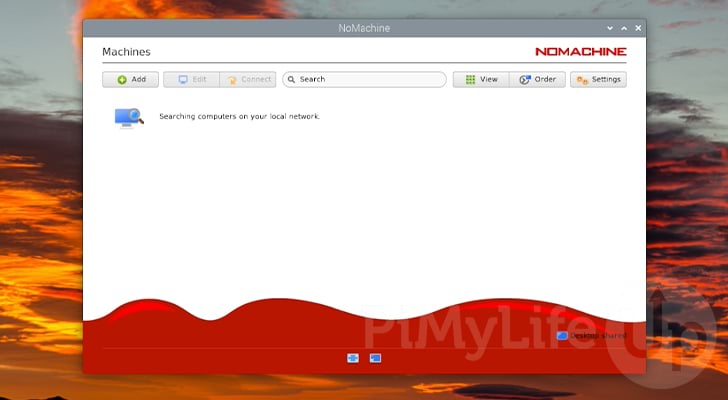
4. The NoMachine client and server are now running on your Raspberry Pi.
You can now use it to connect remotely to your Raspberry Pi or, alternatively remotely connect to another device.
Enabling NoMachine to Start at Boot on your Raspberry Pi
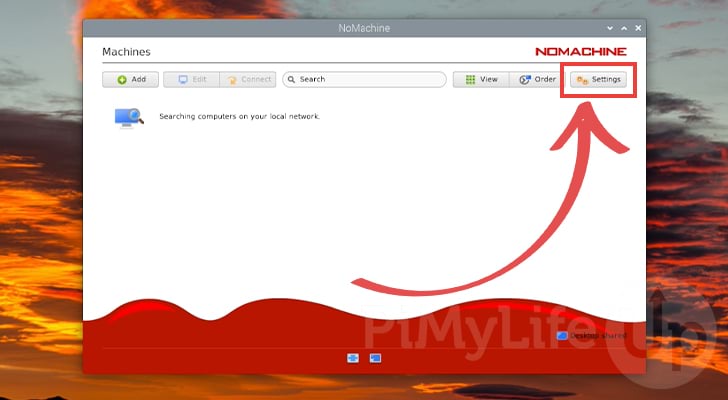
5. If you want to use NoMachine to access your Raspberry Pi remotely, you will want it to start at boot.
You can ensure this is enabled by first opening the “Settings” page of NoMachine, as shown below.
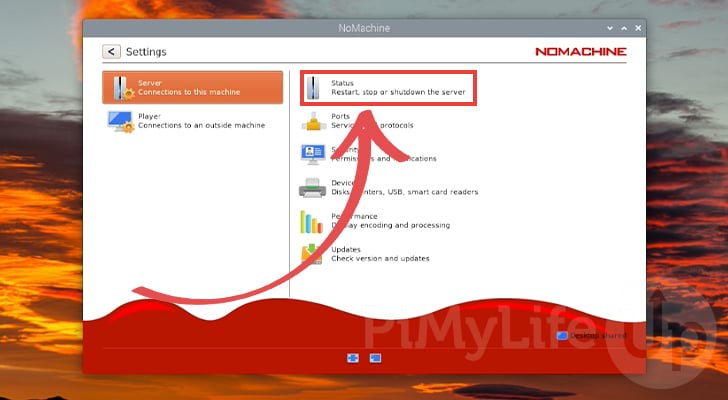
6. Now that you are on the settings page, switch to the “Status” page by clicking “Status“.
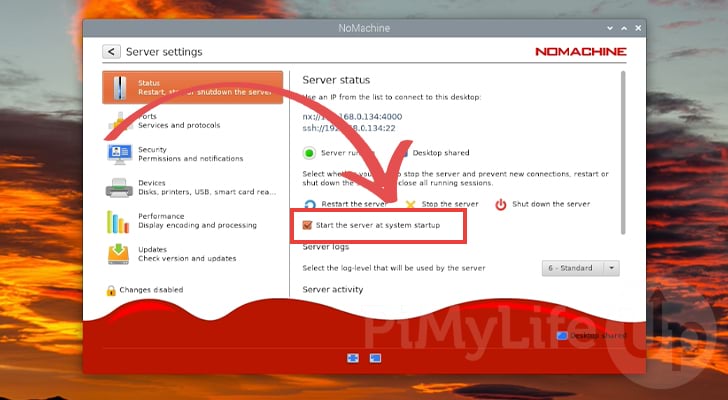
7. Once on the “Status” page, you will want to look for the “Start the server at system startup” option and ensure the checkbox is ticked.
The NoMachine server will automatically start at boot if the option has been ticked.
Remotely Connecting to a NoMachine Server
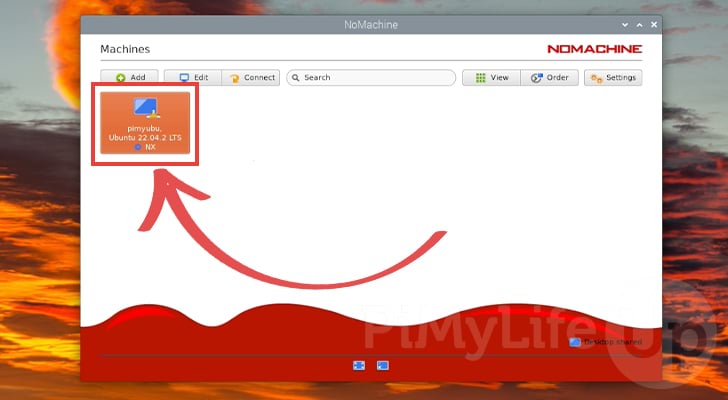
8. Just like your Raspberry Pi can now be connected to by a NoMachine Client, you can now connect to other machines running the same software.
For this example, we will be connecting to an Ubuntu machine on our network.
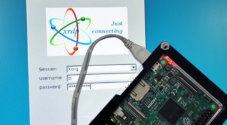
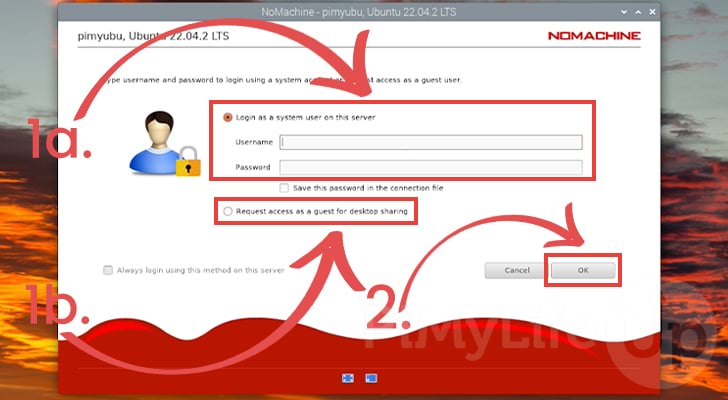
9. When attempting to connect to a remote machine, you will have two different ways to log in to the NoMachine device.
1a – The first option is to log in to your device using an account already on the remote system. Using this method, you don’t need anyone to confirm the connection.
1b – Alternatively it is possible to request access to a remote machine that you don’t have an account on.
After selecting your login method, you will want to click the “OK” button (2.).
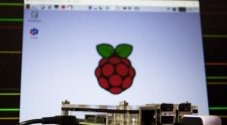
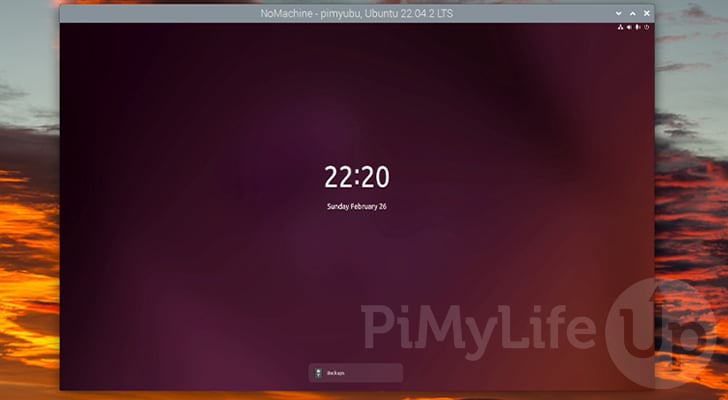
10. If you successfully connected to your remote NoMachine device from your Raspberry Pi, you can now access the desktop interface.
Conclusion
At this stage, you should now have the NoMachine software up and running on your Raspberry Pi.
This software allows you to remotely access any device running the NoMachine software. It is very similar in functionality to other remote access software, such as TeamViewer but without the price tag.
Please feel free to comment below if you have had any issues getting NoMachine to run on your device.
Check out our many other Raspberry Pi projects if you found this tutorial useful.