In this tutorial, I go through the steps of installing MYSQL onto a Mac computer.
MySQL is a well-liked and widely used open-source relational database management system. It’s frequently utilized for storing and managing data for websites and applications. You can interact with the database using a variety of programming languages, and it is compatible with multiple operating systems.
You can install MYSQL onto other systems such as the Raspberry Pi, Ubuntu, or Windows. Each system has its pros and cons, so I recommend researching before installing it onto your system.
We cover two methods for installing MYSQL on MacOS in this tutorial. You can use native packages, or you can use the Homebrew package manager.
Installing MYSQL using Native Packages
This section goes through the steps of installing MYSQL using the official native packages from Oracle. It is a relatively straightforward process that will take up very little time.
1. To begin, you will need to download the MYSQL package from the official website. Make sure you download the version relevant to your Mac computer. For example, ARM if you use a computer with Apple Silicon (M1, M2) or x86 if you use Intel. I recommend choosing a DMG archive.
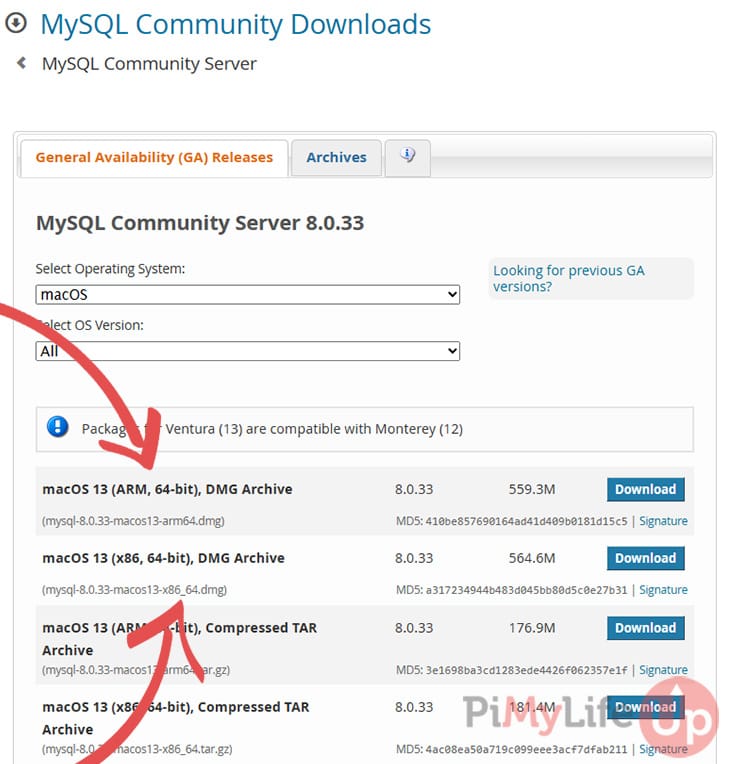
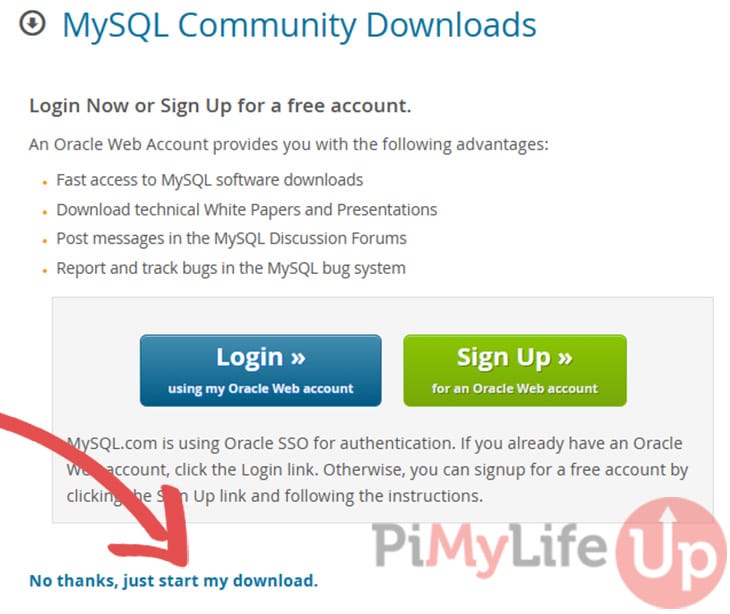
You may see a prompt to log in to an Oracle account. You can avoid this by clicking “No thanks, just start my download.” at the bottom of the screen.
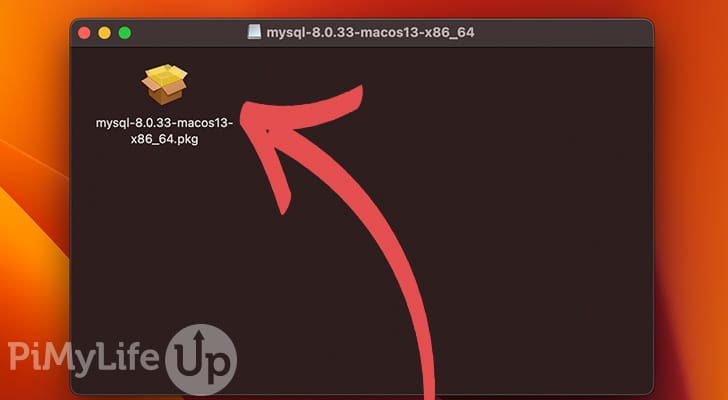
2. Double-click on the file you downloaded. Inside the file, it will have a file with a name referencing the version of MYSQL and the system it will work on, for example, mysql-8.0.33-macos13-x86_64.pkg.
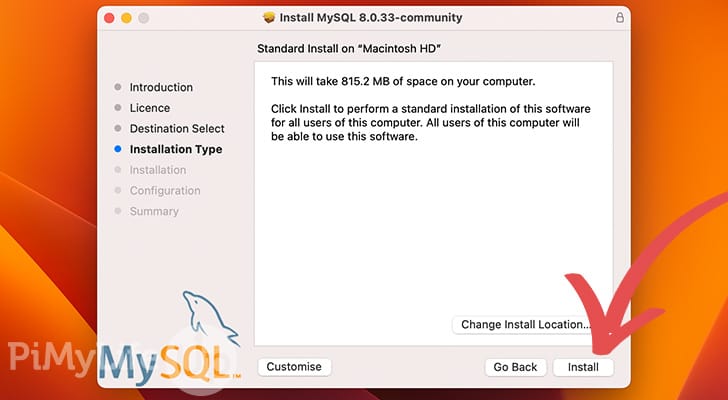
3. You should now see the screen for the installer. There will be a few prompts throughout the installation process, such as agreeing to the license, installation location, and configuration.
Once you reach the screen below, click on Install. The installation process may take a while.
4. The next screen will ask you which password encryption you wish to use. I recommend strong password encryption unless you know your connection method will not support it.

5. On the next screen, you must enter a password for the root user. Make sure it is memorable but not easily guessed. Using something like NordPass (Affiliate Link) or 1Password to store your passwords makes it much easier to have complicated unique passwords.

6. You should now have MYSQL on your Mac computer and ready to use.
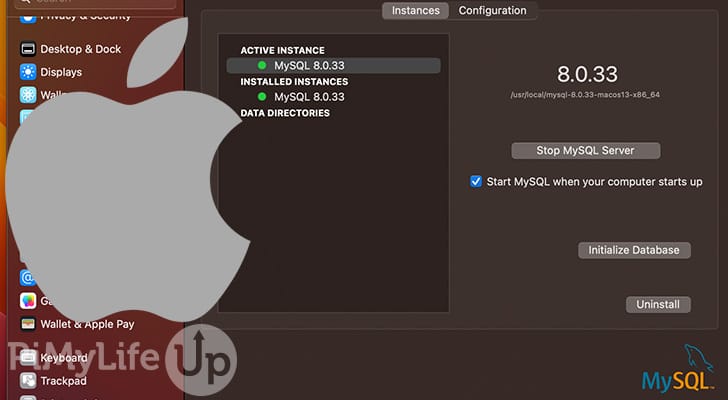
You can control MYSQL by doing the following steps. First, click the Apple icon at the screen’s top left-hand side and select System Settings. Locate MYSQL on the left-hand side of the window and select it.
On this screen, you can stop and start the server and configure a few other options.

7. To interact with the MYSQL server, first open the terminal. Inside the terminal, enter the following command. This command specifies the username that we will be using. After pressing enter, you will be prompted to enter a password.
/usr/local/mysql/bin/mysql -u root -pCopyYou should successfully login, and be greeted with an MYSQL prompt similar to the example below. You can now enter SQL commands, such as creating and altering a database.
mysql>CopyEntering exit will quit out of MYSQL and return to bash.
Installing MYSQL using Homebrew
Homebrew is a popular method for installing Mac software such as databases, compilers, and much more. To do this section of the tutorial, you will need to have Homebrew installed on your Mac computer. We also recommend that you do not have the native package installed as described above.
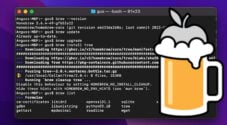
1. To install MYSQL using Homebrew, enter the following command into the terminal on your Mac. As noted earlier, you will need to have Homebrew installed.
brew install mysqlCopy2. Next, you will need to start the MYSQL service. You can do this by entering the following command.
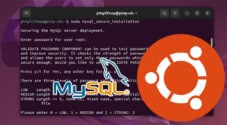
brew services start mysql3. The next step is to run the following command to secure the MYSQL server. Securing the server is hugely important as it will help prevent unauthorized access.
mysql_secure_installationCopyThis command will trigger a series of prompts that you will need to read carefully. Most of the prompts are straightforward, such as allowing password verification, setting a root password, disallowing remote root access, removing the anonymous user, and more.
4. To access your MYSQL server, enter the following command in the terminal. You will need to ensure that the server is running.
mysql -u root -pCopyYou will need to enter your password after entering the command above. It is the same password that you set in step 3.
You can issue MYSQL commands once you are in the MYSQL prompt (mysql>). If you want to return to bash simply enter exit or \q.
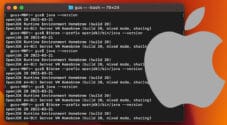
5. You can start and stop using the brew command. For example, the command below will stop the server. Replacing stop with start will start the server.
brew services stop mysqlCopyConclusion
Your Mac computer should now have MYSQL installed and configured. If you encounter any problems, we suggest going back to each step and carefully reviewing for any possible errors.
If you plan on using a MacOS computer extensively and want to develop your skills further, we suggest exploring our other Mac tutorials. Our tutorials primarily focus on development and development tools.
If you have any issues or ideas to share, feel free to leave a comment below.