In this tutorial, I will take you through the steps of installing Java on a Mac computer.
Java is a popular and powerful programming language that has a wide range of uses. It is sometimes the sole programming language in a software development stack but is also often used alongside other programming languages.
There is a vast range of applications that use Java in the backend. For example, Minecraft Java edition, Minecraft server, Elasticsearch, IntelliJ IDEA, Jenkins, VisibleTesla, and many more.
In this tutorial, we will be using Open Java Development Kit or more commonly known as OpenJDK. It is free, open-source and actively maintained. This version of Java will suit your needs for most software and projects.
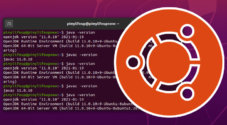
If you want to install Java on a different operating system, we have guides that cover installing Java on the Raspberry Pi or Ubuntu.
Below are the steps for installing Java onto a computer running macOS. We recommend installing Java using the Homebrew software as the official executable method only supports Intel-based Mac computers.
Checking if Java is Already Installed
Before we install Java on your Mac, you should check to see if it is already installed on your Mac computer. To check if it is installed, simply follow the steps below.
1. First, open the terminal application on your Mac. If you cannot find it, you can locate it by going to Launchpad and searching “terminal”. Click on Terminal.
2. In the terminal, enter the following line.
java --versionCopy3. If you get the following message, Java is not installed correctly, and you will need to follow the steps to install it. We recommend that you install it using Homebrew.
The operation couldn't be completed. Unable to locate a Java Runtime.You will get the following message if Java is installed and usable on your system.
openjdk 20 2023-03-21
OpenJDK Runtime Environment Homebrew (build 20)
OpenJDK 64-Bit Server VM Homebrew (build 20, mixed mode, sharing)
Installing Java using the Terminal
The following steps will take you through installing Java to a Mac using the terminal.
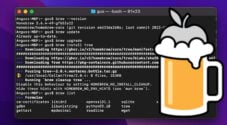
1. First, you must ensure that you have the Homebrew software package manager installed. Homebrew makes managing software packages easy and is a must-have on a Mac computer.
You can install Homebrew by following our Homebrew tutorial. Alternatively, the following line will install Homebrew, but you may need to do extra steps covered in the tutorial.
/bin/bash -c "$(curl -fsSL https://raw.githubusercontent.com/Homebrew/install/HEAD/install.sh)"Copy2. To install Java, enter the following line into the terminal.
brew install openjdkCopyIf you require a specific version of OpenJDK, append @ followed by the version number. For example, openjdk@11
3. The installation process will print out some extra steps that you can do to help make Java available. At a minimum, I recommend running the command that will allow system Java wrappers to find the JDK.
The symlink command should look similar to the one below.
Do not run the example below. Run the one that is showing within your terminal.
==> Caveats
For the system Java wrappers to find this JDK, symlink it with
sudo ln -sfn /usr/local/opt/openjdk/libexec/openjdk.jdk /Library/Java/JavaVirtualMachines/openjdk.jdkCopy
If you cannot find the information, run the following command.
brew info openjdkCopy4. You should now be able to run the following Java command in the terminal without seeing an error.
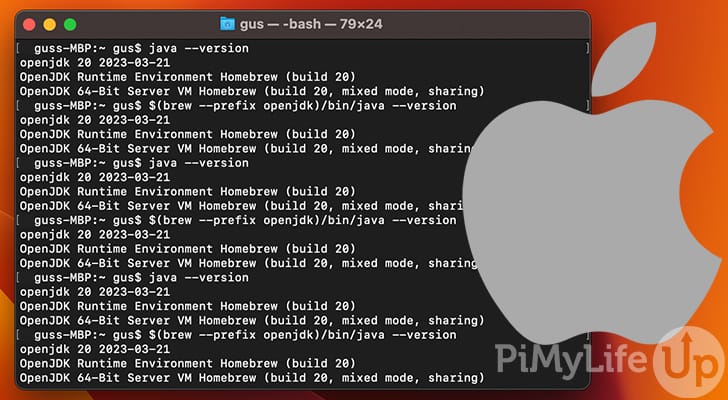
java --versionIf you did not use the symlink command, you must enter the command below.
$(brew --prefix openjdk)/bin/java --version
Copy
After running either of the commands above, you should have an output similar to the example below.
openjdk 20 2023-03-21
OpenJDK Runtime Environment Homebrew (build 20)
OpenJDK 64-Bit Server VM Homebrew (build 20, mixed mode, sharing)
Conclusion
I hope you now have Java installed and useable on your Mac computer. You can now execute and develop Java applications. I recommend looking at some Java tutorials if you wish to learn more about programming.
If you are having issues, you should retry the steps and check to see if any errors occurred during setup, as these will help diagnose the issues you are having.
If you run into any issues or have any feedback on how to install Java on Mac, feel free to drop a comment below.