In this tutorial, we will take you through the steps to installing the Redis server software on a computer running macOS.
Redis, also known as Remote Dictionary Server, is an in-memory data store. You will likely want to use it as a database, cache, message broker, or streaming engine. The server is hugely popular and is often part of many software stacks. For example, Airbnb, Adobe, and Amazon make use of Redis.
Installing Redis onto macOS will make life much easier if you actively code on a Mac computer. However, you may want to use it as part of a development environment. Typically, other platforms, such as Linux, will be a better choice to run a production environment.
We also have a tutorial that covers installing Redis on the Raspberry Pi. It is an excellent choice if you want a standalone device running the server software.
This tutorial will cover installing Redis using the Homebrew package manager on macOS. We will also briefly touch on how you can stop and start the server. Lastly, we cover connecting to the server using the redis-cli command.
Installing Redis
Installing Redis on macOS is simple if you use a software package manager such as Homebrew. For this tutorial, we will be focusing on using Homebrew. Alternatively, you can install Redis from the source, but it is slightly more complicated.
1. Before starting, you must have Homebrew installed and ready to use. If you don’t, follow our tutorial on installing Homebrew on a Mac Computer.
Run the following command to check that Homebrew is available on your computer. If the command fails, you will need to install the software.
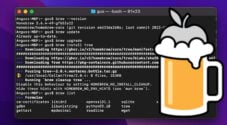
brew --versionCopy2. Once Homebrew is installed, you can install Redis by running the command below.
brew install redis
Copy
Controlling Redis
Starting and stopping the Redis server is as easy as the installation. There are two methods that we will cover in this tutorial. The first is to start and stop the server in the foreground. Secondly, we take a look at starting and stopping in the background.
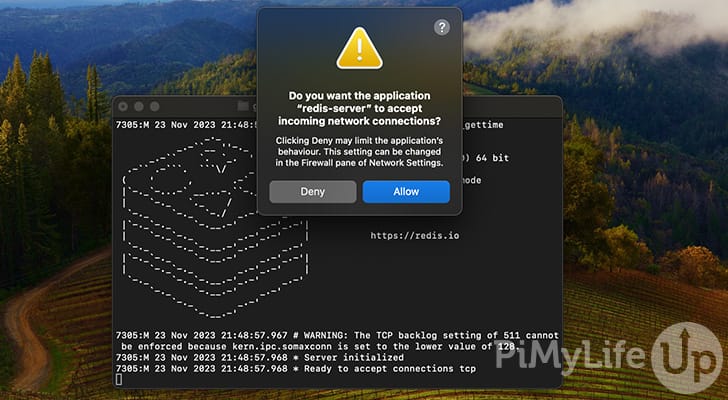
3. To start Redis in the foreground, run the following command.
redis-serverCopyYou will get a pop-up asking if you wish to allow redis-server to accept incoming network connections. In most cases, you will want to click allow.
Running the server in the foreground will lock the current terminal until you stop the server.
To stop the server, press CTRL + C.
4. To start the server in the background, you can use the brew services command. The following command will start the Redis server. It will also restart Redis whenever you log in.
brew services start redisCopyEnter the following command to stop the Redis server.
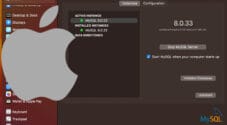
brew services stop redisCopyTo check the health and status of the Redis server process, you can run the following command.
brew services info redis
Copy
The above command will output info on the server’s status, as you can see in our example below.
gus@gus-MBP ~ % brew services info redis
redis (homebrew.mxcl.redis)
Running: ✔
Loaded: ✔
Schedulable: ✘
User: gus
PID: 7465Copy
Connecting to Redis
5. To connect to the Redis server, run the following command.
redis-cliCopyOnce connected, you can run Redis commands in the terminal. Take a look at a Redis CLI tutorial to learn the different ways you can interact with Redis using the command line.
You can write “exit” into the terminal or press CTRL + C to exit the Redis CLI.
Conclusion
Hopefully, you now have Redis installed and working on your Mac computer. You will find it extremely useful if you do a heavy amount of software development on macOS.
If you want to learn more about macOS and the huge number of tasks you can achieve, please check out our ever-growing number of Mac tutorials. The tutorials cover a vast range of essential tasks right through to more advanced topics.
Please let us know if you have feedback regarding this tutorial by commenting below.