In this guide, I go through several different methods to install Node.JS and NPM on MacOS.
Installing npm and NodeJS is essential if you plan on doing any Node.JS development on your Mac computer. Thankfully, both are bundled together and are really easy to install on most systems.
Node.JS is a software package that allows developers to run JavaScript code on a server. Server-side code can respond to API requests, generate web pages, and more. Using JavaScript in the backend helps reduce the different languages used in a web stack, as you will likely already use it in the front-end of web development.
The npm software is a package manager for Node.JS. Using npm allows you to quickly install a wide range of software for use within your program. For example, you can quickly install packages such as chart.js, chalk, react, and more.
This tutorial covers three different methods for installing node.JS and NPM. For most people, using the native installer or Homebrew will be good enough. However, if you need to control the version of Node.JS, you will need to use the NVM (Node Version Manager) method, which is slightly more complicated to set up.
Using the Native macOS Installer
Installing Node.JS and NPM using the native installer is the easiest method. You do not need any extra software installed to complete this section.
The steps below will take you through everything you need.
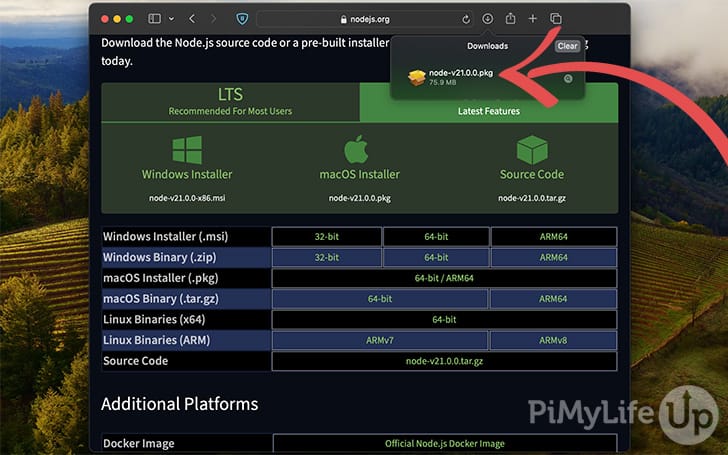
1. On your macOS computer, open up a browser and navigate to the Node.JS download page.
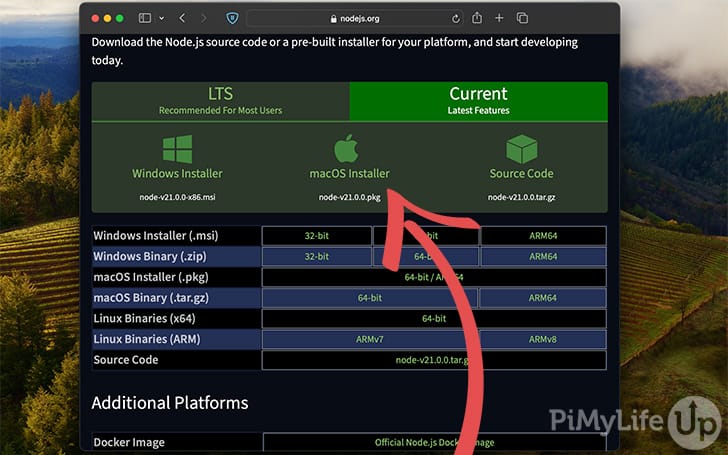
On this page, you must choose between the LTS (Long Term Support) or the latest version. The LTS is recommended as it is more stable and will be supported for a longer period of time.
Click on the macOS installer to download the package.
2. Once the package has been downloaded, run the file. This file will be in your download directory. Alternatively, run it by going to the downloads tab in your browser.
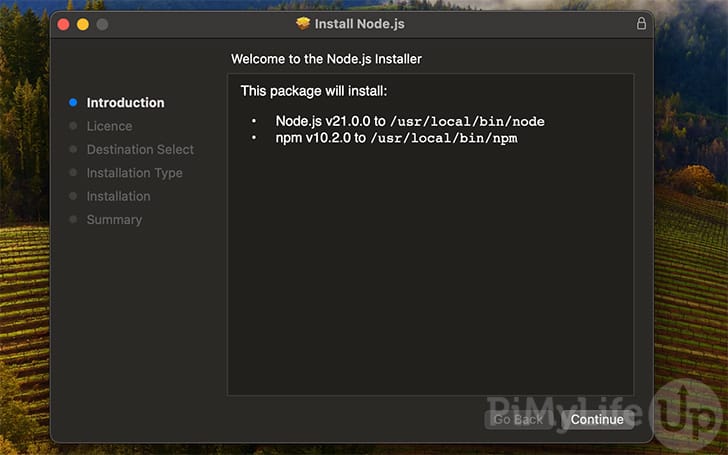
Go through each of the steps of the installer. It will only take a few minutes, but make sure you read each step.
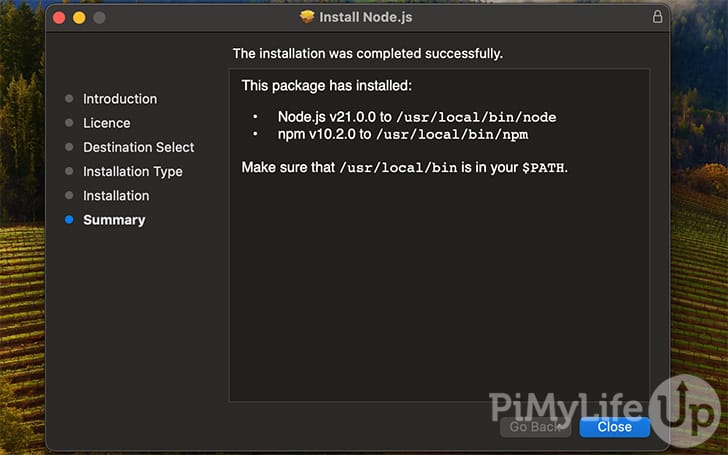
The installation process is relatively fast. You should see a success message in less than a few minutes.
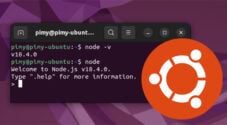
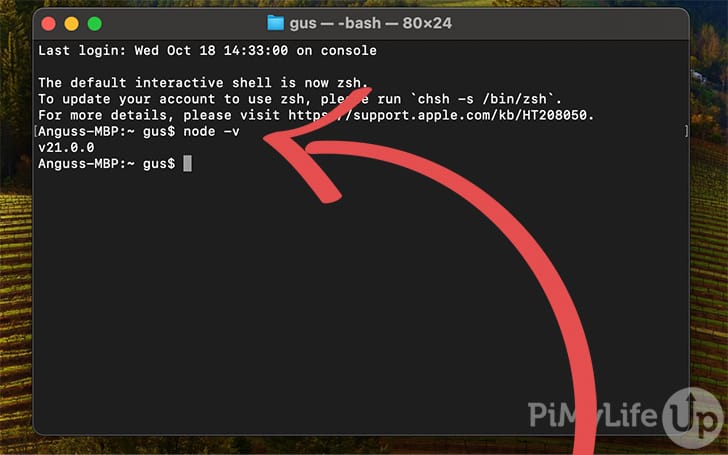
3. To test whether the installation succeeded, open the terminal application on your Mac computer.
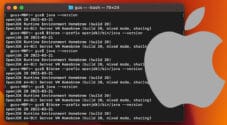
Inside the terminal, run the following line. This line will request the version of Node running on the computer.
node -vCopyNode.JS will output information similar to the example below if the installation was a success. If you see an error, you will need to investigate the issue.
Using Homebrew
Using homebrew to install Node.JS and NPM is very straightforward, but you must have Homebrew installed on your system.
1. Install Homebrew to your macOS system if you haven’t already. It is typically a super easy process.
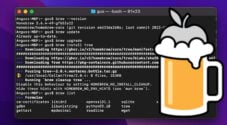
2. Load the terminal application on your computer. Run the following line to install Node.JS and NPM using Homebrew.
brew install nodeCopy3. You can check the installation’s success by running the following command.
node -vCopyThe output should show the version number of the Node software.
4. You can also install nvm (Node Version Manager) via Homebrew using the following command.
brew install nvmCopy5. To check if nvm is installed correctly, use the following command.
command -v nvmCopyThe above command should respond with nvm. If it doesn’t, you may need to perform extra steps explained in step 1.1 in the section below.
For more information on how to use nvm, skip to step three of the next section.
Using NVM (Advanced)
The Node version manager (NVM) is the ideal option if you plan on using different versions of Node. I recommend using this version if you have a good understanding of using the terminal on macOS.
1. To begin, you will need to run the install script for NVM. This script will also update NVM if you already have it installed.
Either of the following commands will work on macOS.
Curl
curl -o- https://raw.githubusercontent.com/nvm-sh/nvm/v0.39.5/install.sh | bashCopywget
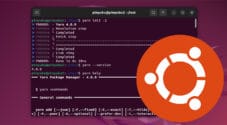
wget -qO- https://raw.githubusercontent.com/nvm-sh/nvm/v0.39.5/install.sh | bashCopyYou should see the text below after successfully running either of the above commands.
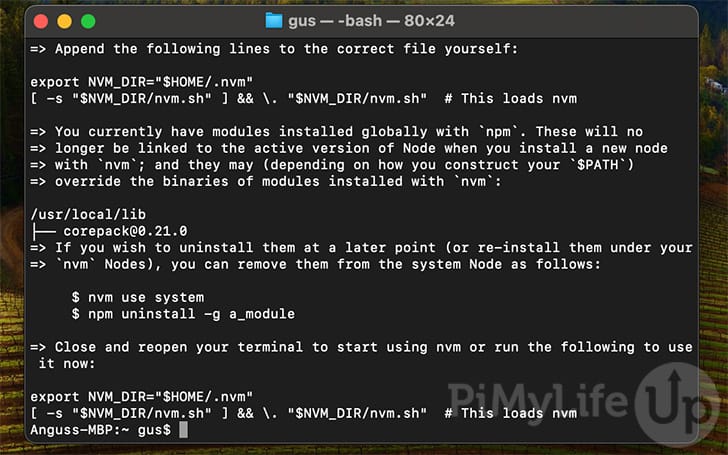
1.1 The script will clone the nvm repository to the ~/.nvm directory. It will also attempt to add the following code to the profile files (~/.bash_profile, ~/.zshrc, ~/.profile, or ~/.bashrc).
export NVM_DIR="$([ -z "${XDG_CONFIG_HOME-}" ] && printf %s "${HOME}/.nvm" || printf %s "${XDG_CONFIG_HOME}/nvm")"
[ -s "$NVM_DIR/nvm.sh" ] && \. "$NVM_DIR/nvm.sh" # This loads nvmCopy
If you manually need to add the above code to a profile. Open the file using your favorite text editor and copy and paste the code into the file.
For example, the command below will open the zshrc profile (Default on macOS).
nano ~/.zshrcCopyYou can also use the following commands to reload the relevant profile configuration.
#bash
source ~/.bashrc

#zsh
source ~/.zshrcCopy
2. Close and reopen the terminal application before proceeding with the next command.
command -v nvmCopyAfter entering the above command, you should see “nvm” appear. This output confirms the software is correctly installed.
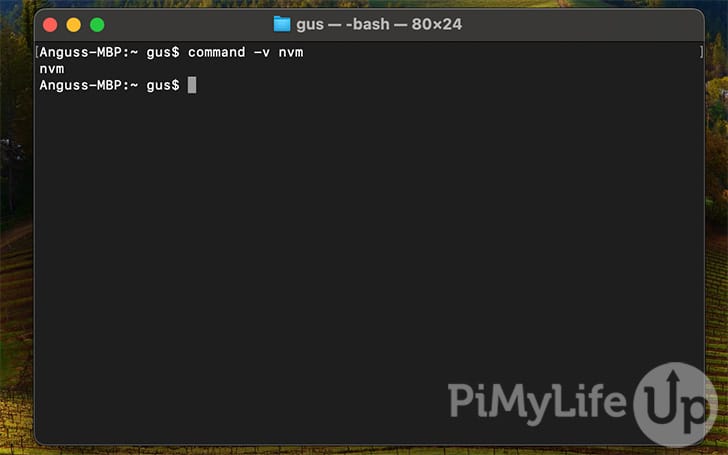
If you do not get any output or an error message such as nvm: command not found, you may need to manually add some lines into the correct profile, as explained in step one. You can also try rerunning the install script.
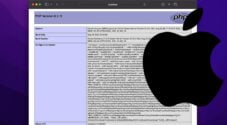
3. Once installed, you can use it to install specific versions of node. For example, the command below will install Node 18.18.2.
nvm install 18.18.2Copy4. NVM will automatically switch you to the new version of node. You can use the following command to confirm.
node -vCopyAfter entering the above command, you should get the following output.
v18.18.2Copy5. To swap to a different installed version of node, you can use the following command.
nvm use 21.0.0CopyYou can confirm the version by using the node -v command.
6. Below are some more NVM commands that you might find useful.
#List installed versions of node
nvm ls

#Sets a default version of Node
nvm alias default 18.16.1

#Install the long-term version of Node
nvm install --lts

#Installs the latest stable version of node
nvm install stableCopy
Conclusion
I hope you now have NodeJS and NPM installed on your macOS computer and are working correctly. These two pieces of software are essential for software development involving JavaScript and Node.JS.
We are continually working on more tutorials for Mac computers. If you are interested in learning more about development and using a Mac, please look at our various range of tutorials. If you want to see something covered, please let us know.
Please let us know if you have feedback regarding this tutorial. We may not respond, but we are always reading the comments.