In this tutorial, we will be walking you through the steps to install Node.js on Ubuntu.
Node.js is an open-source runtime that allows you to execute JavaScript locally without needing a web browser.
This runtime is often used for server-side programming, allowing you to write a scalable and fast web backend in a reasonably well-known language.
Over the following steps, we will cover two main ways to install Node.js on Ubuntu. These methods will ensure that you get the latest available version. While you could use the Ubuntu package repository, you often end up with a significantly outdated and unsupported version of Node.js.
The steps we are providing should work on any major version of Ubuntu. This means you can easily install Node.js on Ubuntu 24.04, 22.04, 20.04 and 18.04. You can verify whether your version of Ubuntu is supported by visiting the NodeSource GitHub.
This guide will even work if you are trying to install Node.js on an ARM device such as a Raspberry Pi. NodeSource provides builds for ARM64 and armhf in addition to traditional x64 systems.
Installing from the Official Node.js Repository on Ubuntu
Using the NodeSource package repository is one of the best ways to install Node.js on Ubuntu. The reason for this is that it gives you access to the version of Node.js that you want. You aren’t stuck with whatever release Ubuntu added to their package repository.
For most people, this would be our recommended way of installing Node.js on Ubuntu.
Preparing Ubuntu for the Node.js Package Repository
1. Before we add the Node.js repository to our Ubuntu system, we will want to update the package list cache.
The reason for this is that we require some additional packages, and an out-of-date cache can cause issues when installing packages.
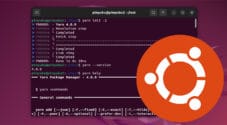
sudo apt updateCopy2. Once the package list has been updated, we can install the packages we need to set up the Node.js repository.
sudo apt install curl build-essential ca-certificates gnupgCopy3. To make setting up the Node.js repository on Ubuntu easier let us now set up an environment variable that sets the version of Node.js that you want to install.
We have included commands for the current supported releases of Node.js at the time of publishing. You can check what is currently marked as the “current” or “lts” releases by visiting the Node.js website.
22.x– Current Release.
It comes with the latest features but is potentially more unstable.
NODE_MAJOR=22Copy20.x– Current LTS Release.
It doesn’t contain the newest features but is actively worked on still.
NODE_MAJOR=20Copy18.x– Maintenance LTS Release.
No longer actively maintained, the Node team will fix critical bugs as they pop up.
NODE_MAJOR=18CopyAdding the Node.JS Repository to Ubuntu
4. Once you have decided on what release of Node.js you want to install on Ubuntu, we can move on to setting up the NodeSource repository.
Our first step is to download and add the NodeSource GPG key to our keyring. You can do this by using the following command. The GPG key is used to verify the packages we download from their repository.
curl -fsSL https://deb.nodesource.com/gpgkey/nodesource-repo.gpg.key | sudo gpg --dearmor -o /usr/share/keyrings/nodesource.gpgCopy5. With the GPG key added, our next step is to add the NodeSource repository itself to our source list.
To do this all you need to do is use the following command. You can see we reference the “NODE_MAJOR” environment variable we set earlier on in this section.
echo "deb [signed-by=/usr/share/keyrings/nodesource.gpg] https://deb.nodesource.com/node_$NODE_MAJOR.x nodistro main" | sudo tee /etc/apt/sources.list.d/nodesource.listCopy6. Before Ubuntu will be aware it can now install Node.JS from NodeSource, we must update the package list.
You can update the package list by using the following command within the terminal.
sudo apt updateCopyInstalling Node.JS on Ubuntu
7. Thanks to us spending the time to add the NodeSource repository, installing your desired version of Node.js on Ubuntu is super easy.
You only need to run the following command to install Node.js on Ubuntu using the new repository. During installation, the “apt” package manager will also install Node’s package manager called NPM.
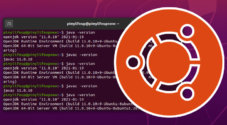
sudo apt install nodejsCopy8. We can now verify that Node.js is now installed on our Ubuntu system by getting it to output its version.
To get Node to output its version, all we must do is include the “-v” option when running Node.
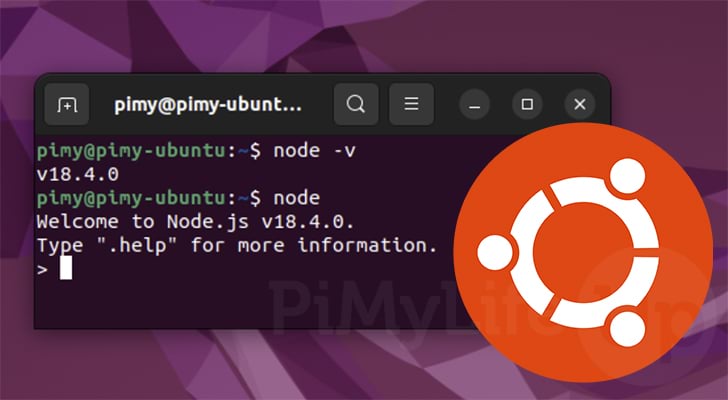
node -vCopyIf everything has worked correctly, you should see a version similar to the one below printed to the terminal.
v22.8.09. Our final step is to verify that NPM was installed alongside Node.js to our Ubuntu system. NPM is a key part of using Node.js as it allows you to easily install additional libraries and Node.js based software.
We can verify that npm is installed by getting it to output its version to the command line.
npm -vCopyBelow is the version that was installed alongside Node.js on our Ubuntu device. Your version will differ if you installed a different release of Node.js.
8.12.1Installing Node.js to Ubuntu using NVM
The other method for installing Node.js to Ubuntu is to use Node Version Manager, which often goes by the name NVM.
This software is a version manager for Node.js and allows you to have multiples version of Node running at any one time. This is useful if you are writing or running software that might target different versions of Node.
Preparing to use Node Version Manager
1. Before we can use NVM to install Node.js on Ubuntu we need to update the package list cache.
Updating the package list is as easy as using the following command.
sudo apt updateCopy2. With the package list updated, we can now install the curl software using the command below.
Curl allows us to make web requests, which in this case will be used to grab and run the NVM install script.
sudo apt install curlCopyInstalling NVM to Ubuntu
3. The Node Version Manager team provide a script that makes installing the manager incredibly easy. All we need to do is run a script off of their official repository.
This command will grab the install script and pipe it straight to the shell system. You can verify the script before running it by going to it directly in a web browser of your choice.
curl -o- https://raw.githubusercontent.com/nvm-sh/nvm/master/install.sh | bashCopy4. After NVM is installed, you will need to close and re-open your terminal session before you can use it.
You can always quit out of the current terminal session by using the exit command.
exitCopyUsing NVM to Install and Manage Node.js on Ubuntu
5. Now that we have NVM installed, we can use it to install Node.js to Ubuntu. This manager allows you to install multiple versions.
To install the latest release of Node.js all you need to do is use the following command.
nvm install nodeCopyAlternatively, you can install the latest LTS release of Node.js on Ubuntu by using the “--lts” option. LTS releases are meant to be supported for a significant amount of time and is useful if you are writing software for production use.
nvm install --ltsCopyFinally, you can specify the exact version you want to install. For example, you can use “20” in place of “[VERSION]“.
nvm install [VERSION]Copy6. When you have multiple versions of Node.js installed, you can switch between them by using “nvm use” followed by the version number.
nvm use [VERSION]CopyFor example, if we wanted to switch from our currently selected version to Node.js 22, we would use the following.
nvm use 22Copy7. You can list the versions of Node.js that you have installed on Ubuntu using the Node Version Manager by running the following command.
nvm lsCopy8. It is also possible to get NVM to list all of the remote versions of Node.js that you can install.
nvm ls-remoteCopyConclusion
Throughout this tutorial, we have shown you a couple of ways to install Node.js on Ubuntu-based systems.
As mentioned in the guide, Node.js is a powerful JavaScript runtime that allows you to write scalable and efficient web backends.
Please comment below if you have issues getting this software installed on Ubuntu.
We also have a wealth of other Ubuntu tutorials that you can use to get your system running how you would like it.